This article provides steps on how to create a new season in the competition and events section of the ScoreVision Cloud.
Creating a New Season
1. Go to app.scorevision.com and log in to your ScoreVision Cloud account using your credentials. Once logged in, you will be on the dashboard screen. Select COMPETITION AND EVENTS from the control panel on the left side of the window.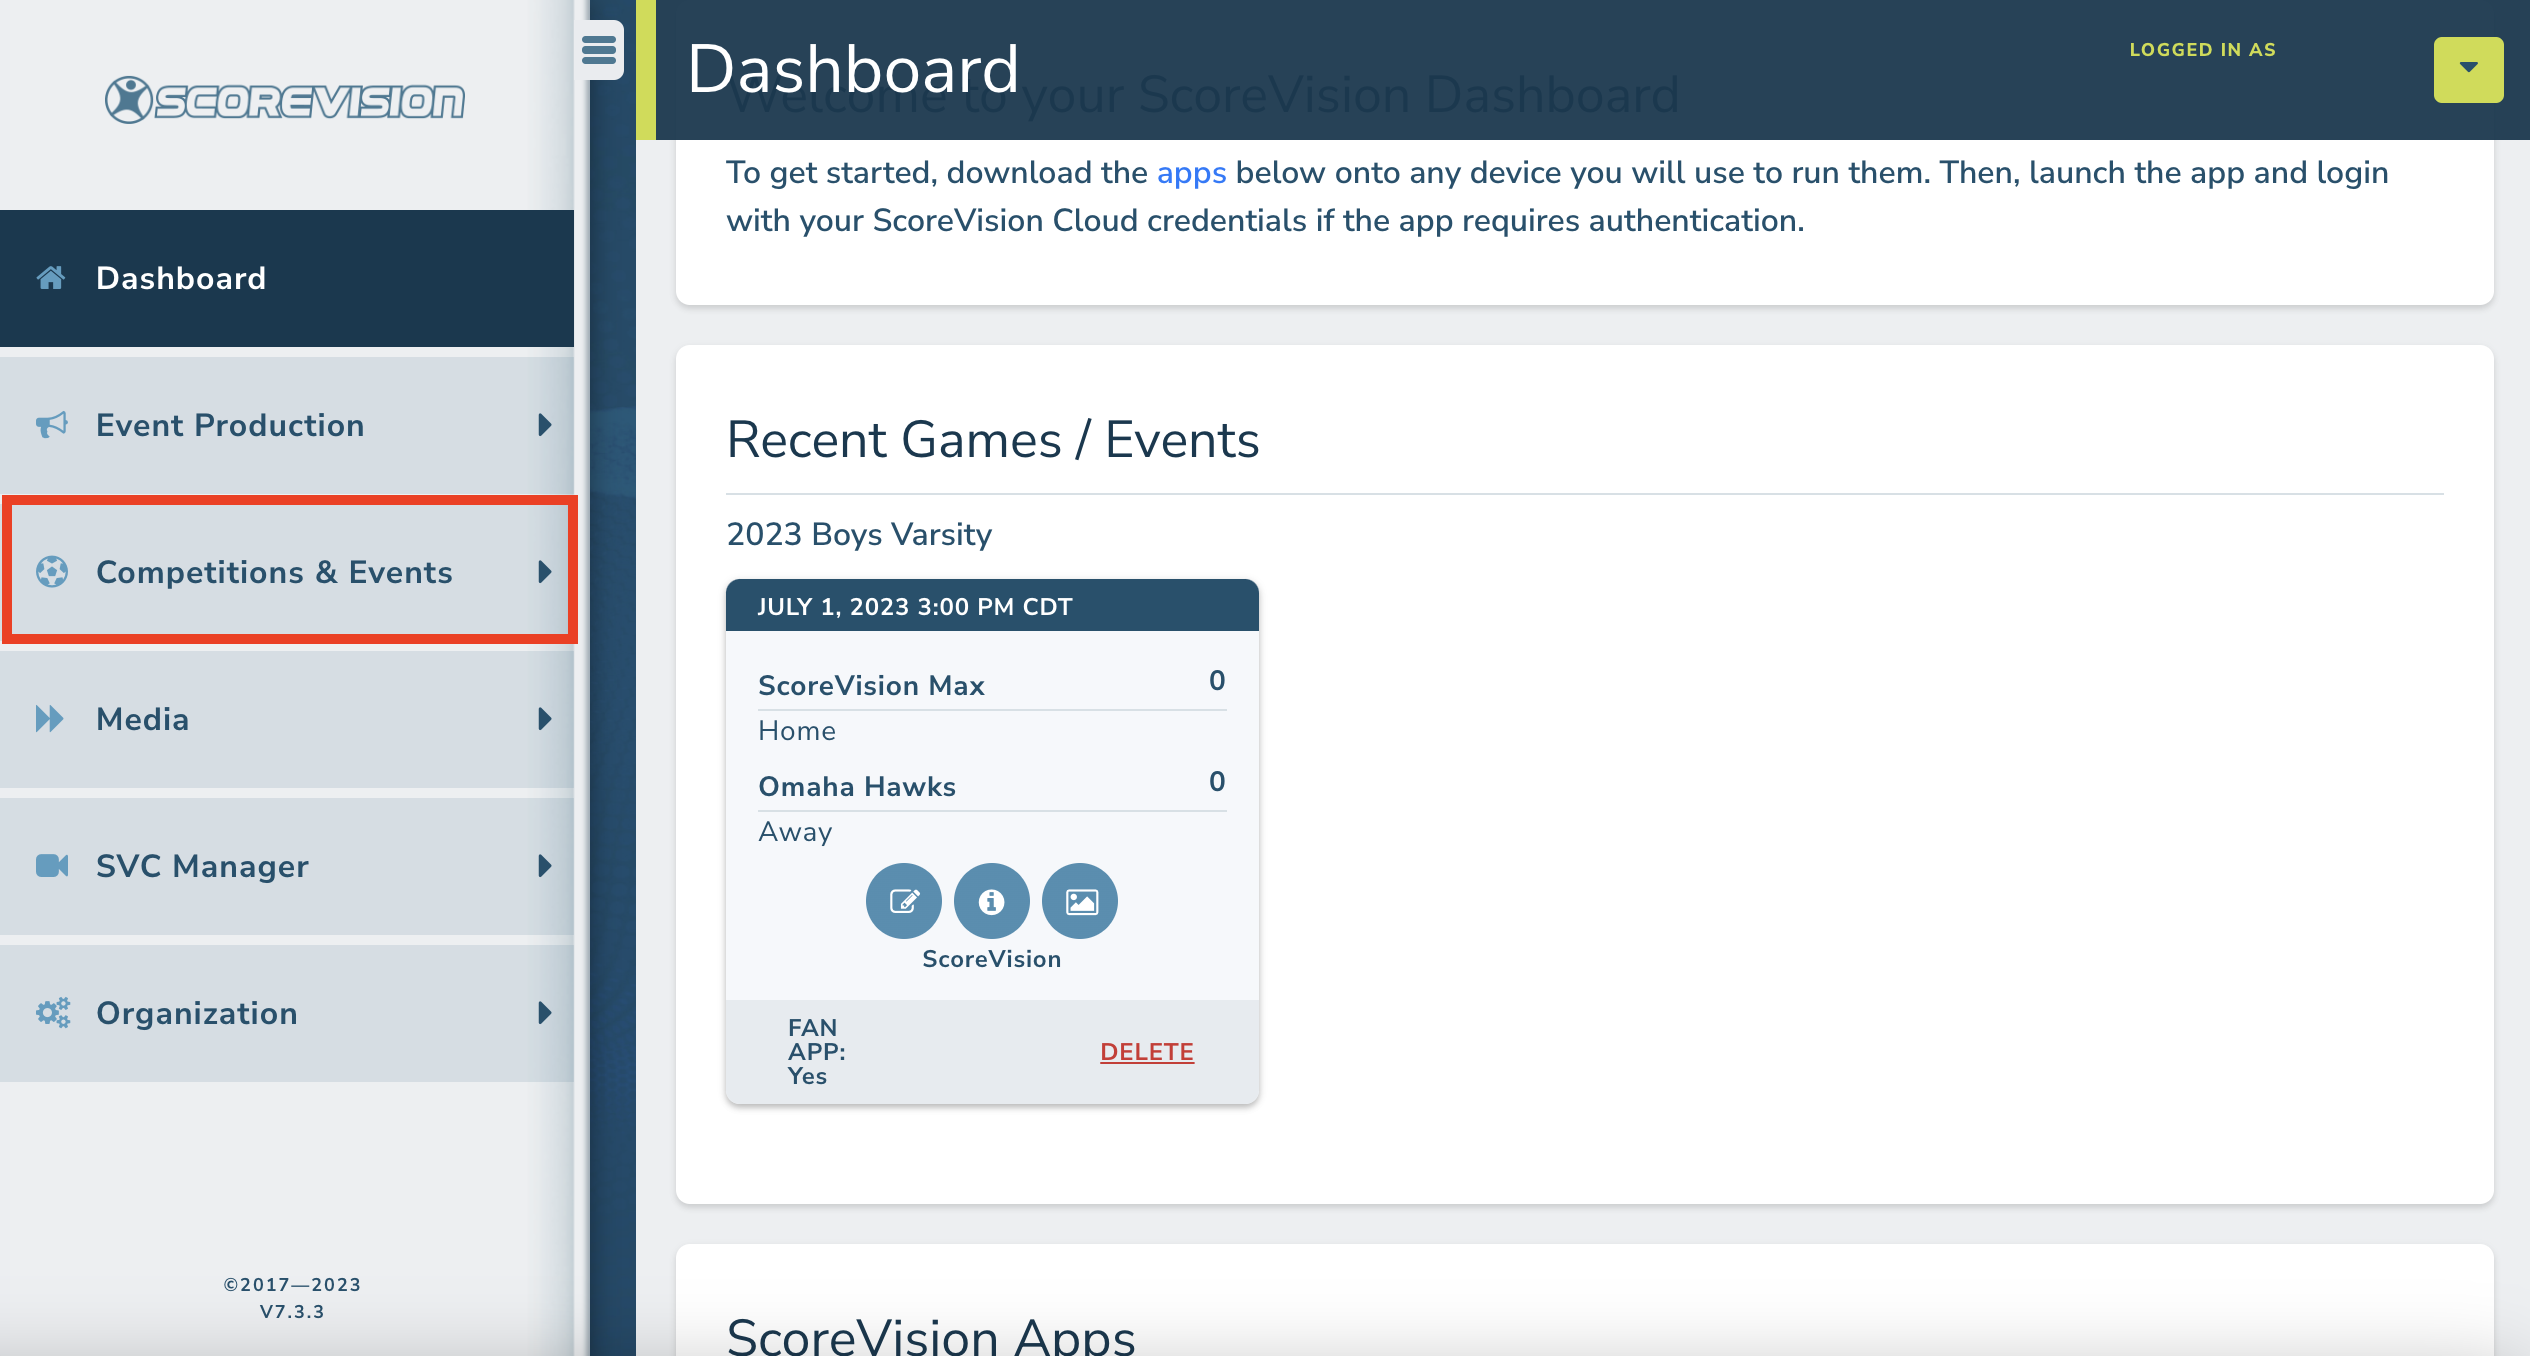
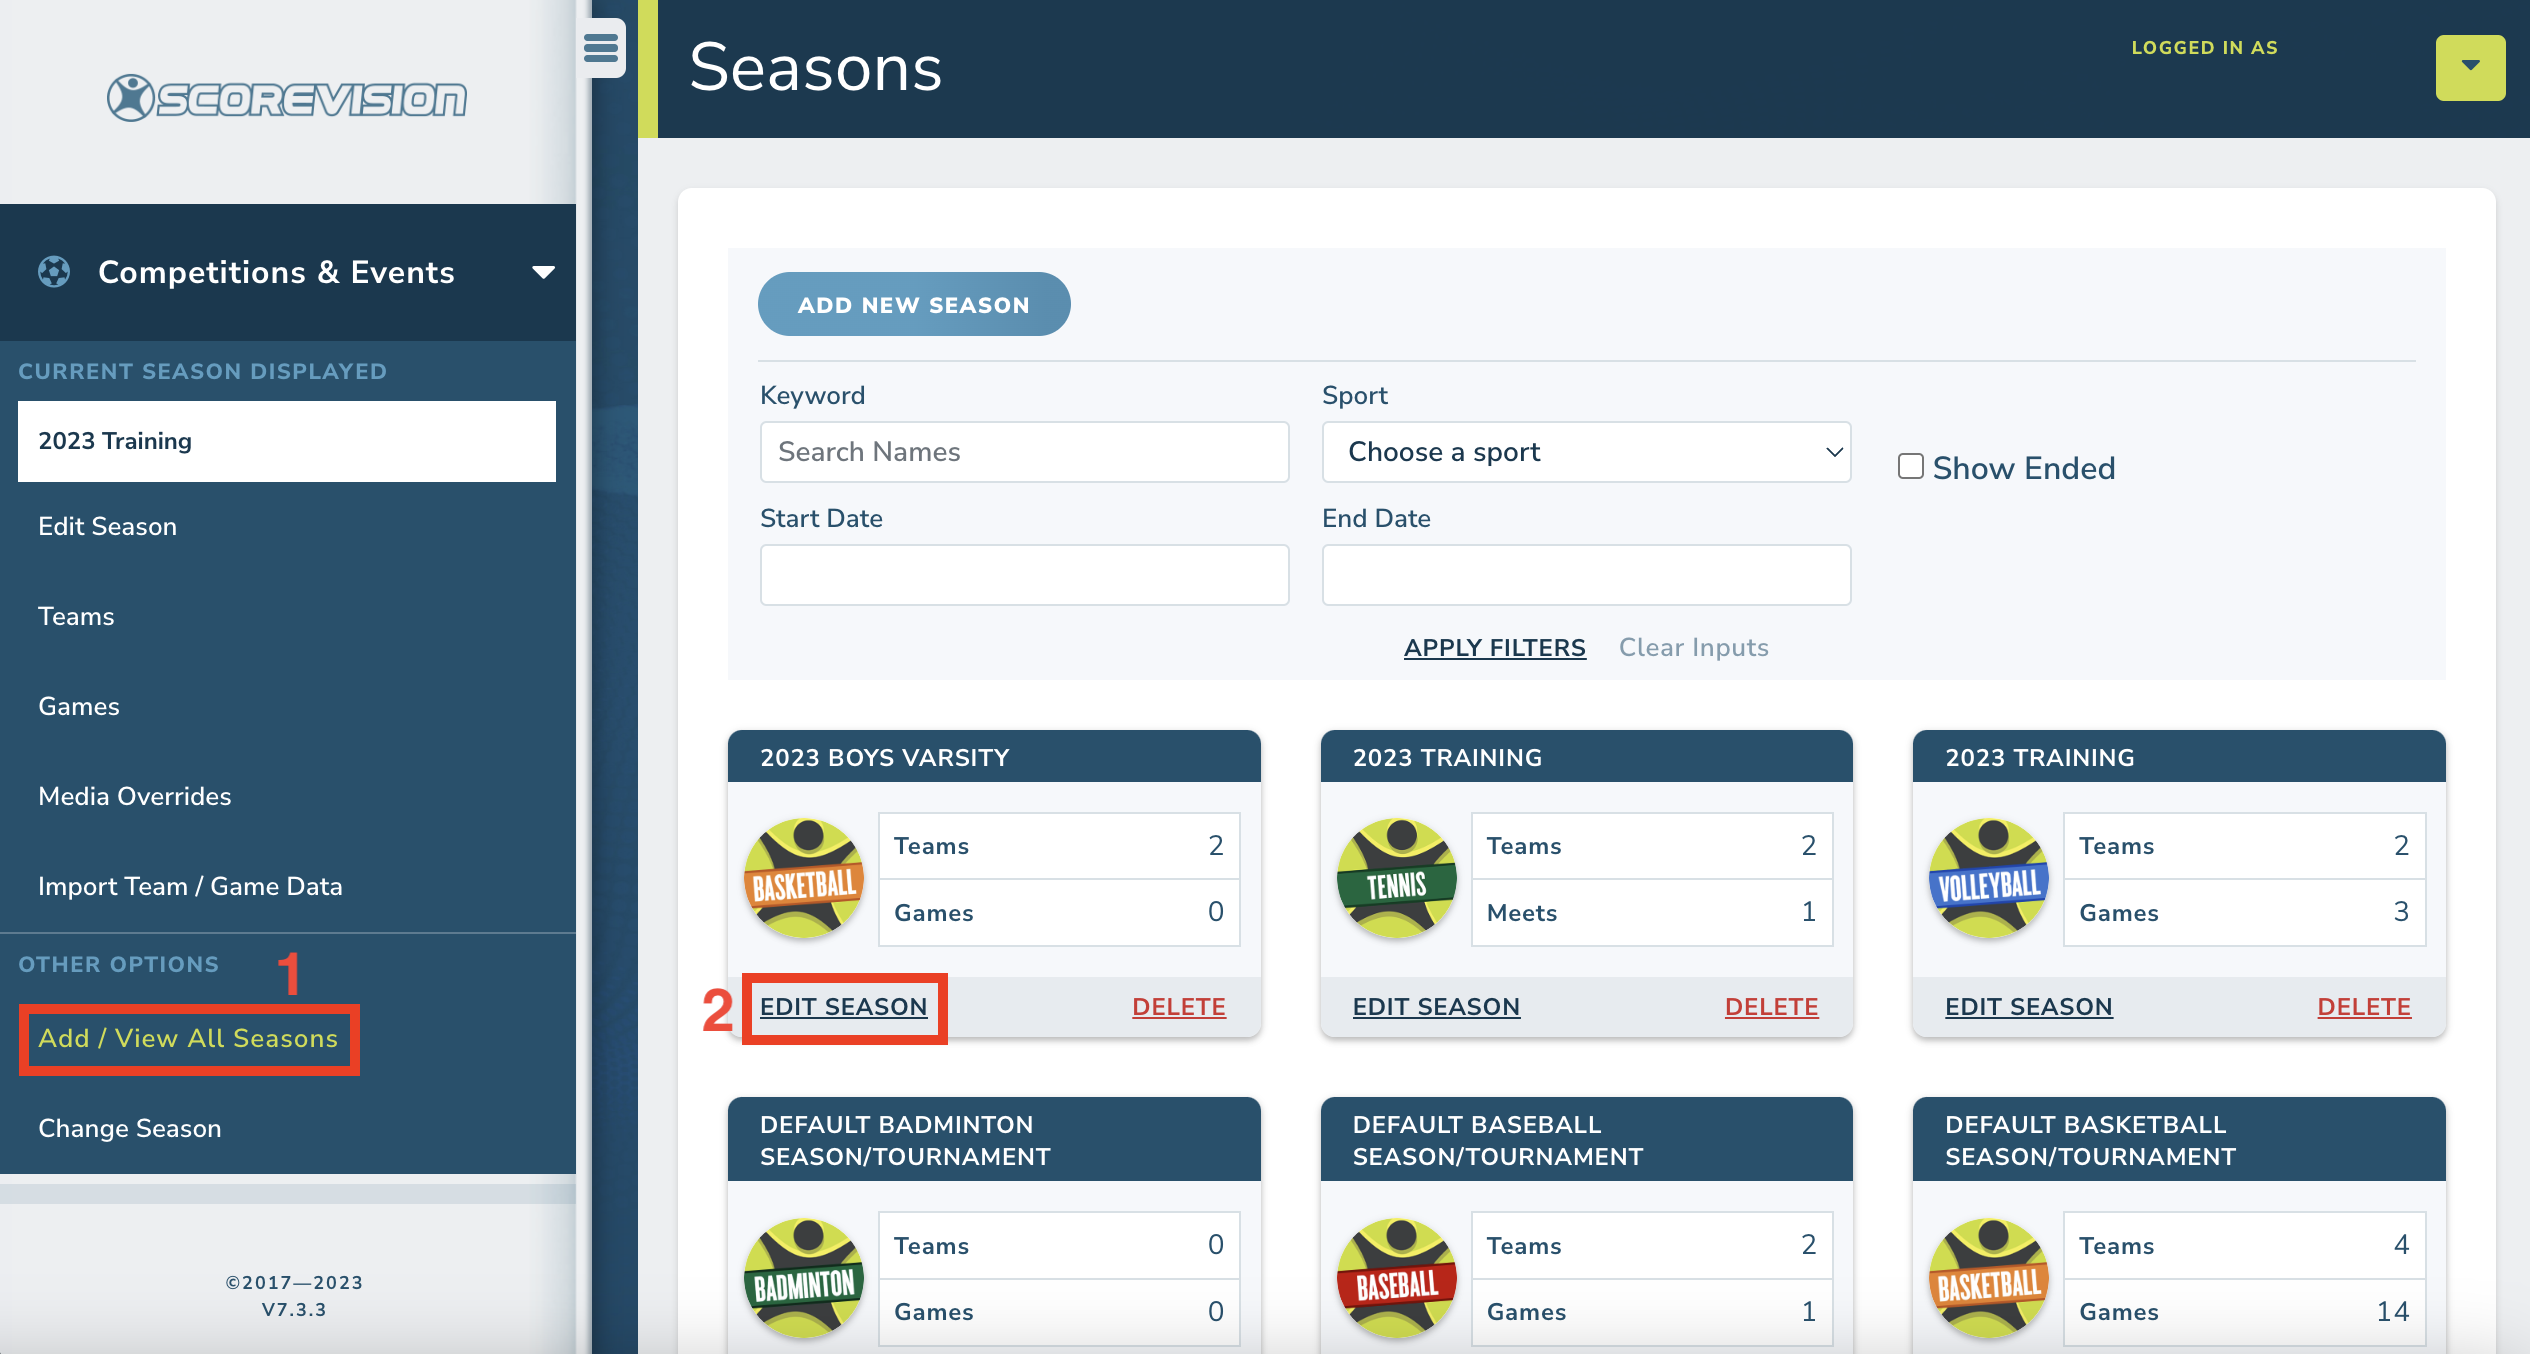
2. Scroll down to click on ADD/VIEW ALL SEASONS. 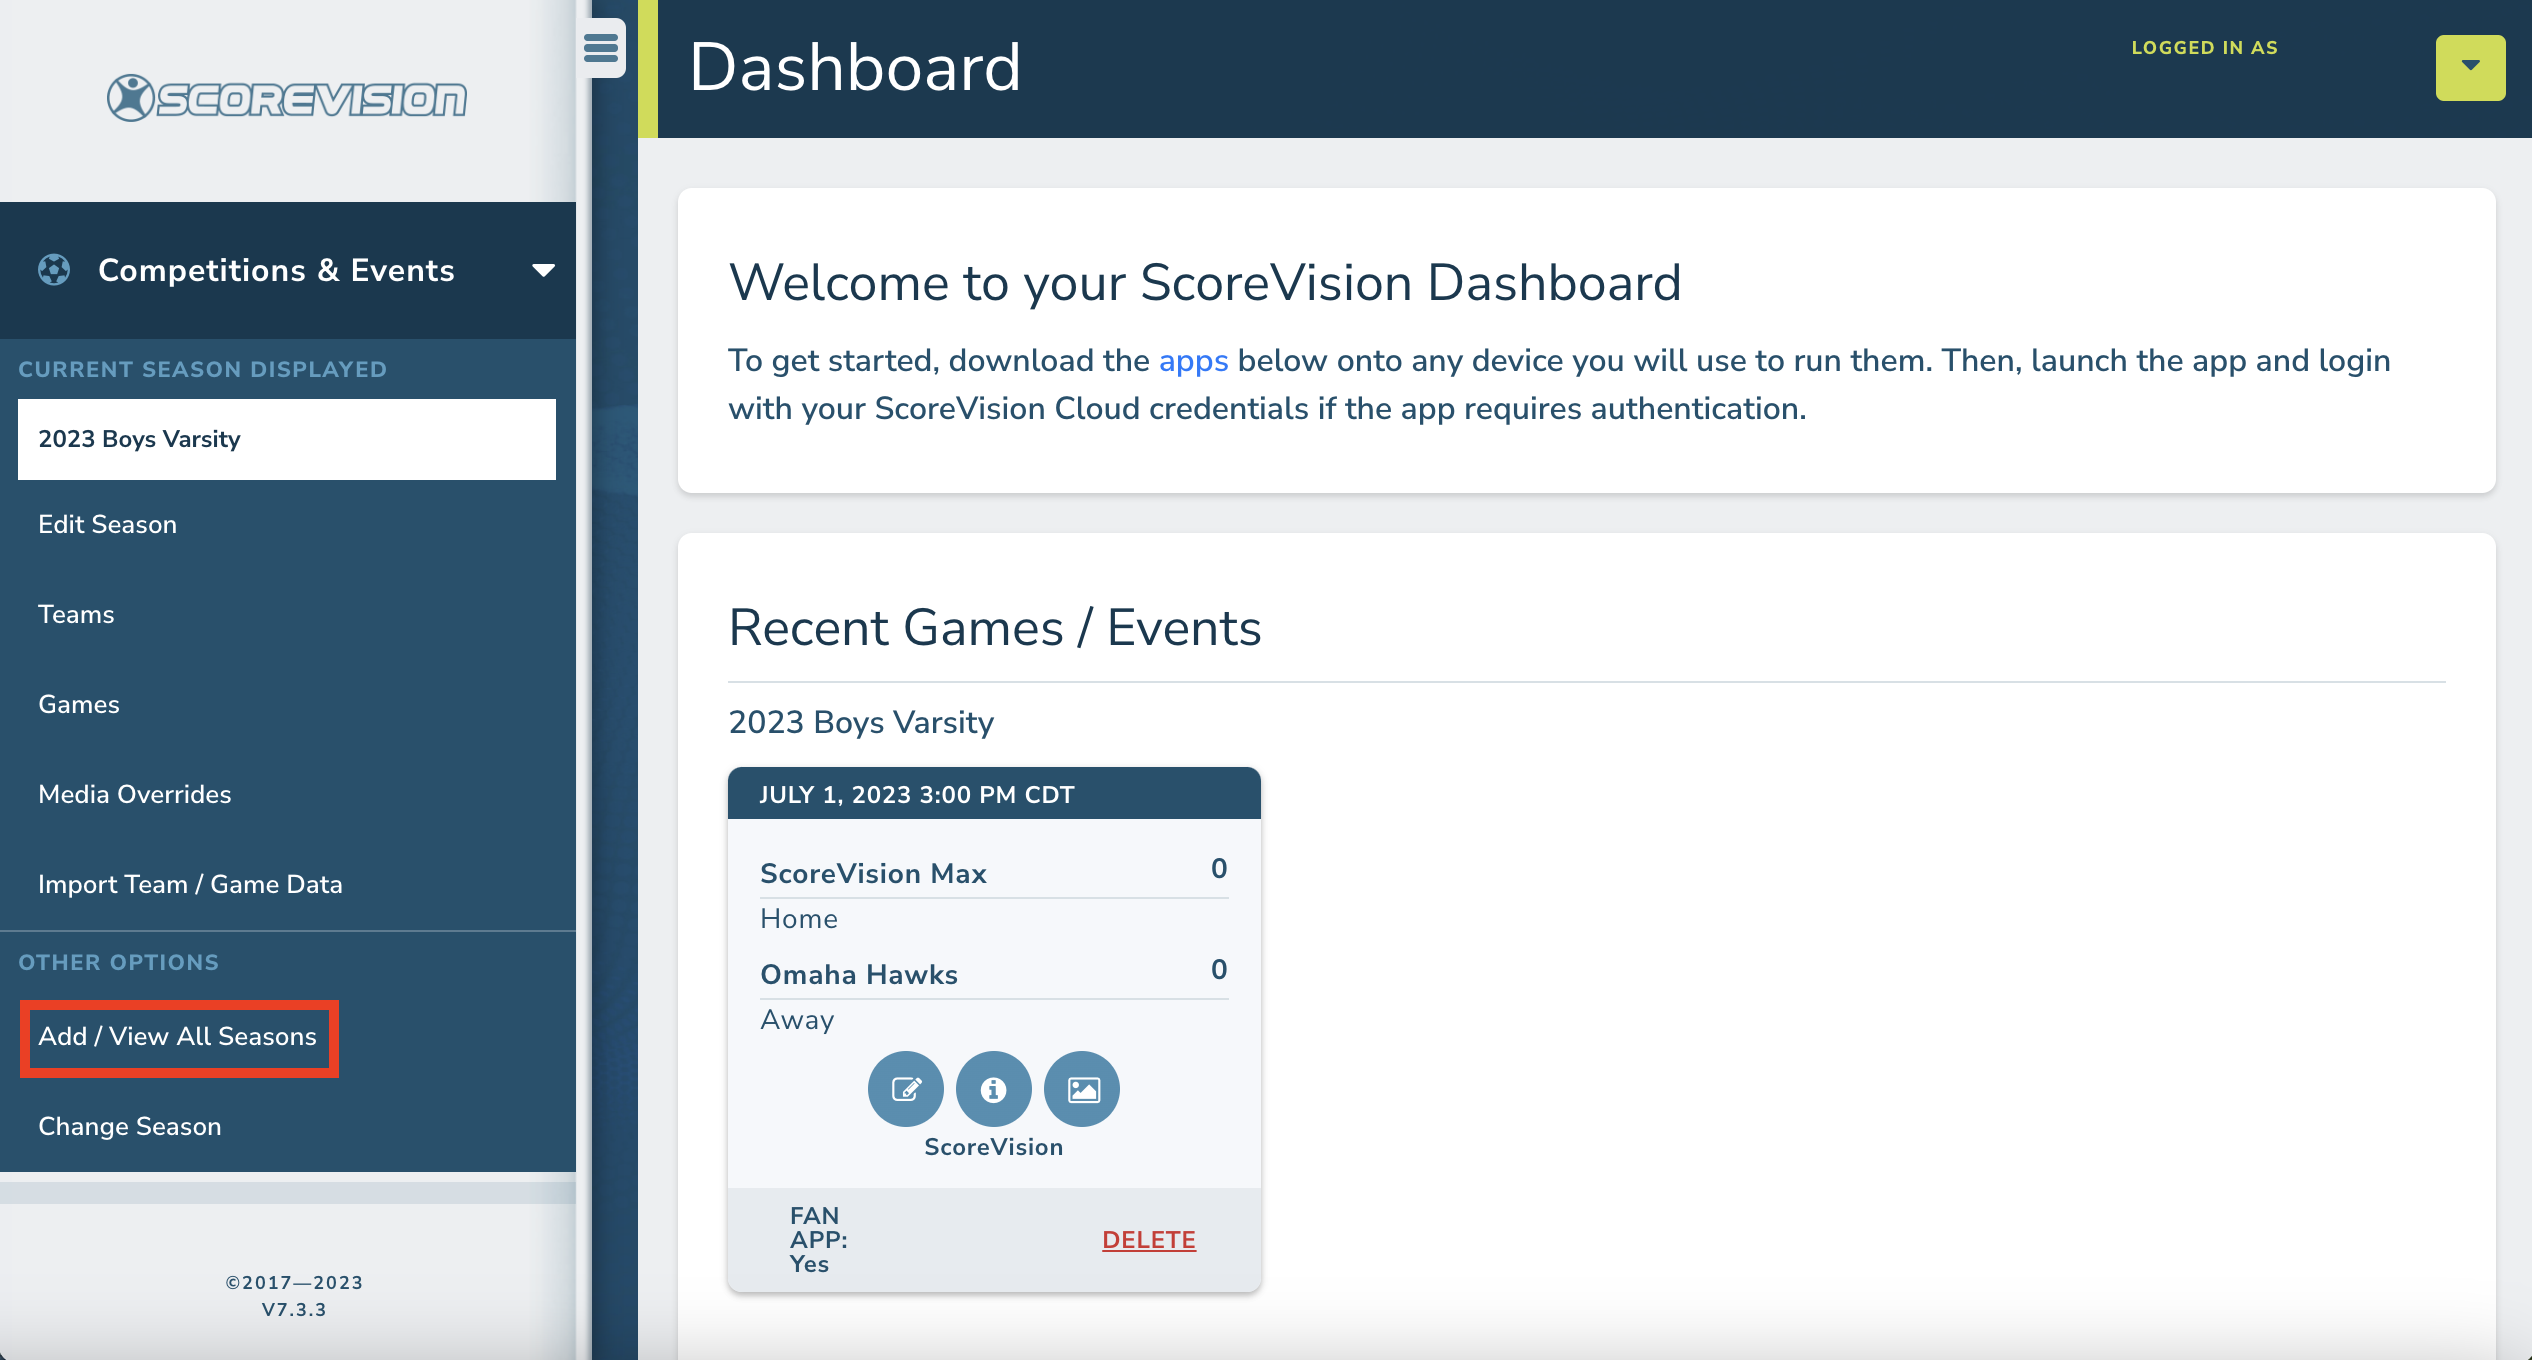
3. Click on the blue ADD NEW SEASON button. Then select the sport of your choice.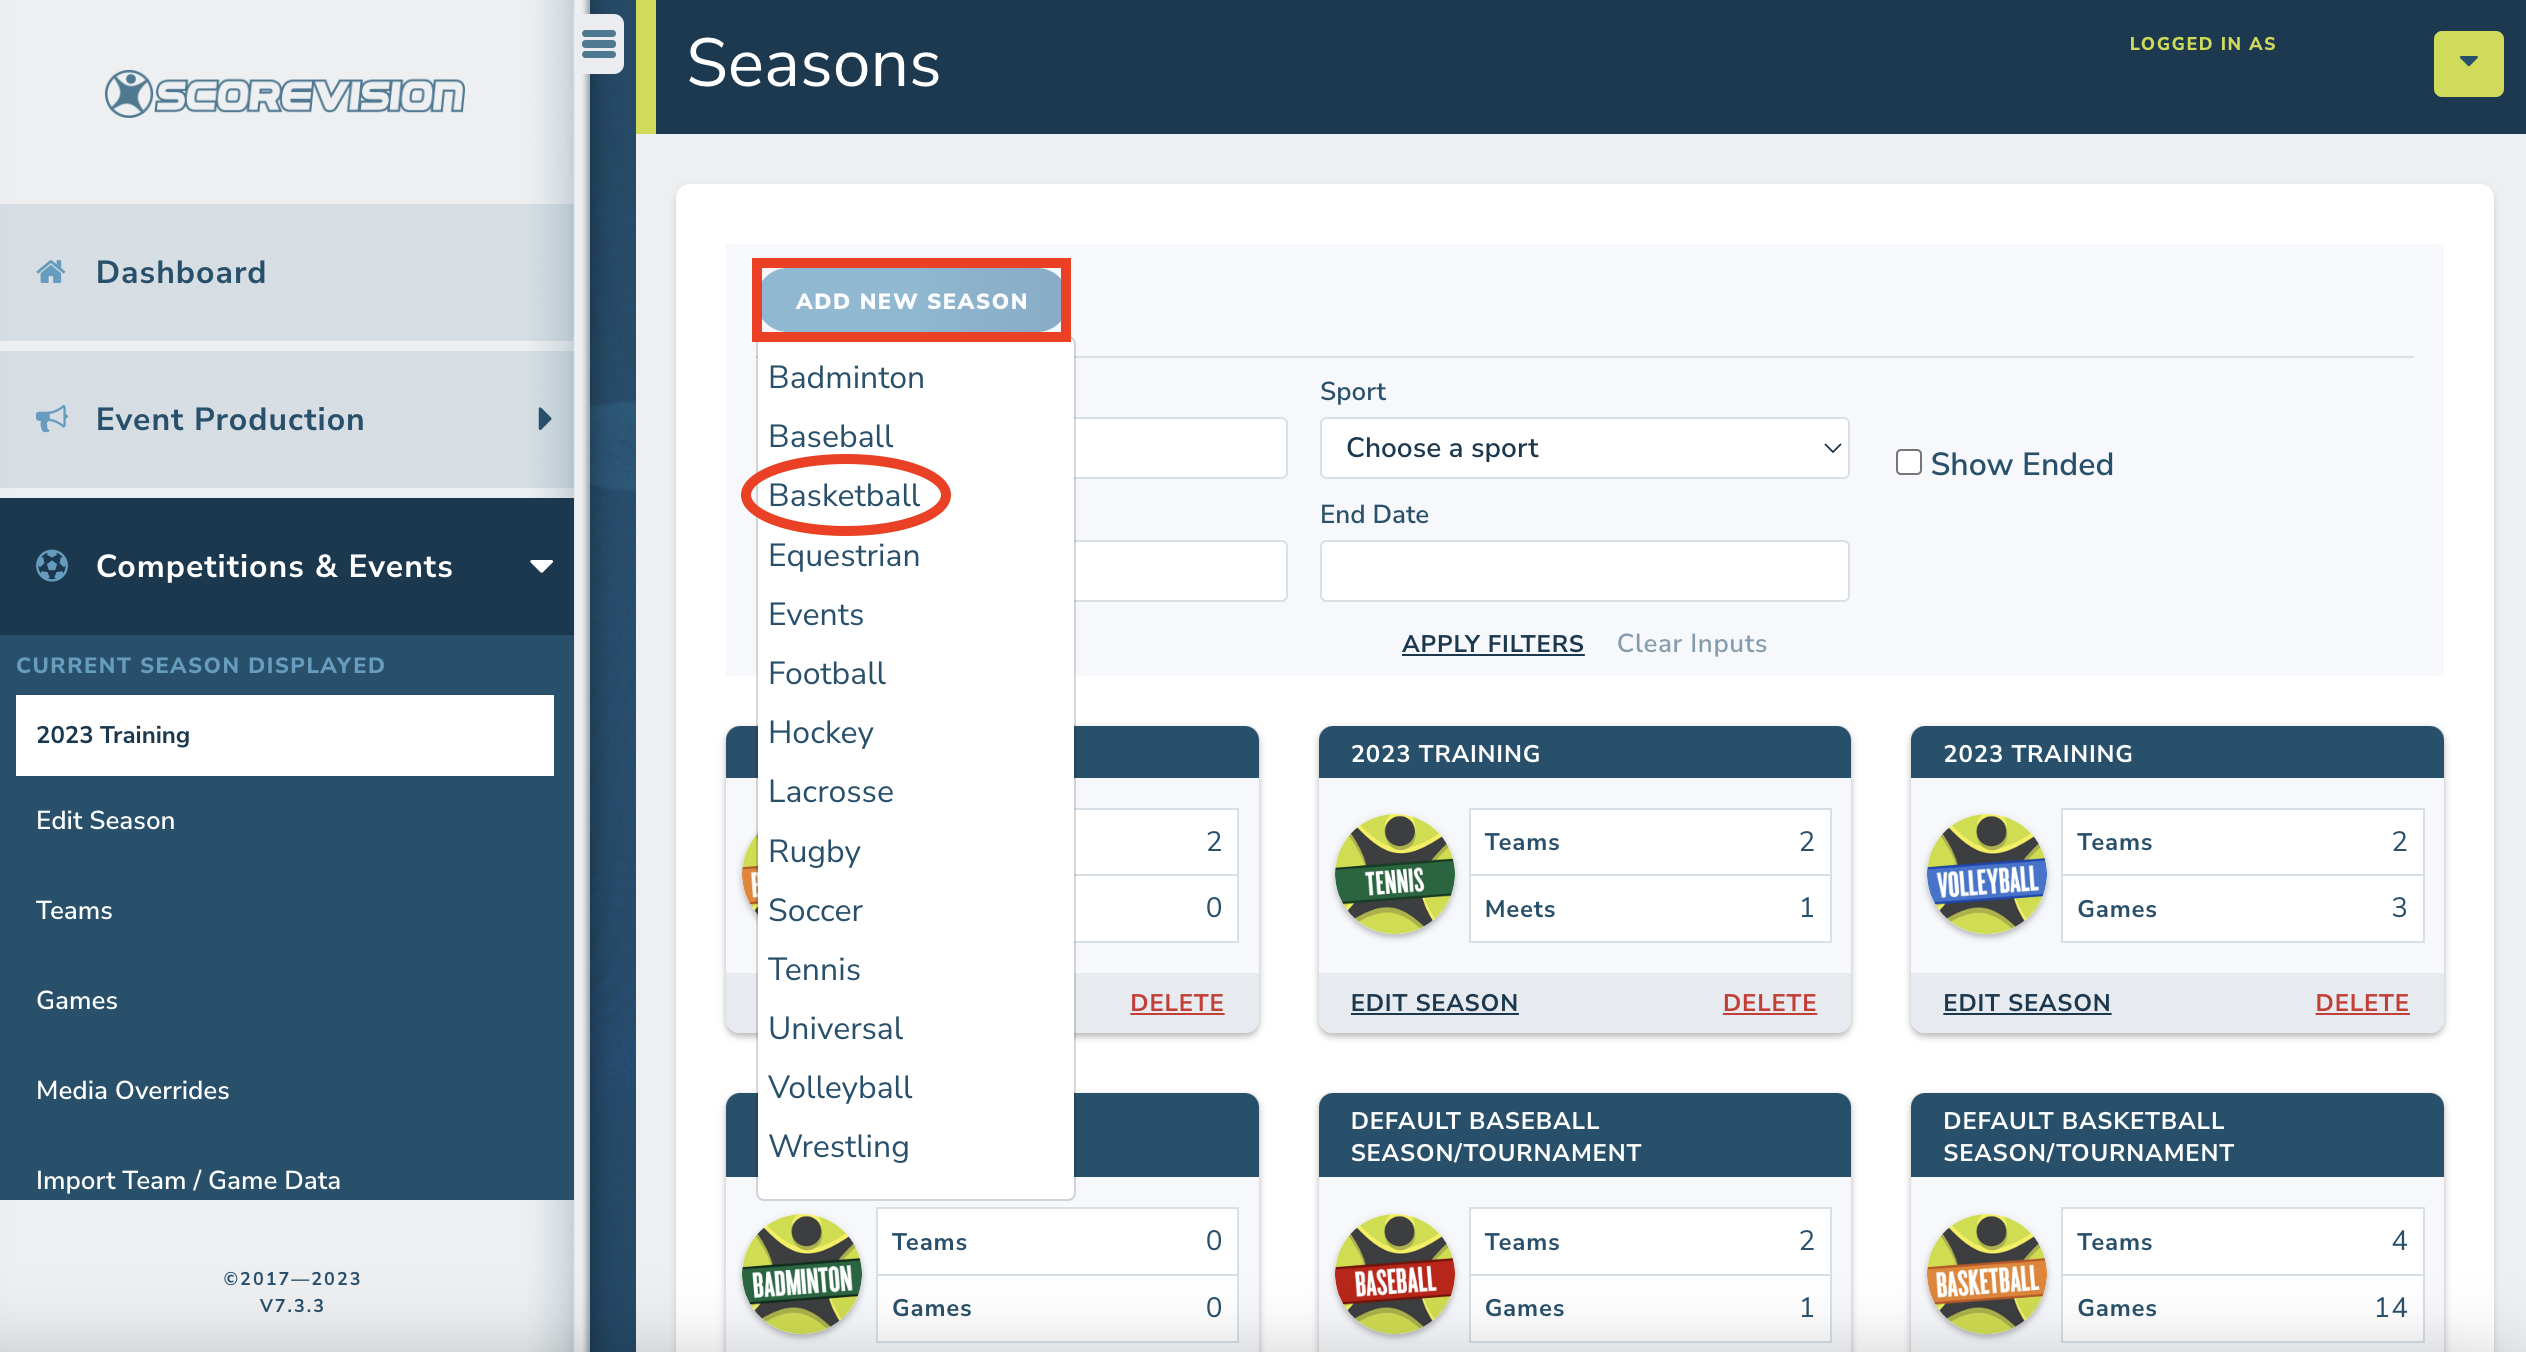
4. Type in a name for the season. We recommend starting your season name with the year so that it is easier to identify when archived in the cloud at the end of the season. For example, 2023 Varsity Boys would be a recommended season name. When selecting an end date, it is best to overshoot your expected end date to account for playoffs or post-season play that may occur. 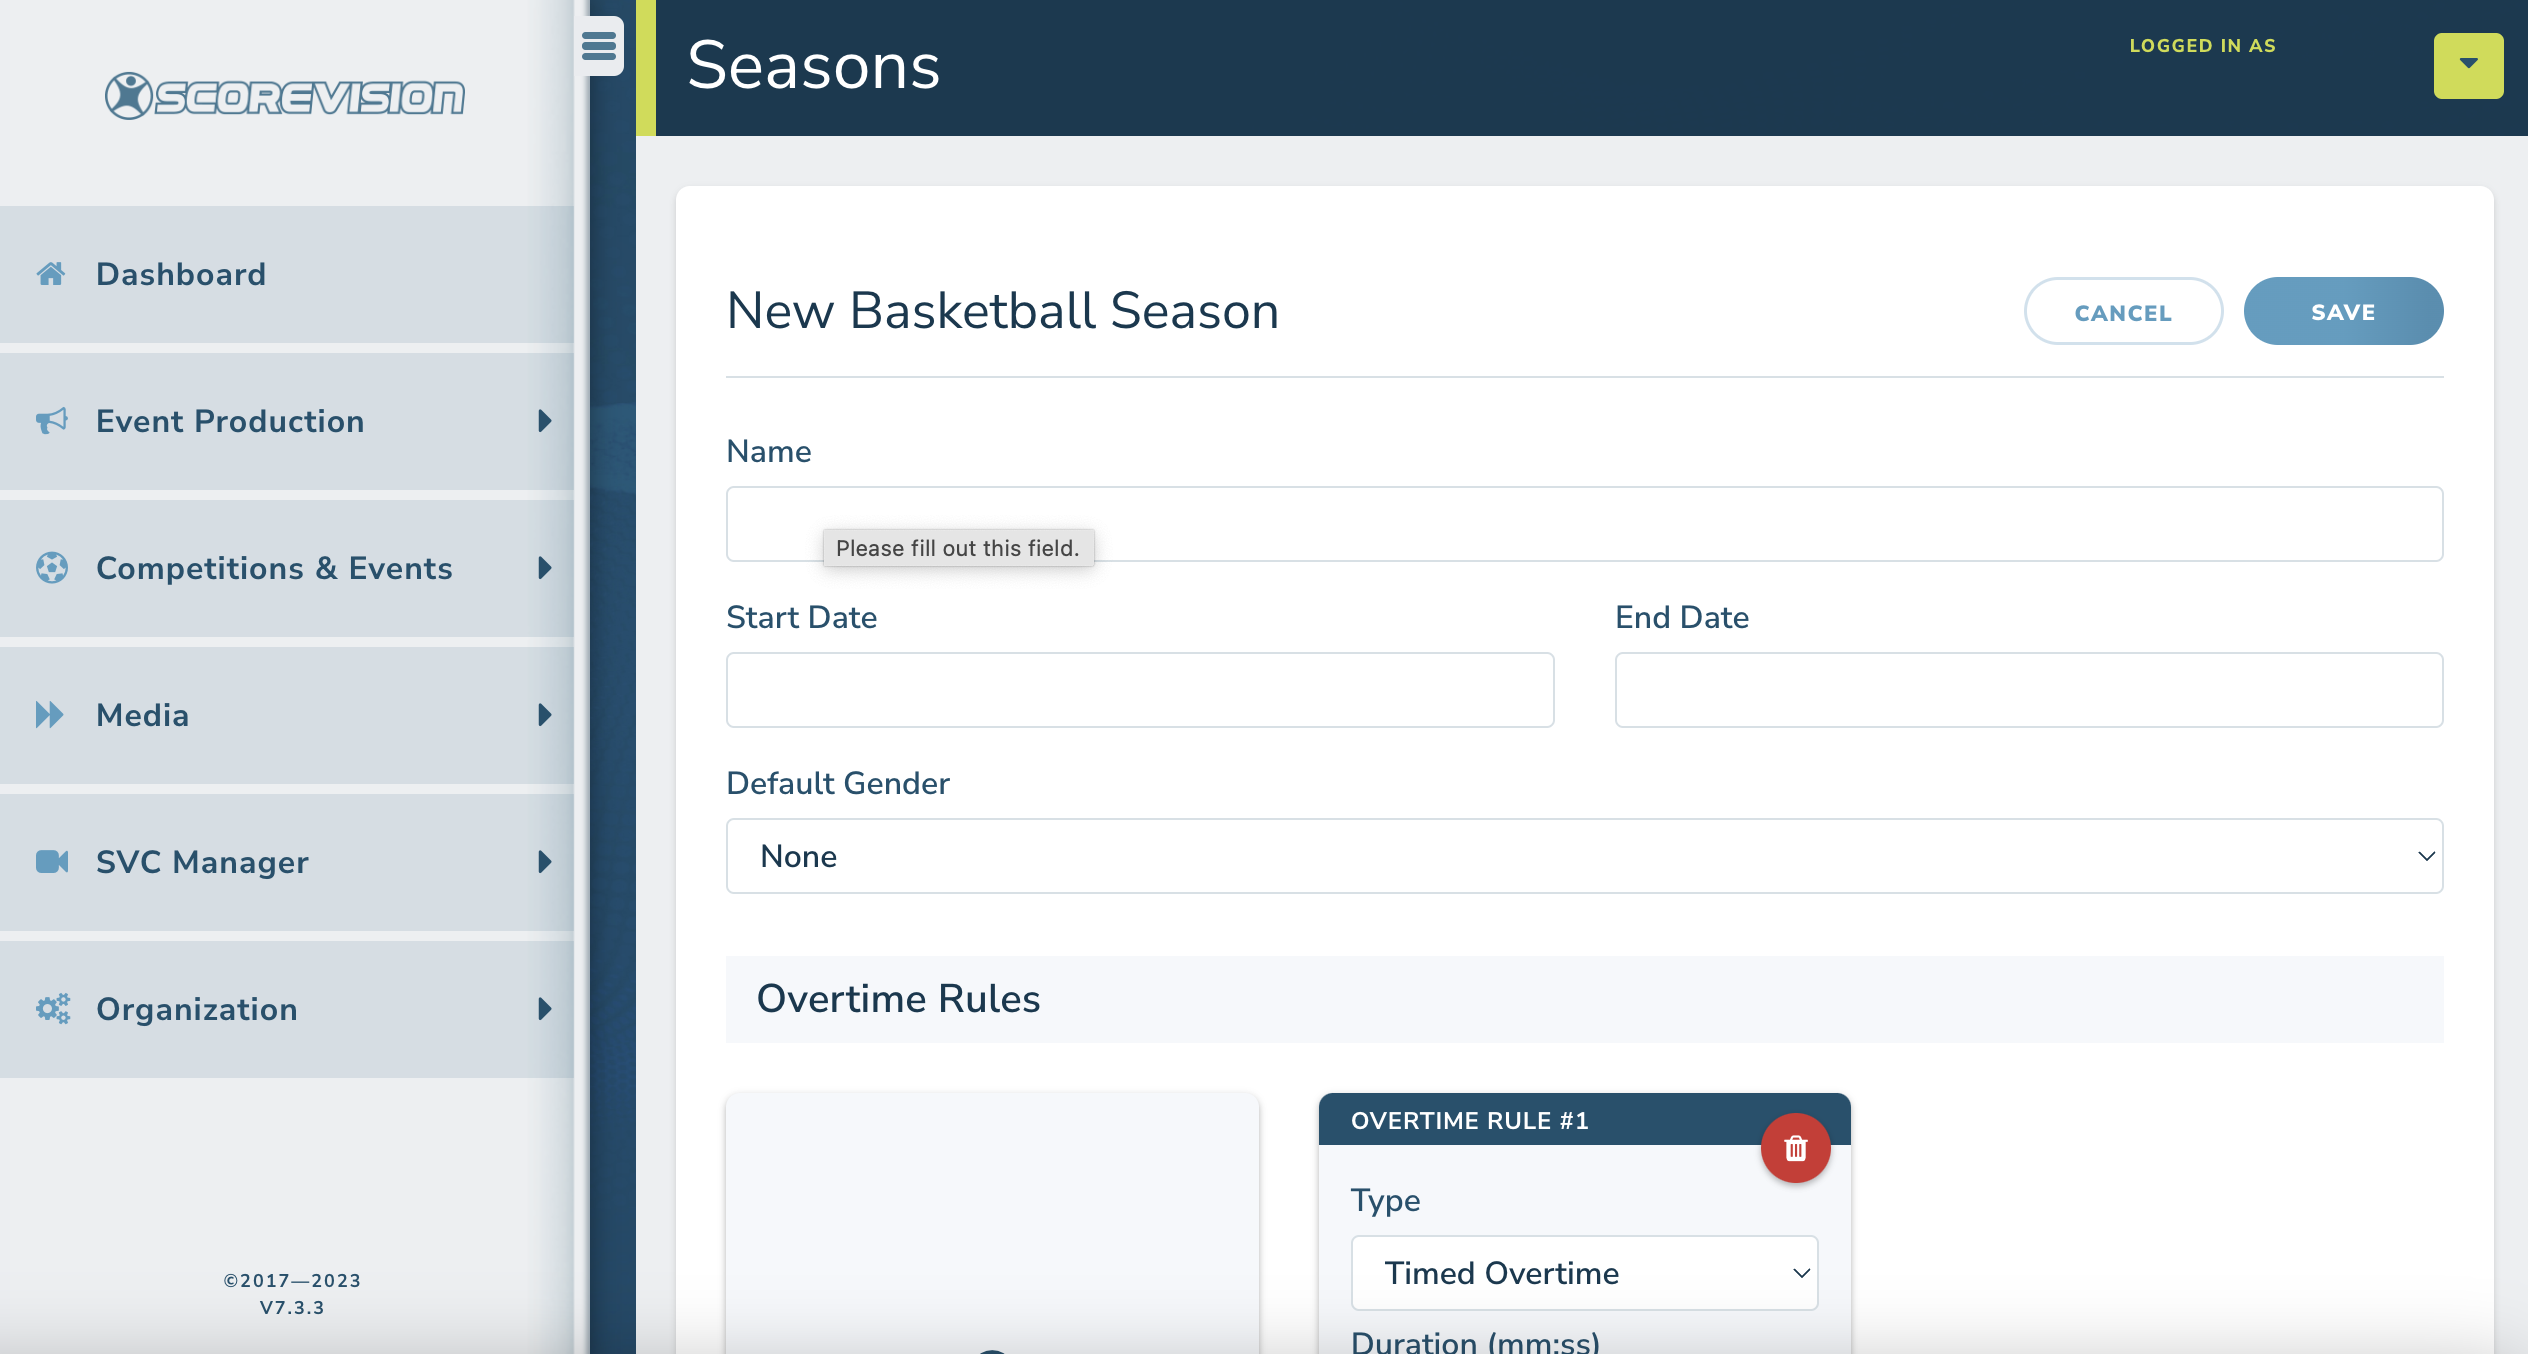
5. Next set the Overtime Rules for this season. Click on ADD OVERTIME RULE. Choose the type and duration. Decide if your overtime rule will repeat or not. You can add a second overtime rule if desired. For example, you might set a 3:00 timed overtime but select no repeating so that the second overtime rule of sudden death is applied next. 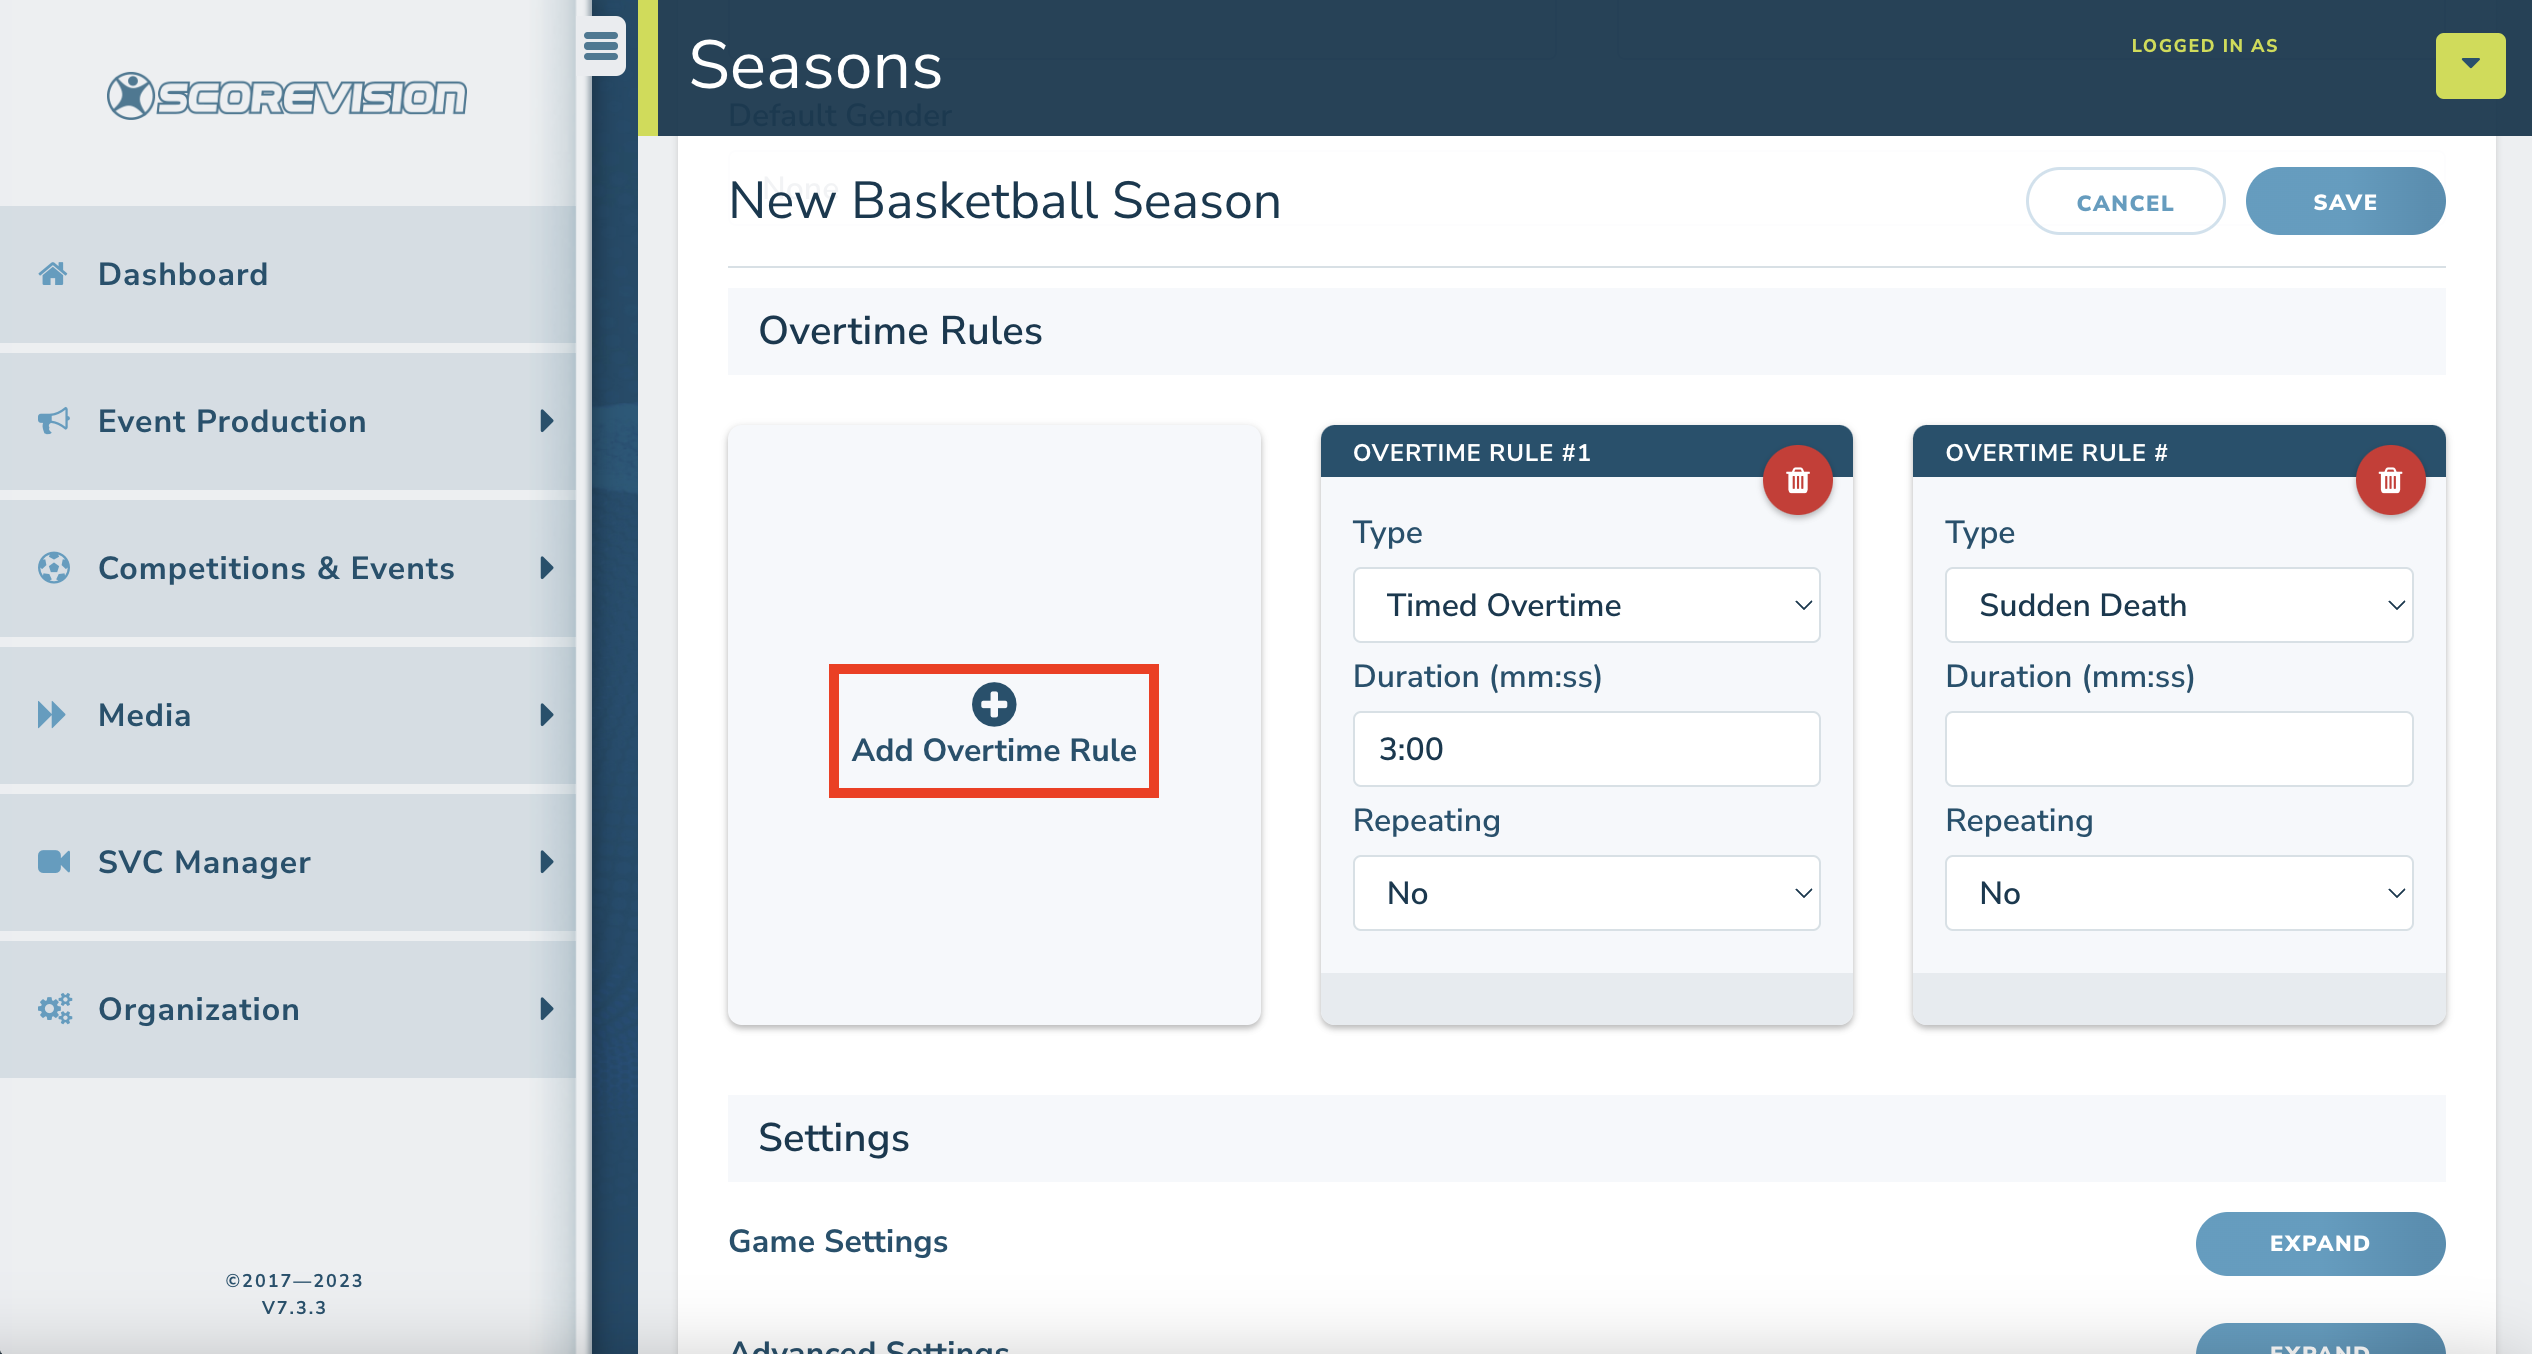
6. Below the overtime rules are three sections of settings:
- Game Settings
- Advanced Settings
- Communication Settings
Press on the blue EXPAND buttons to verify and edit details within each category.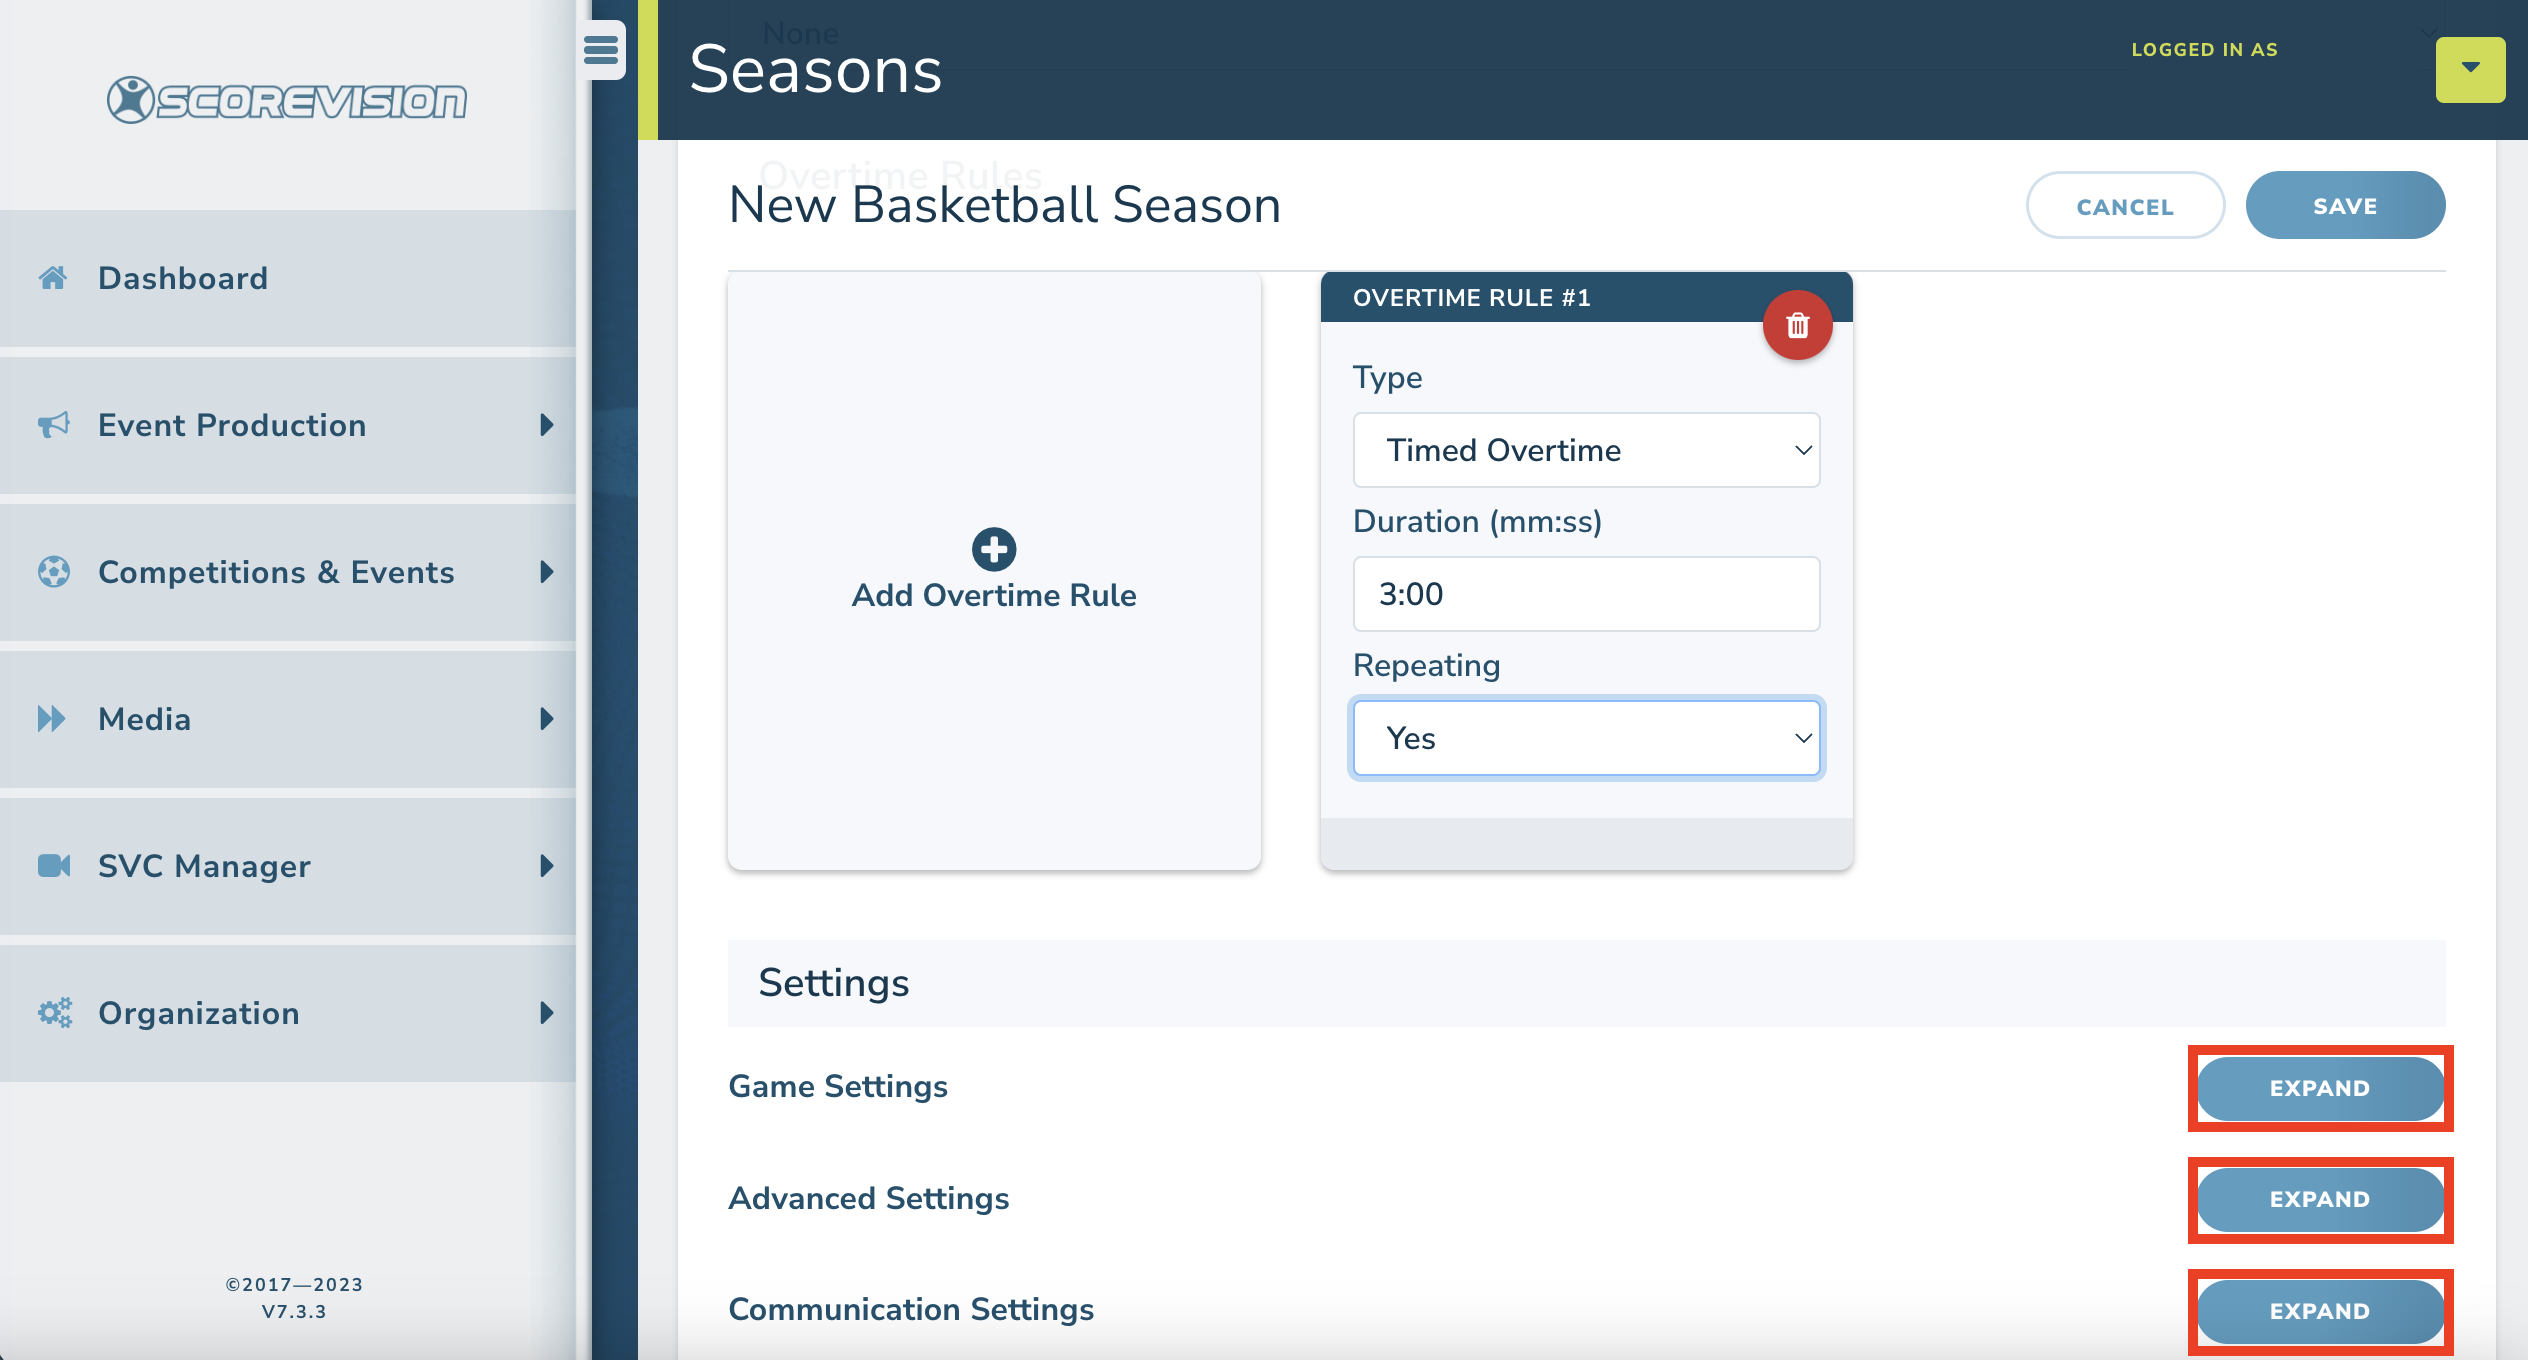
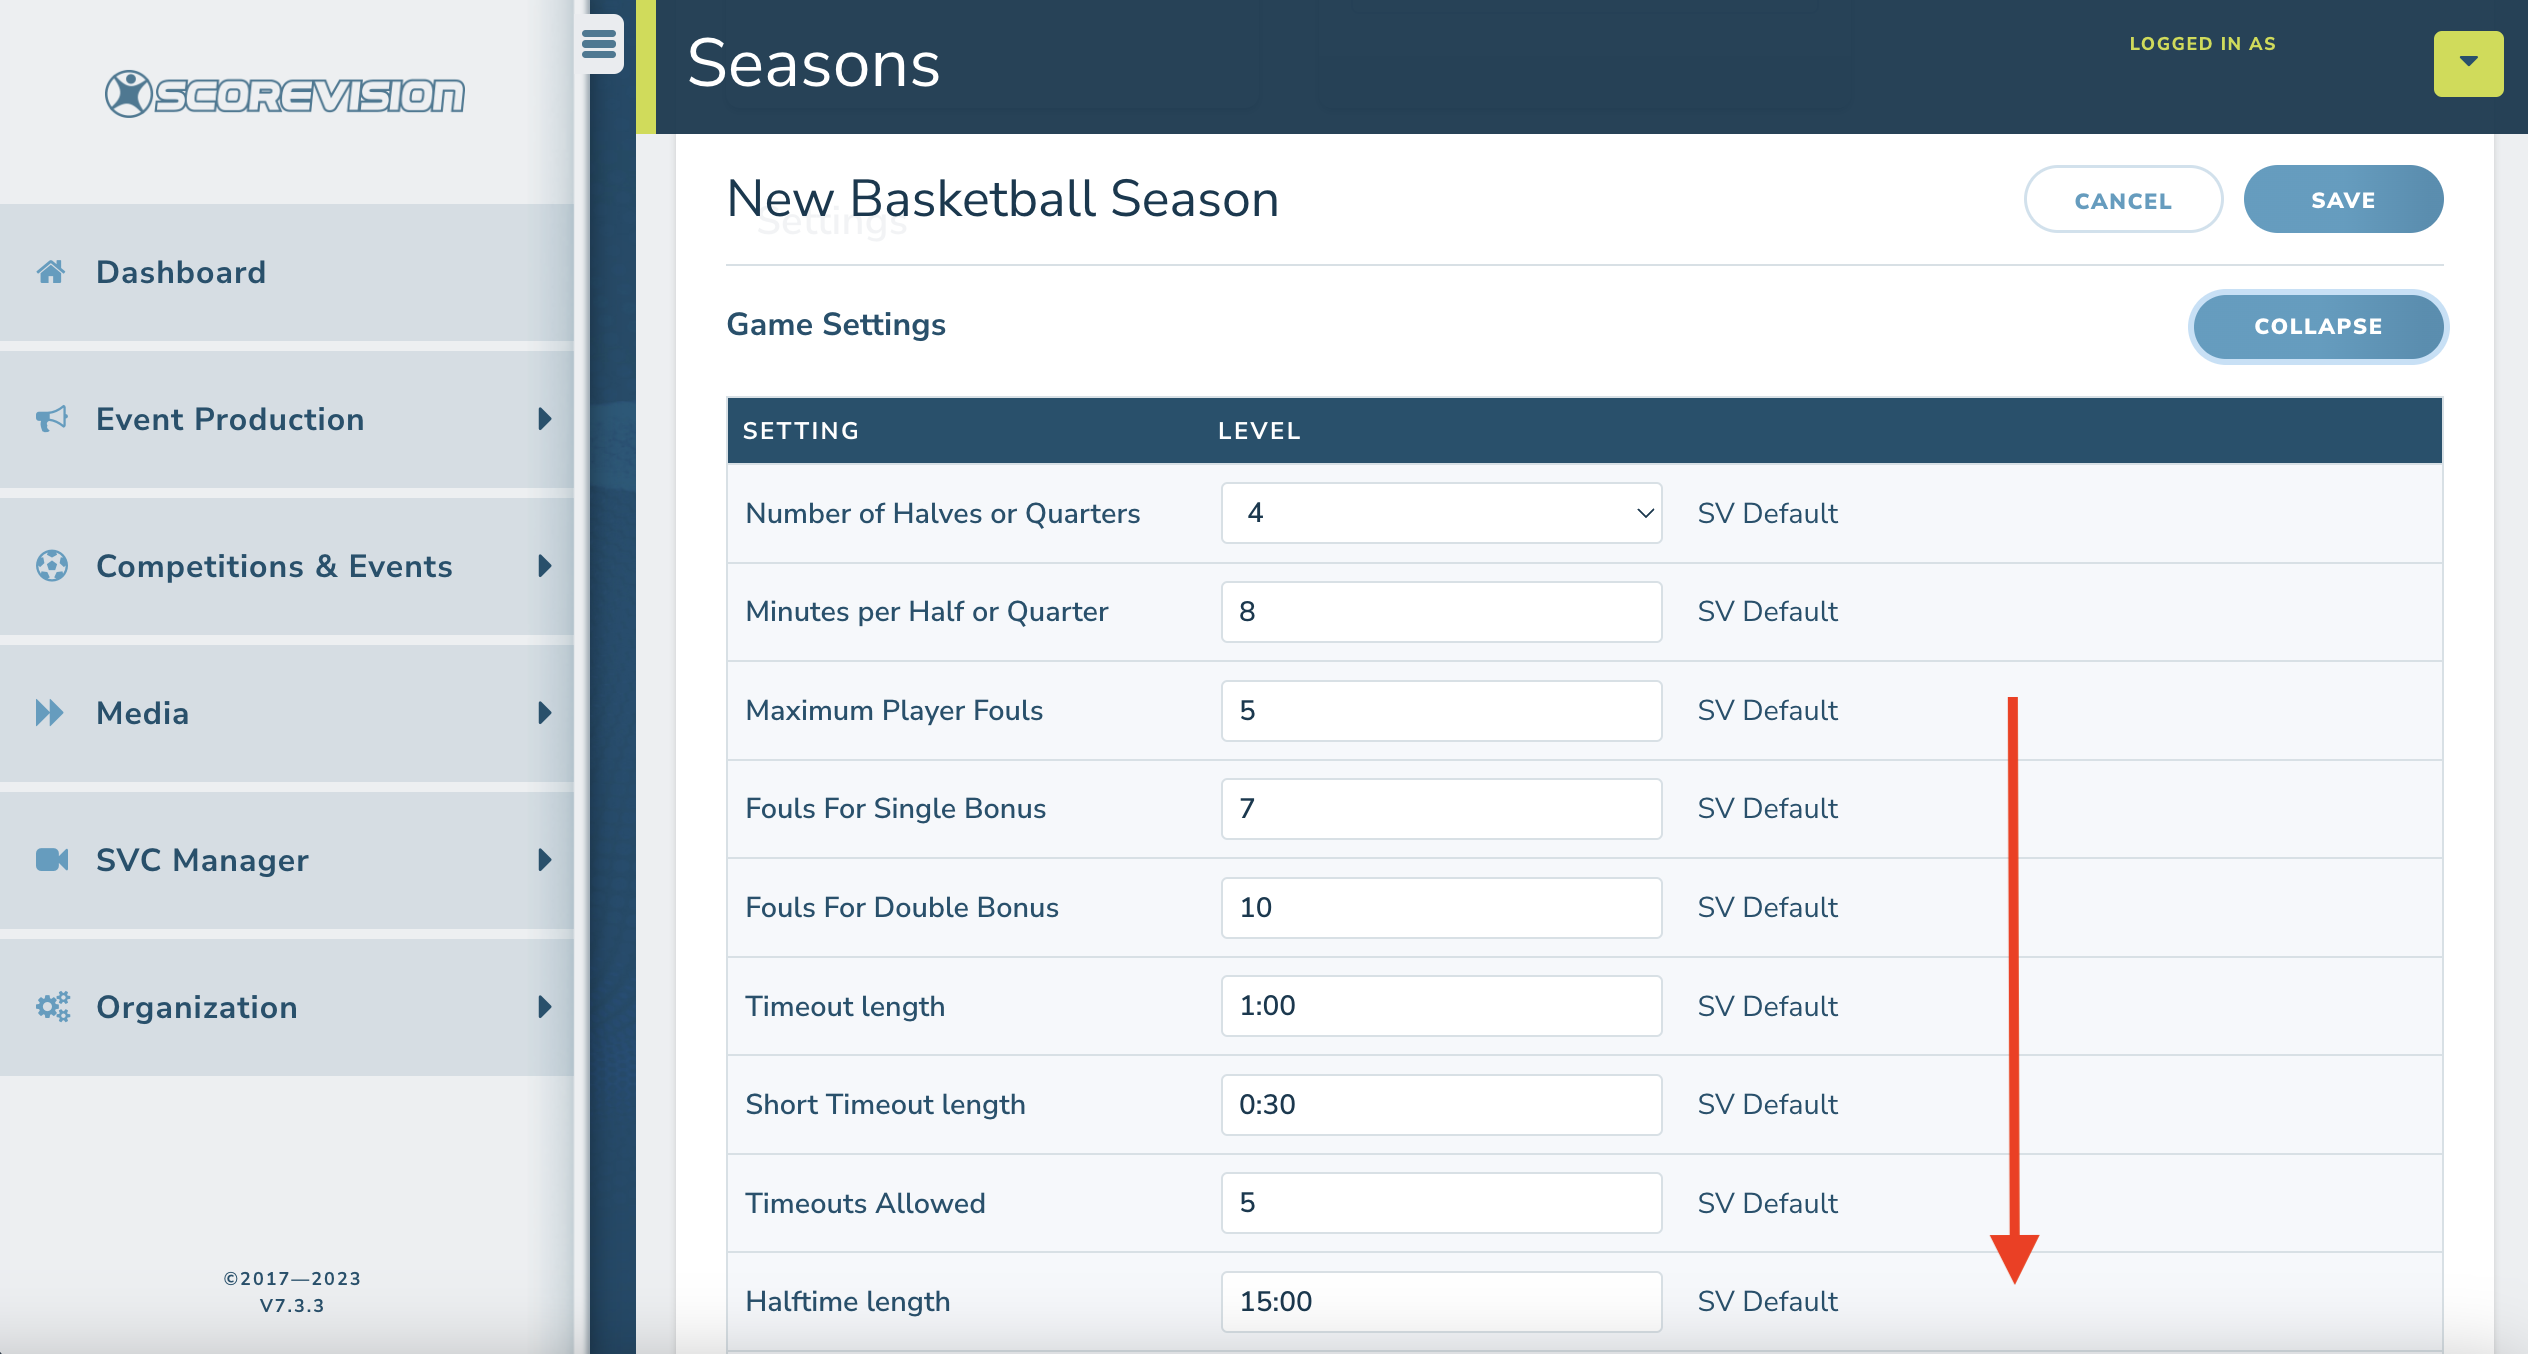
7. In the Game Settings section, you will simply edit the information to match the rules you need for your season in this sport. NOTE: Each level will need a season (a season for varsity boys, one for varsity girls, another for JV boys, etc.) so that the specific rules for that level of play can be applied.
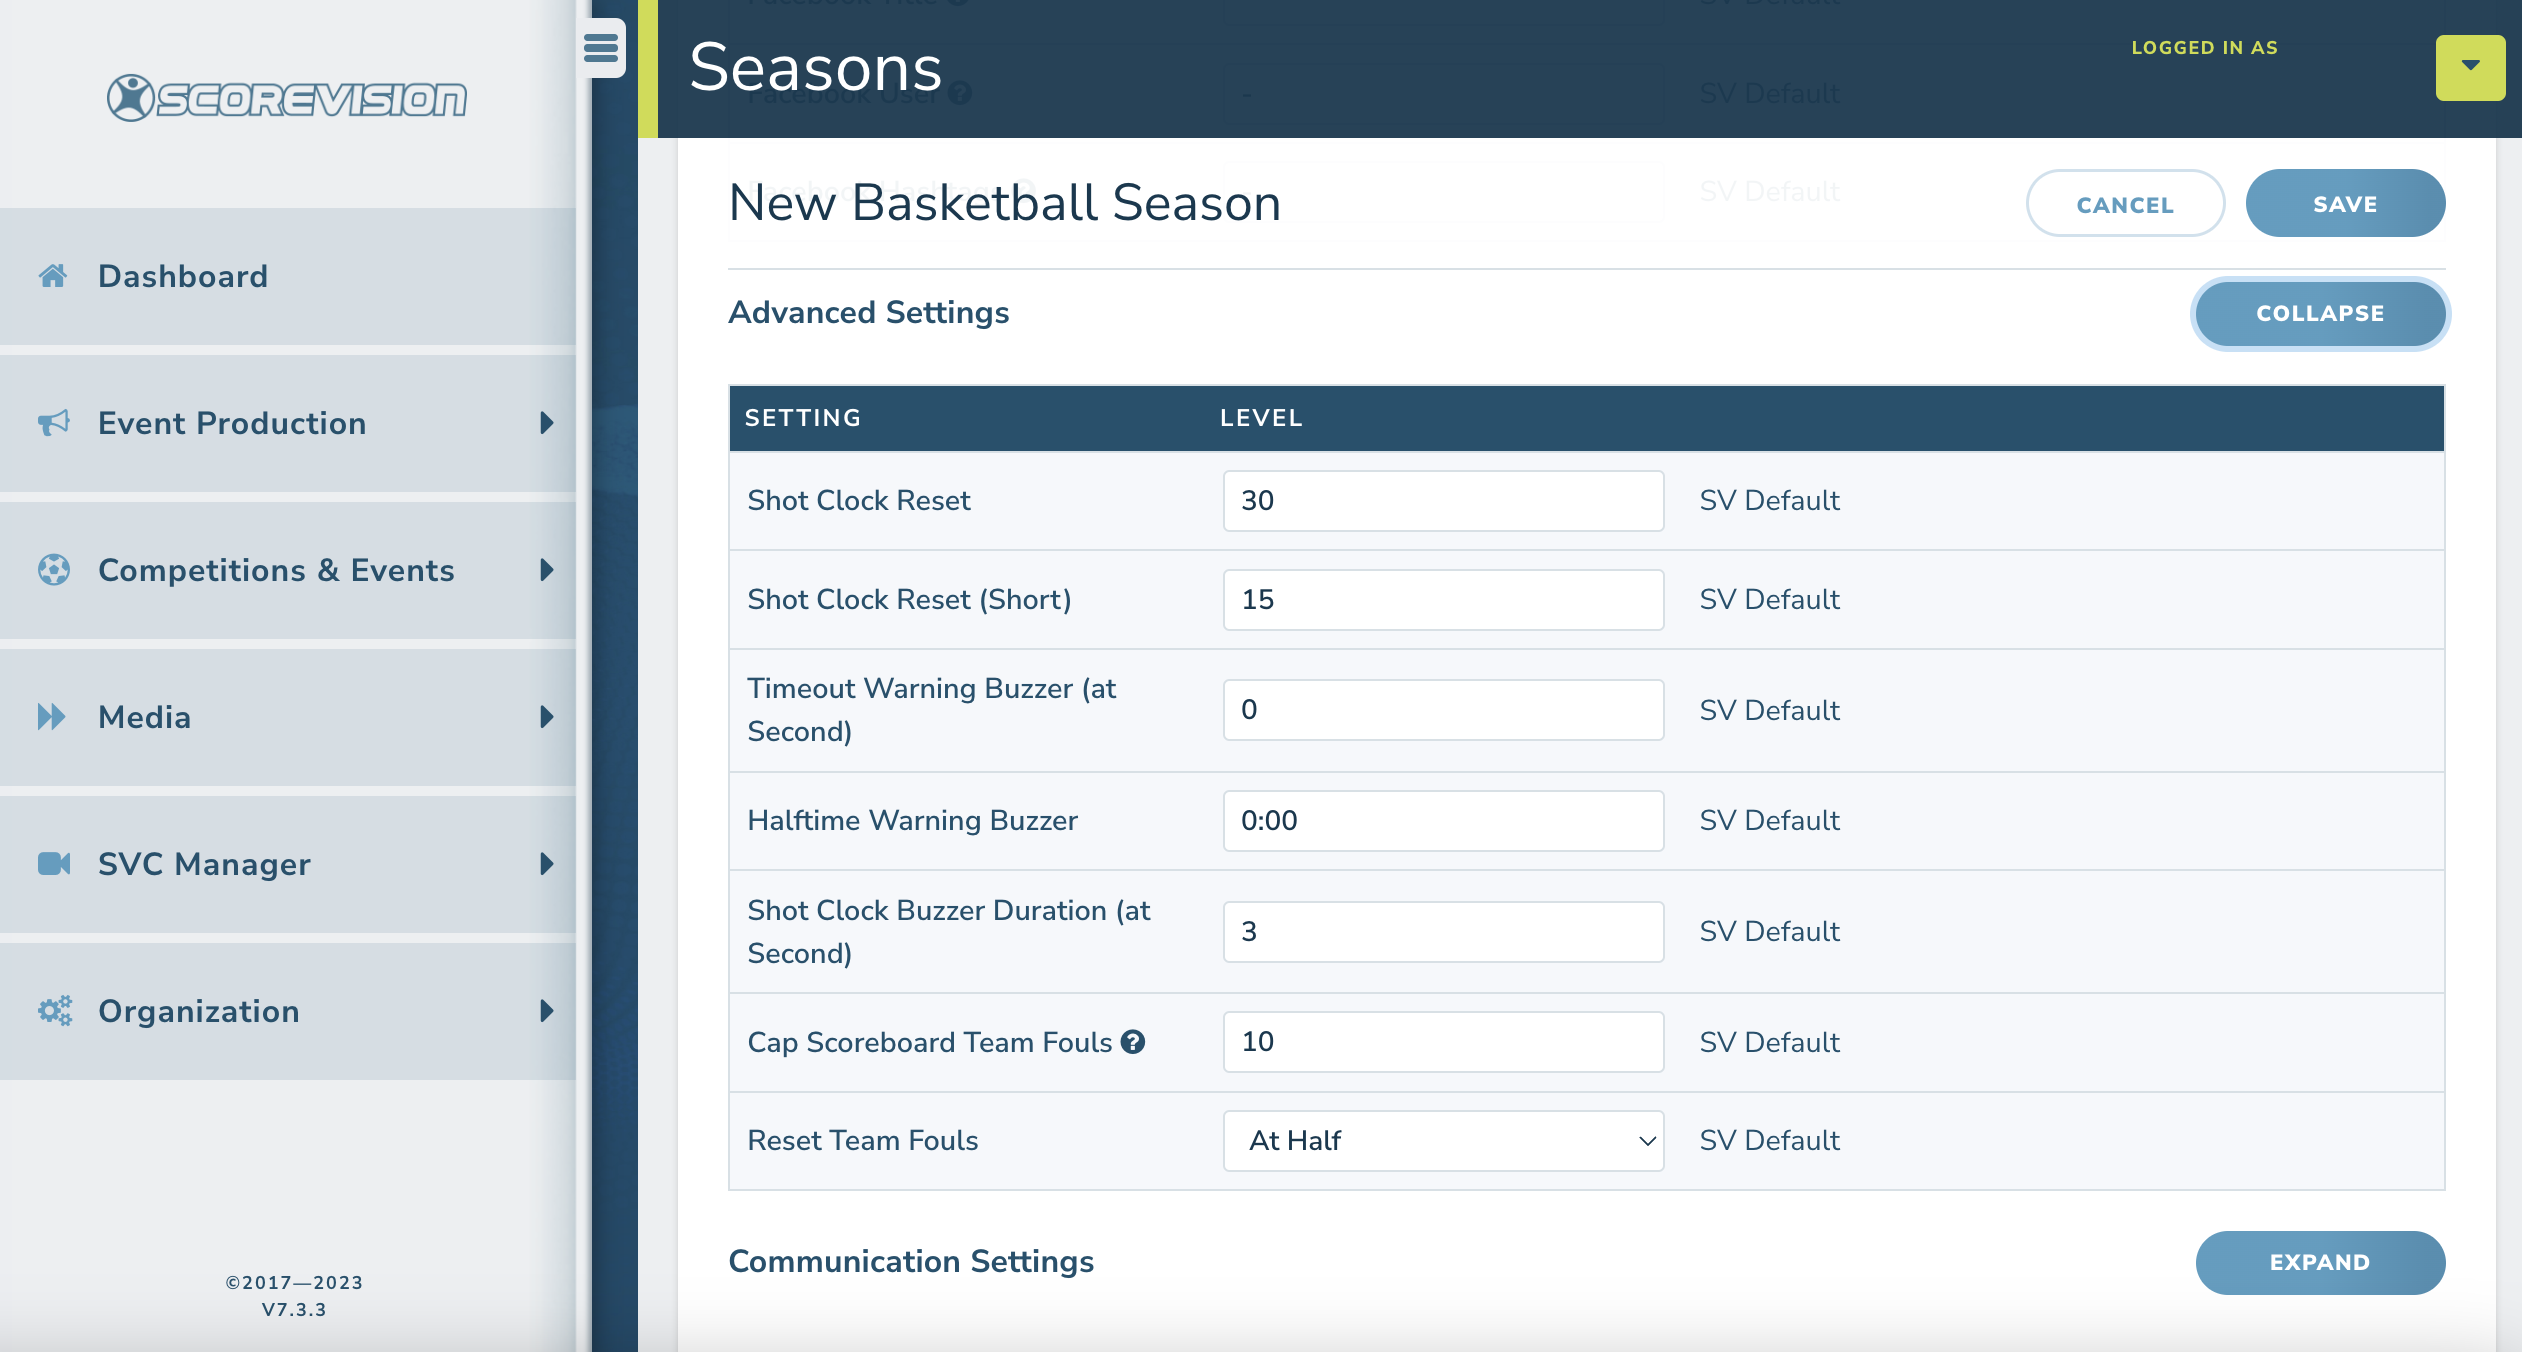
8. In Advanced Settings, verify details about shot clocks, buzzers, team fouls, etc. as they apply to your level and sport.
9. In Communication Settings, most of the information listed is addressed during installation of your system. Verify that you have checked the Fan App Visible if you want data from this season pushed out to the Fan App or unchecked if you do not. When you have finished editing settings for your season, click on the blue SAVE button in the upper right corner.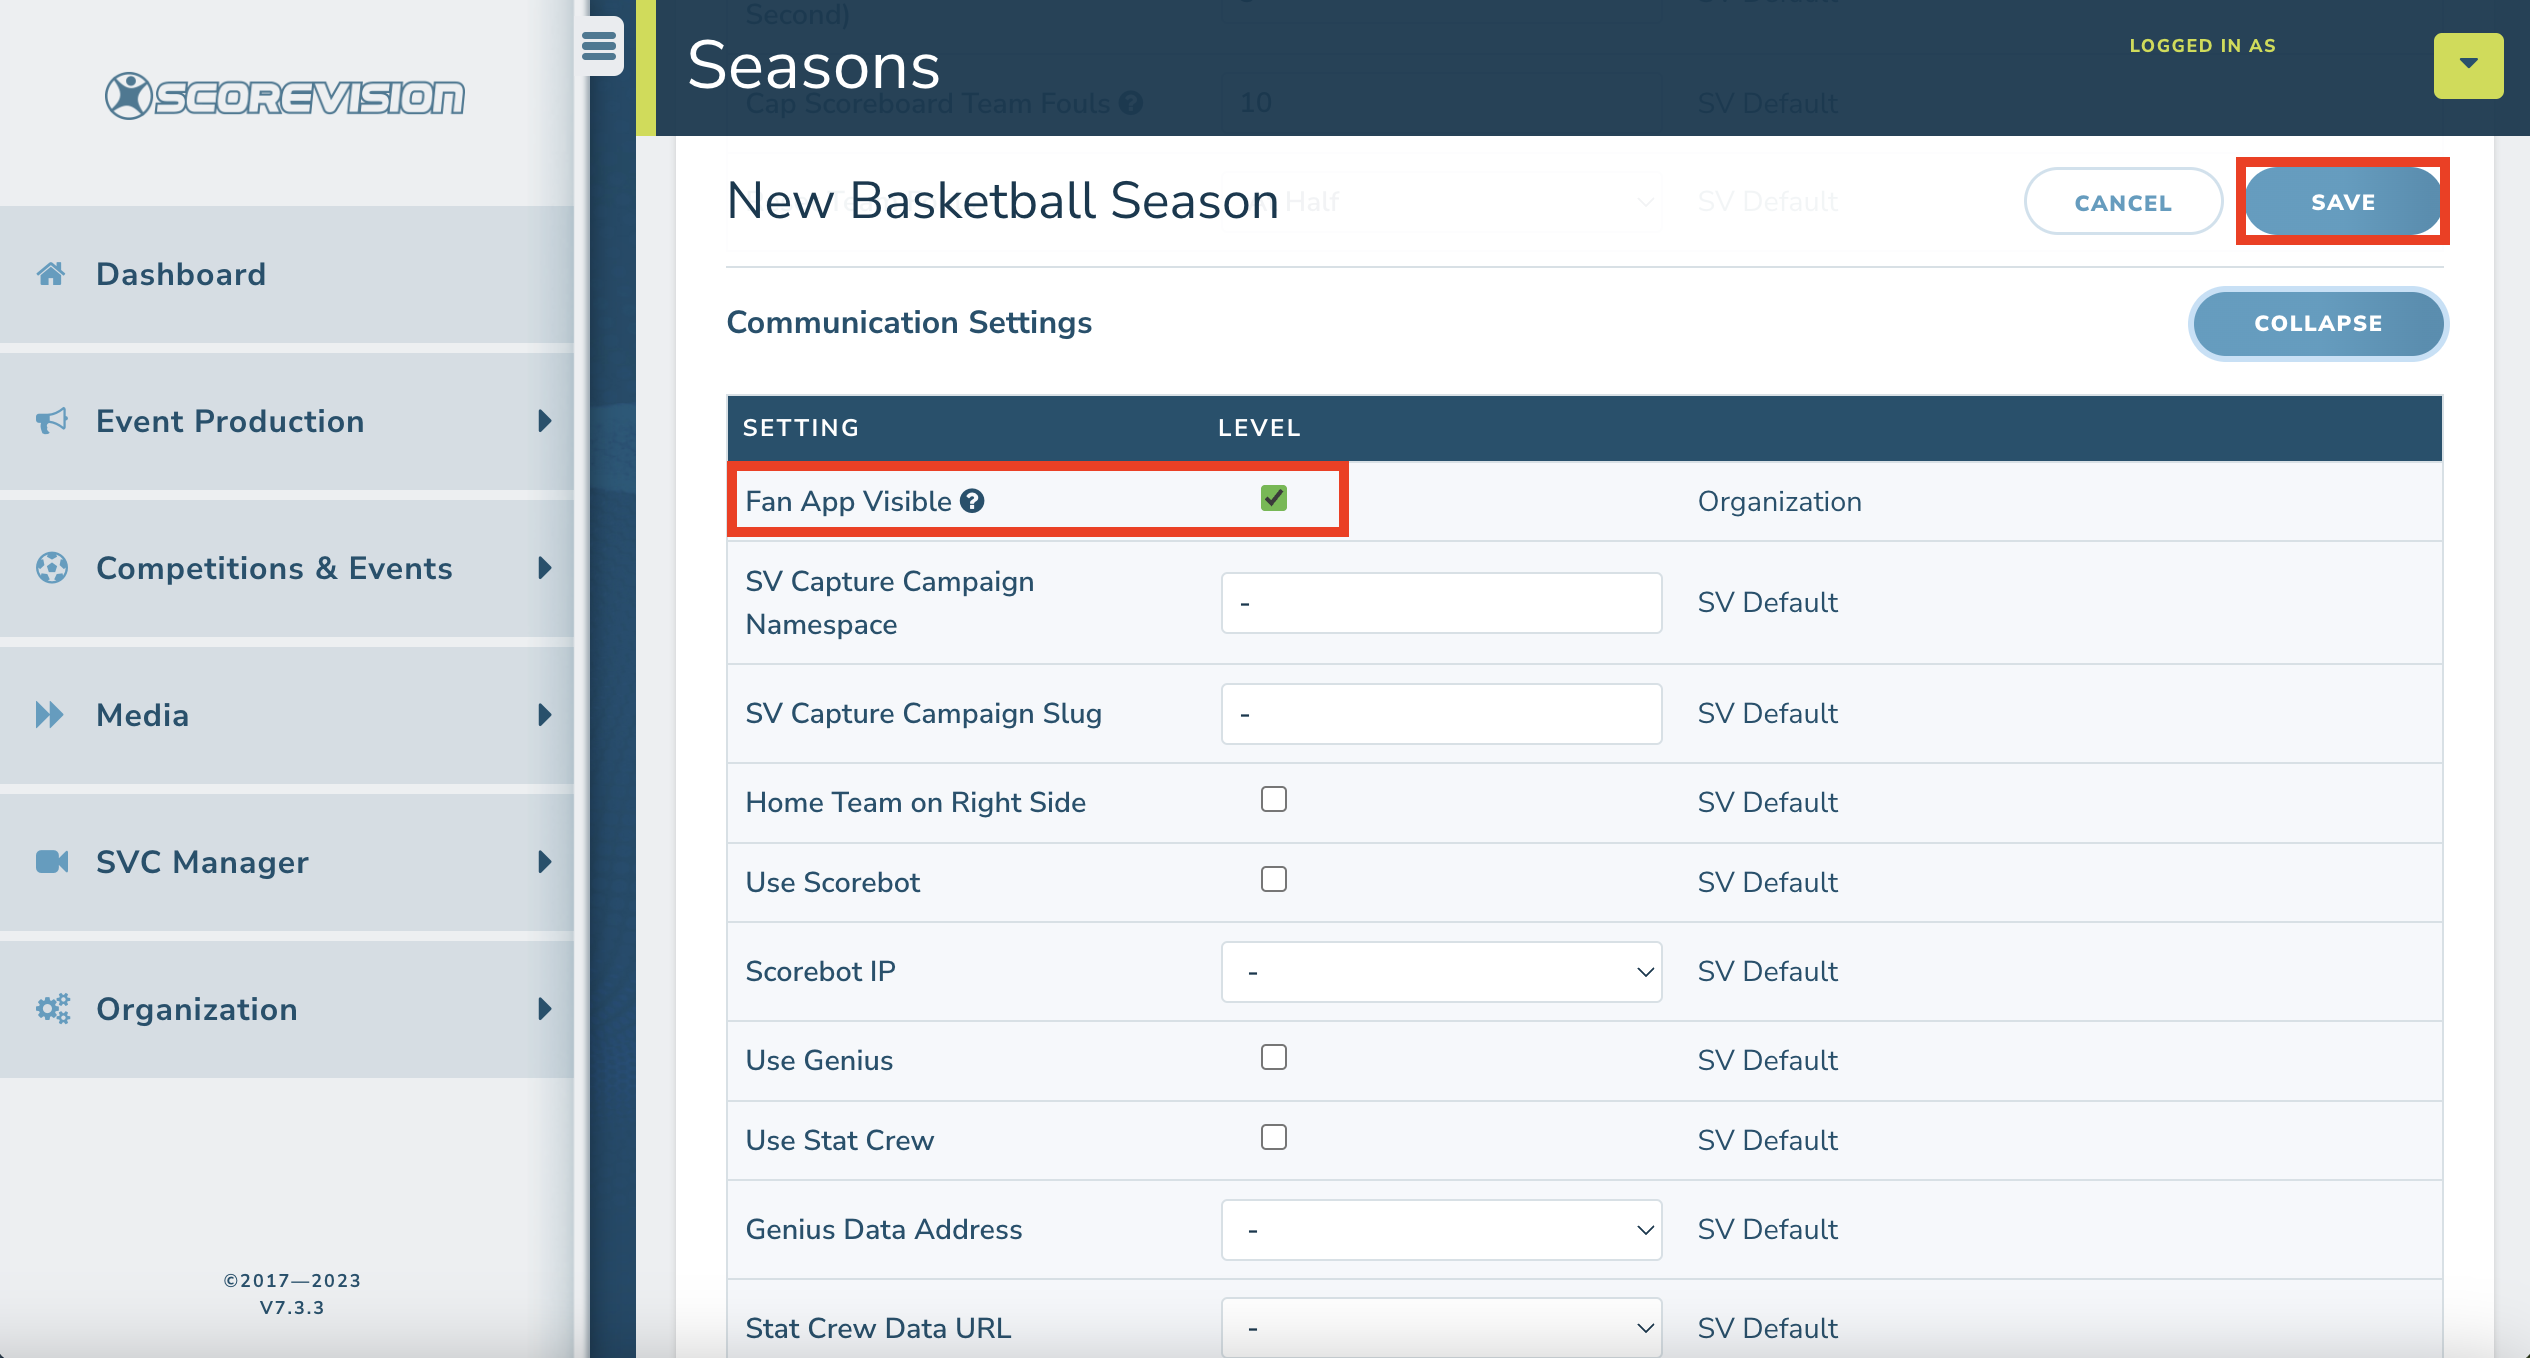
10. Once your season is saved, you are taken to a screen to manage your roster. You can learn more about this topics in our other videos and articles. If you need to adjust any of the settings after you have saved, click on ADD/VIEW ALL SEASONS from the control panel and then click on EDIT SEASON.
ScoreVision Support Contact Information
If you have any questions or need assistance, our support team is available to help.

