The Fan App allows fans to keep up with the games when they’re not in attendance by seeing live score updates, game information, and sponsor advertising. This guide explains the media specifications, as well as how to upload media for the Fan App.
Fan App Ad Specifications
The Fan App has two different locations for ads to appear. Both places for the ads rotate in a sequence that can be defined and customized through the ScoreVision Cloud. These ads are continuously rotated throughout the game.
Fan App News Feed Ad
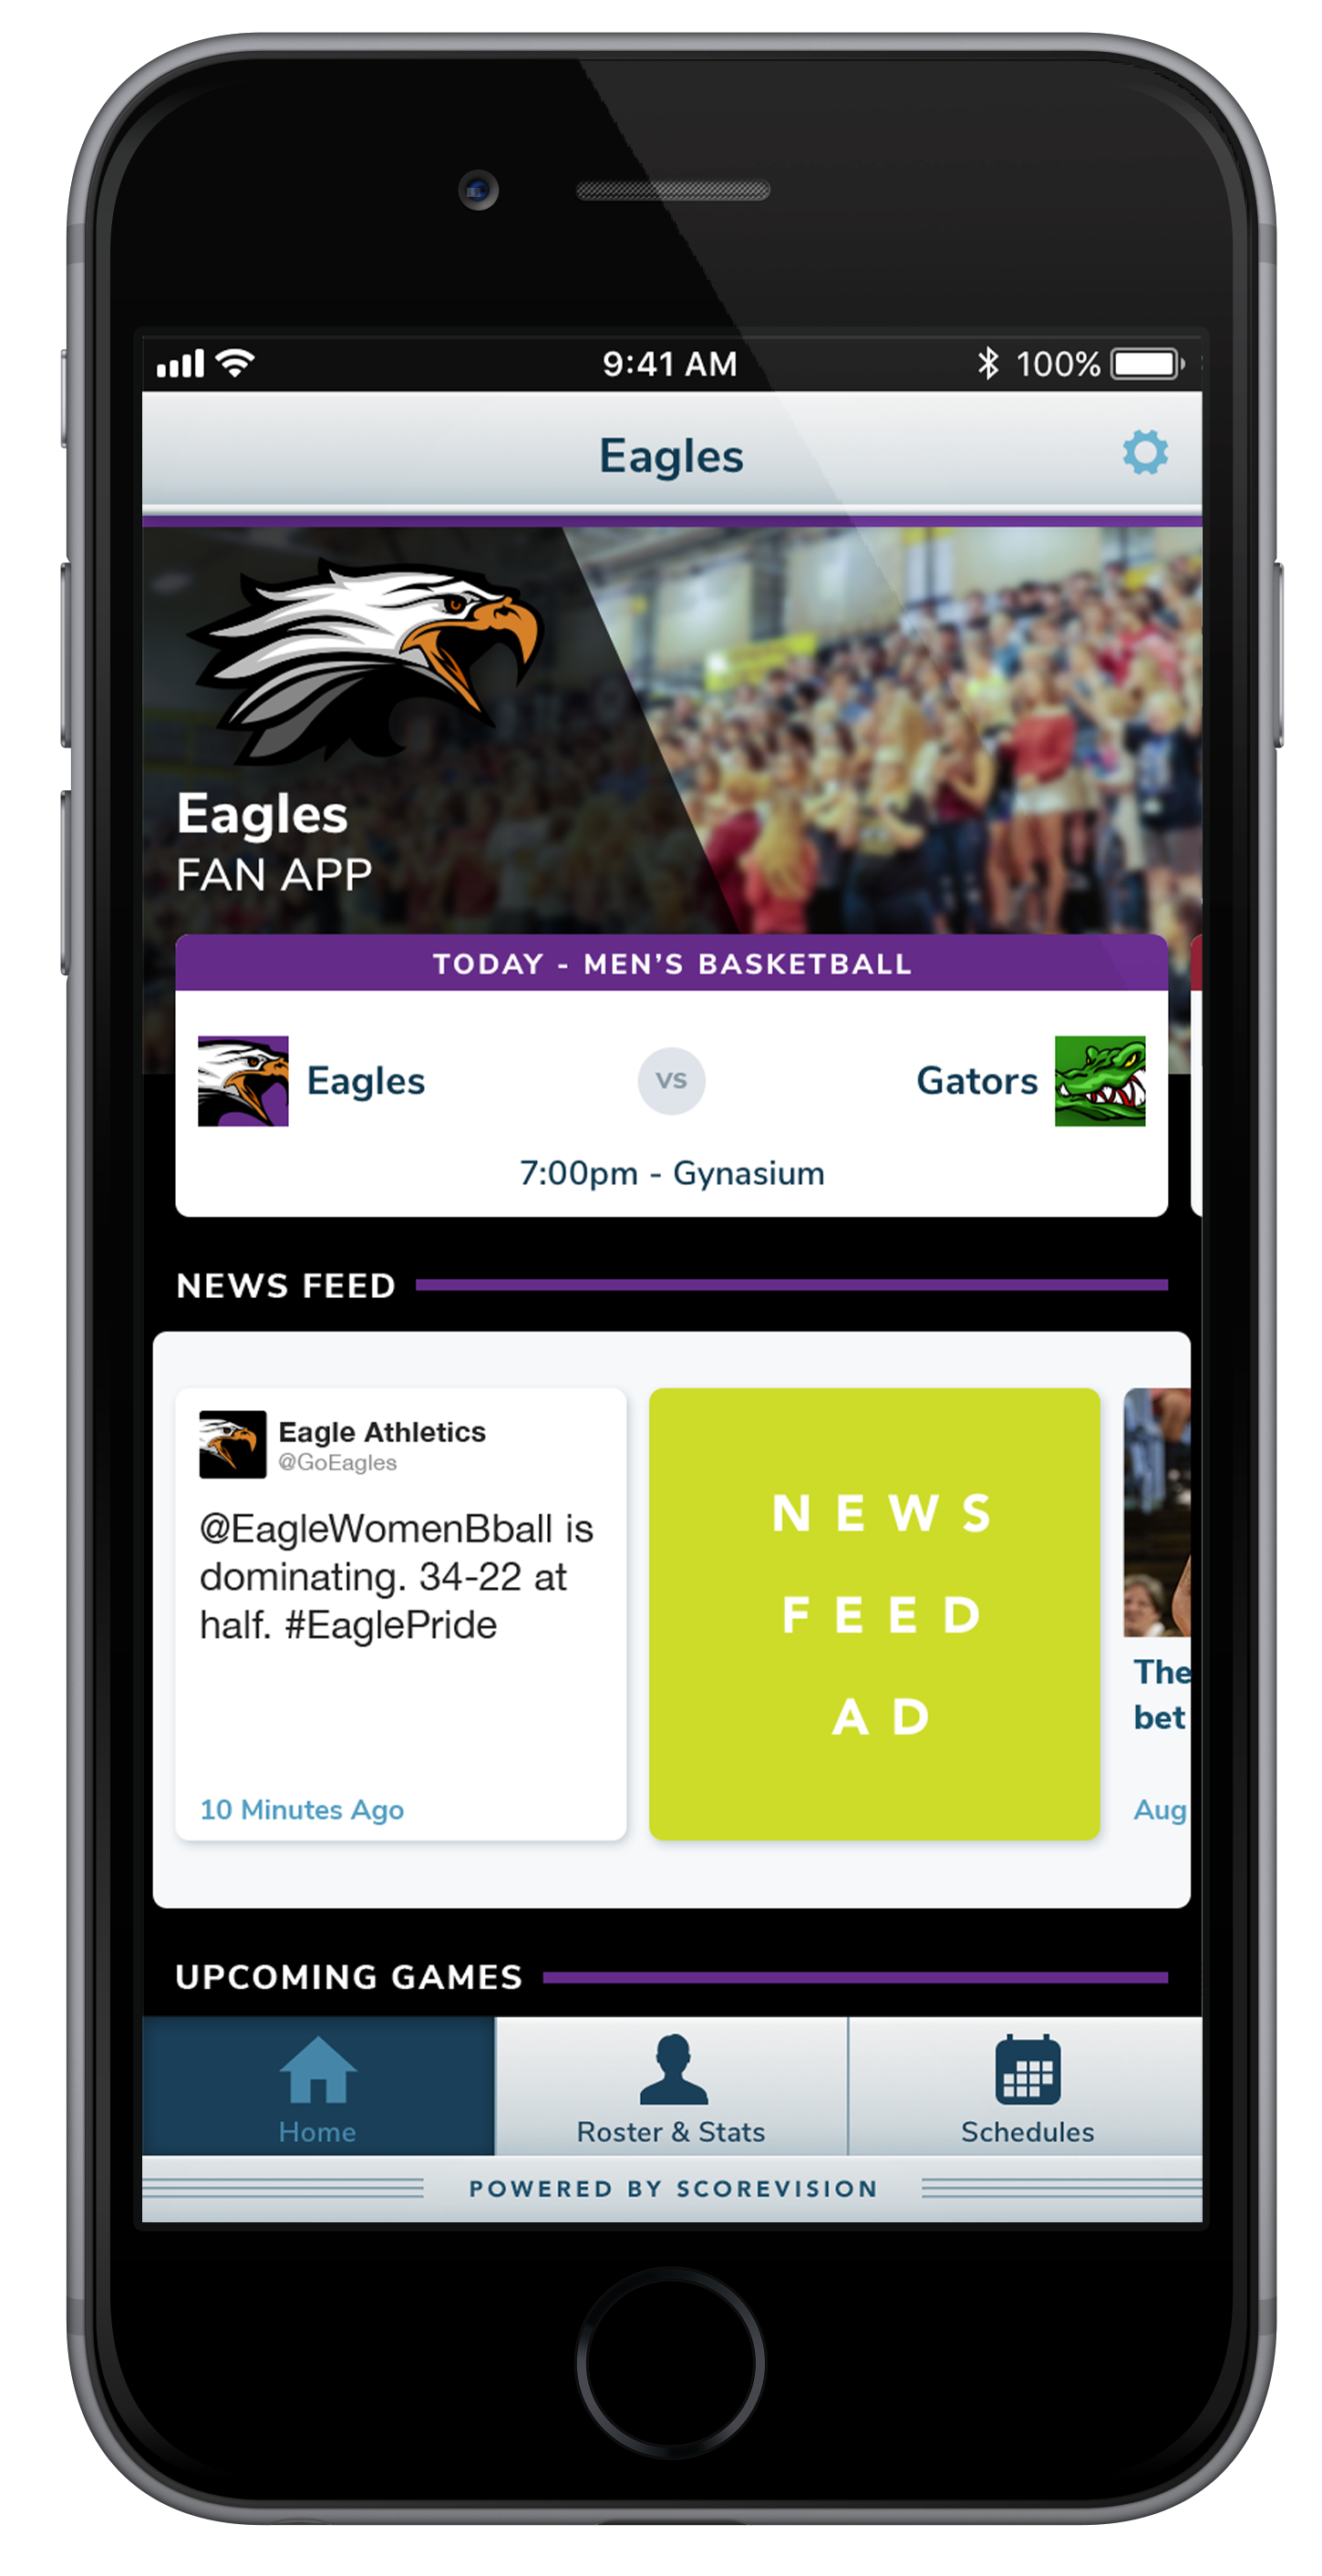
STATIC ARTWORK SPECS:
- type: static
- format: JPG, PNG
- resolution: 500x500px @ 72dpi
- template: Photoshop CC
- max size: 2MB
Fan App Game Feed Ad
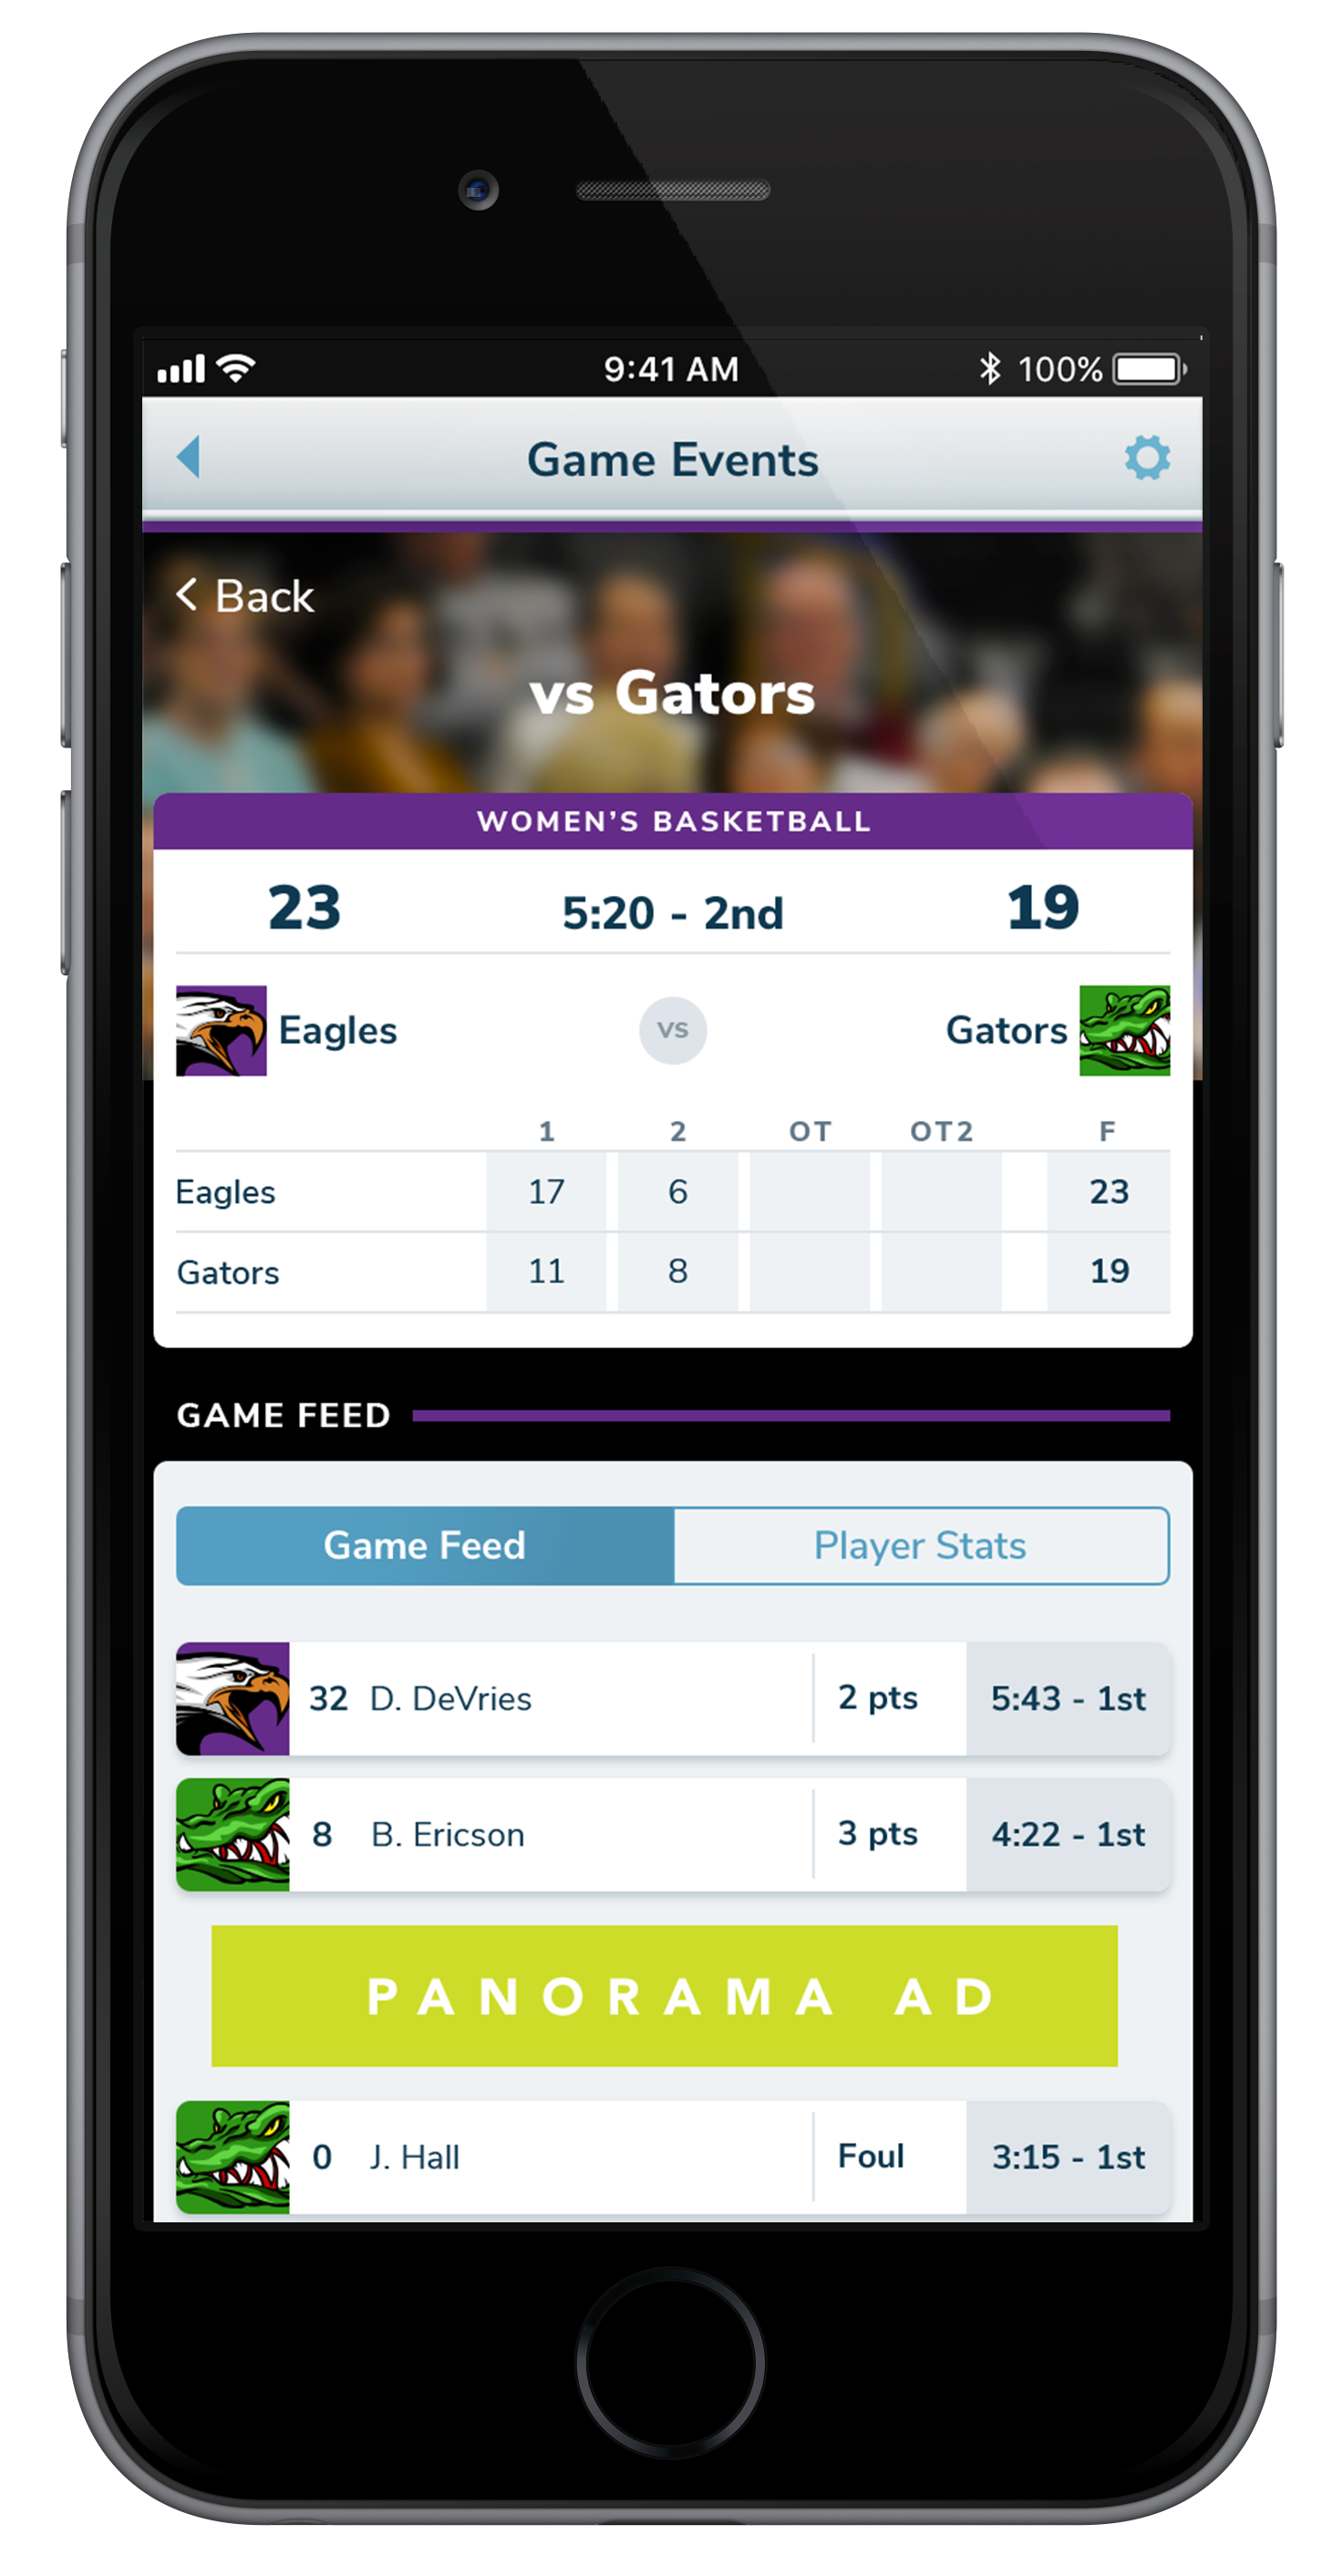
STATIC ARTWORK SPECS:
- type: static
- format: JPG, PNG
- resolution: 1920x300px @ 72dpi
- template: Photoshop CC
- max size: 2MB
Fan App Ad Examples
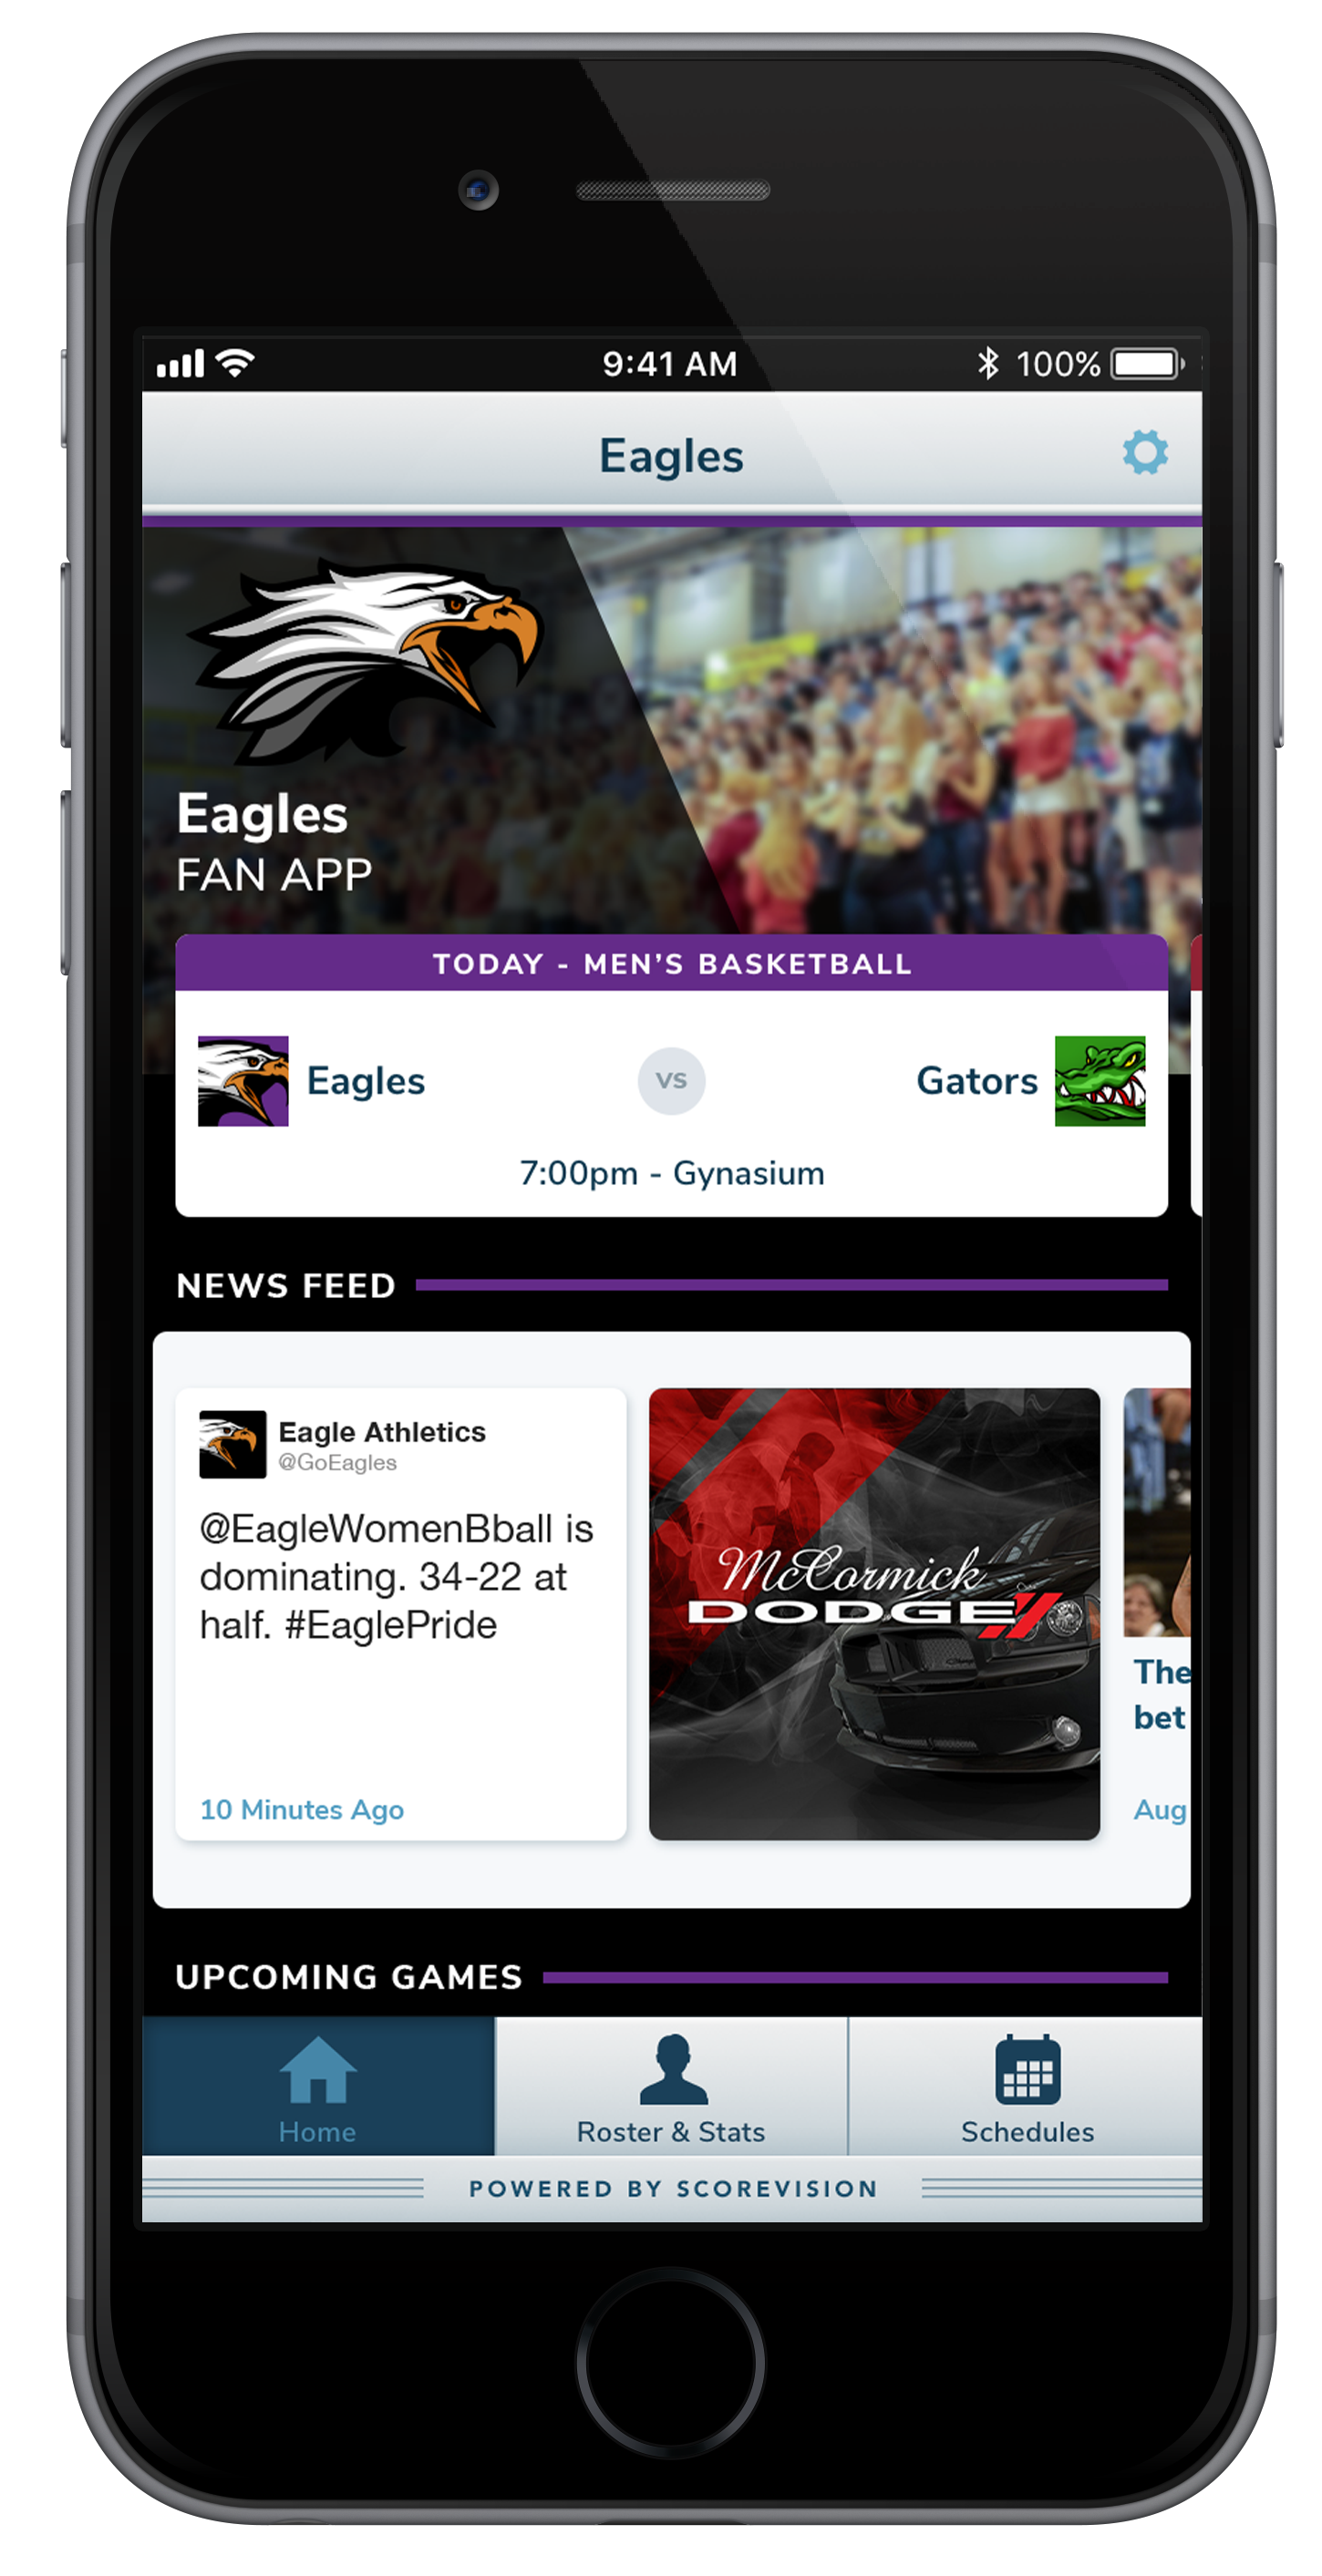
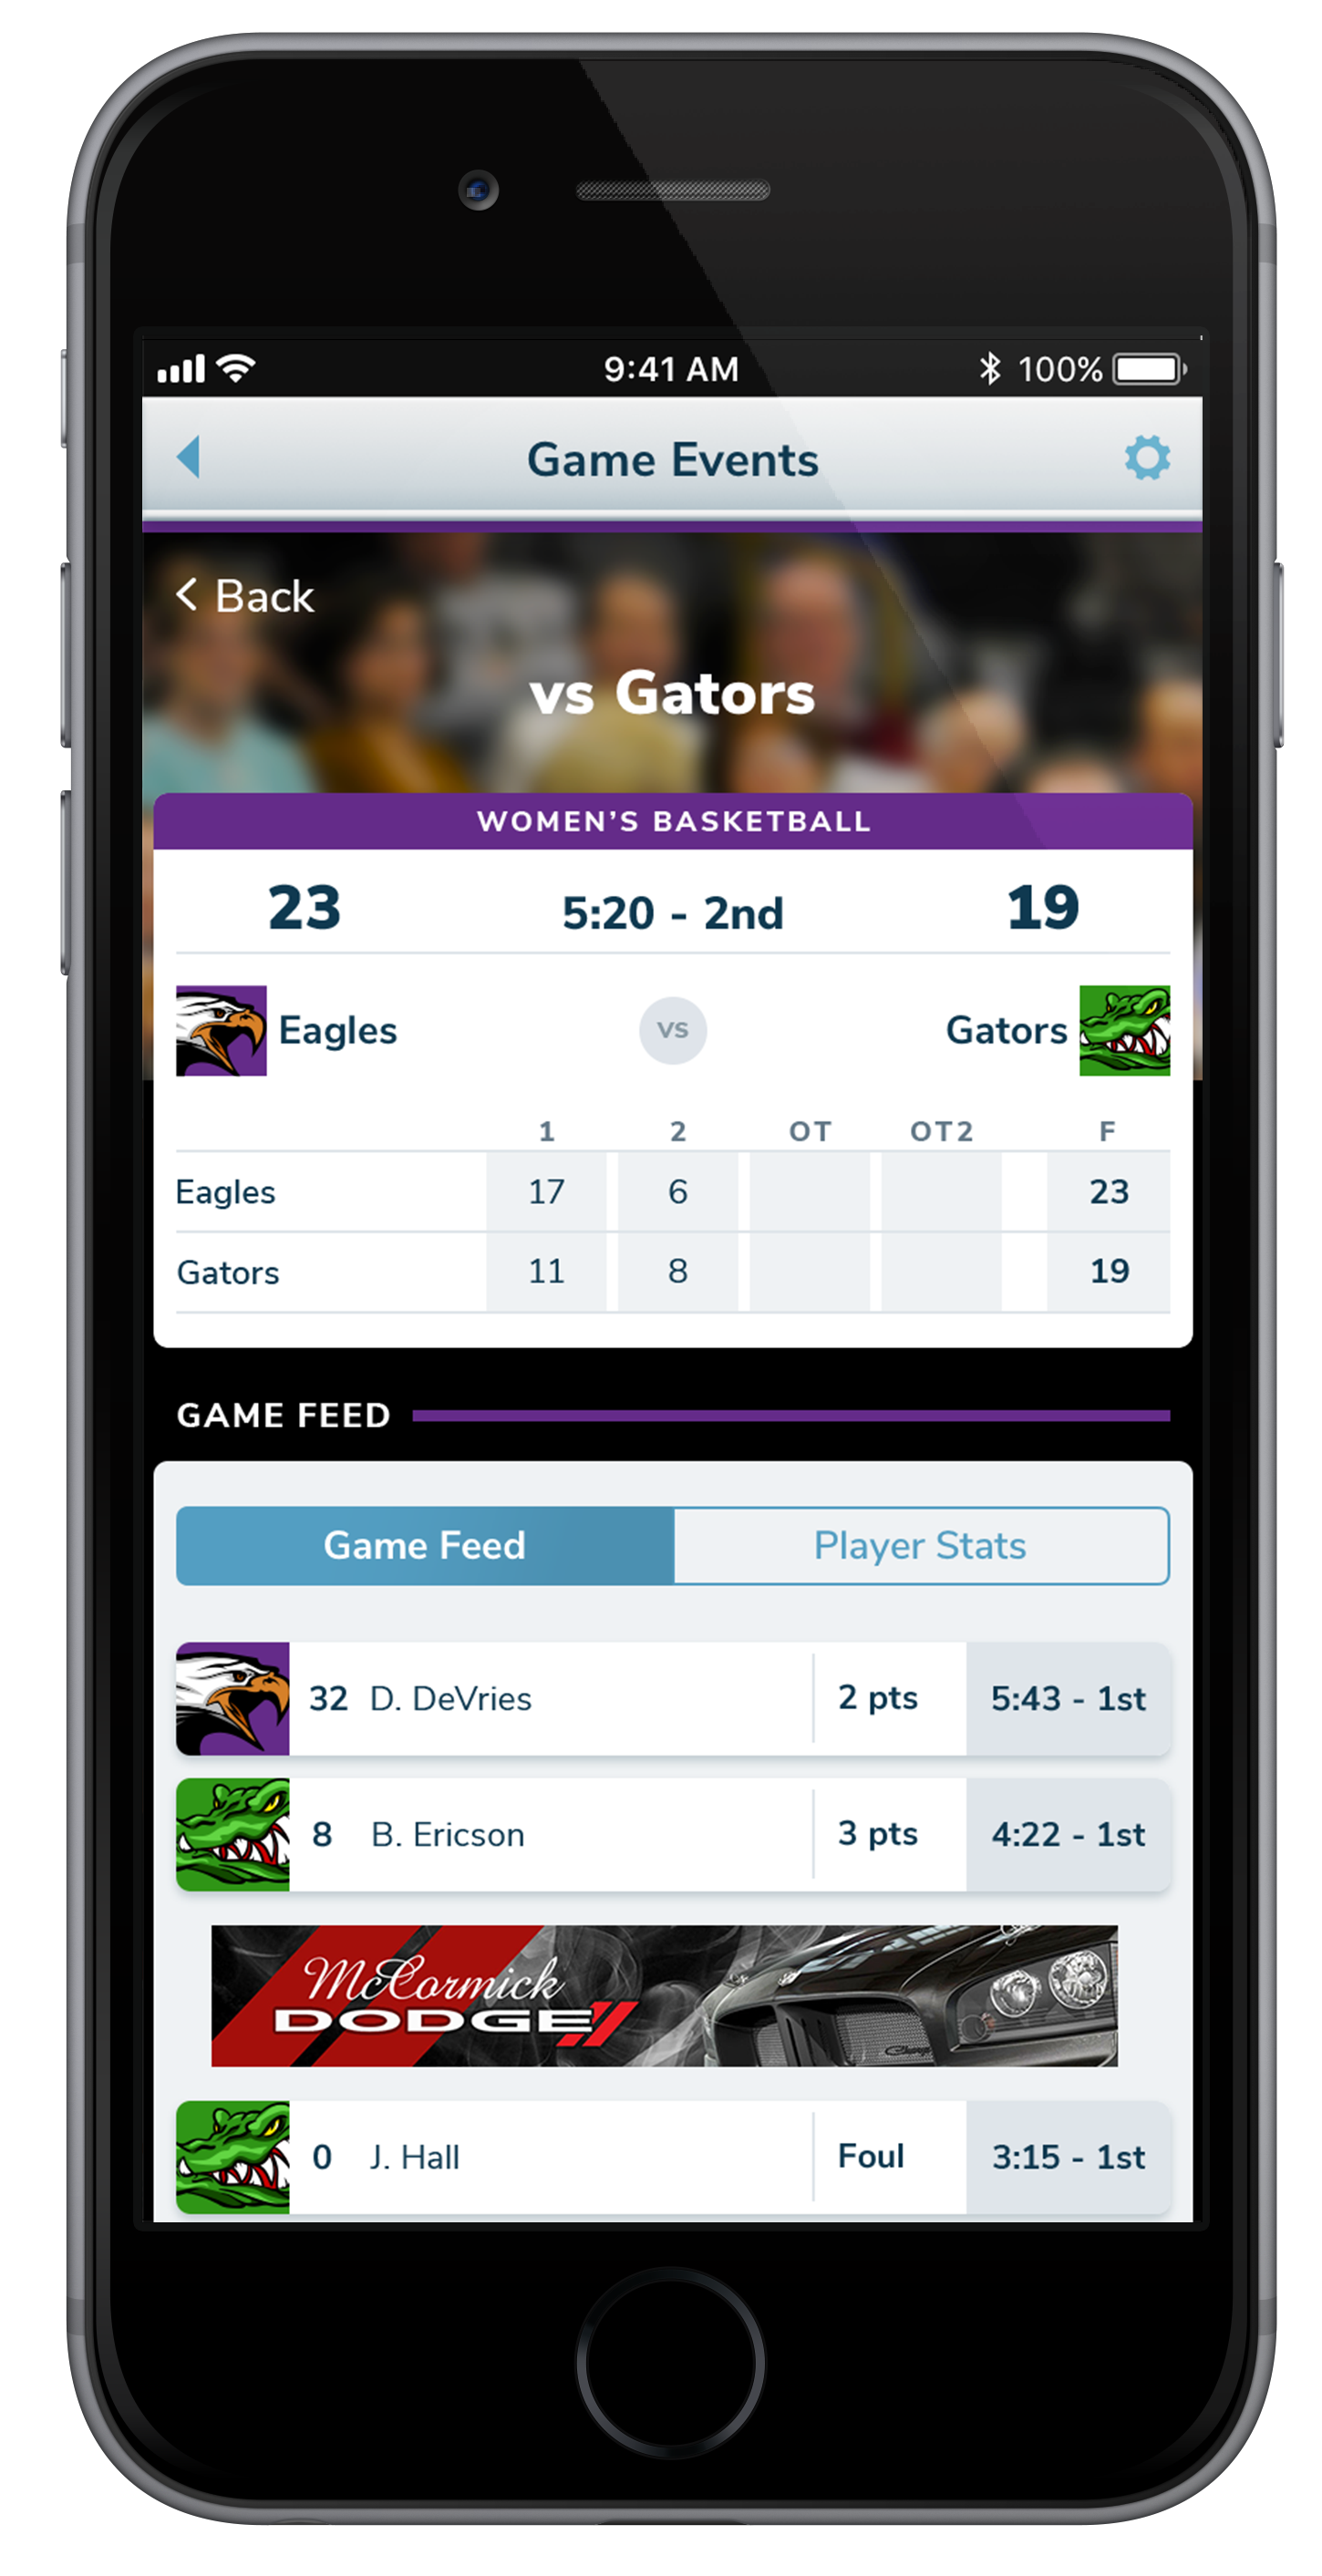
The Fan App has two different locations for ads to appear. Both places for the ads rotate in a sequence that can be defined and customized through the ScoreVision Cloud. These ads are continuously rotated throughout the game.
Fan App Branding Specifications
The Fan App has two different locations for school-specific branding to appear. Both places (logo and header) can be customized through the ScoreVision Cloud. The logo and header images are always visible on the home screen of a school's Fan App.
Header Image
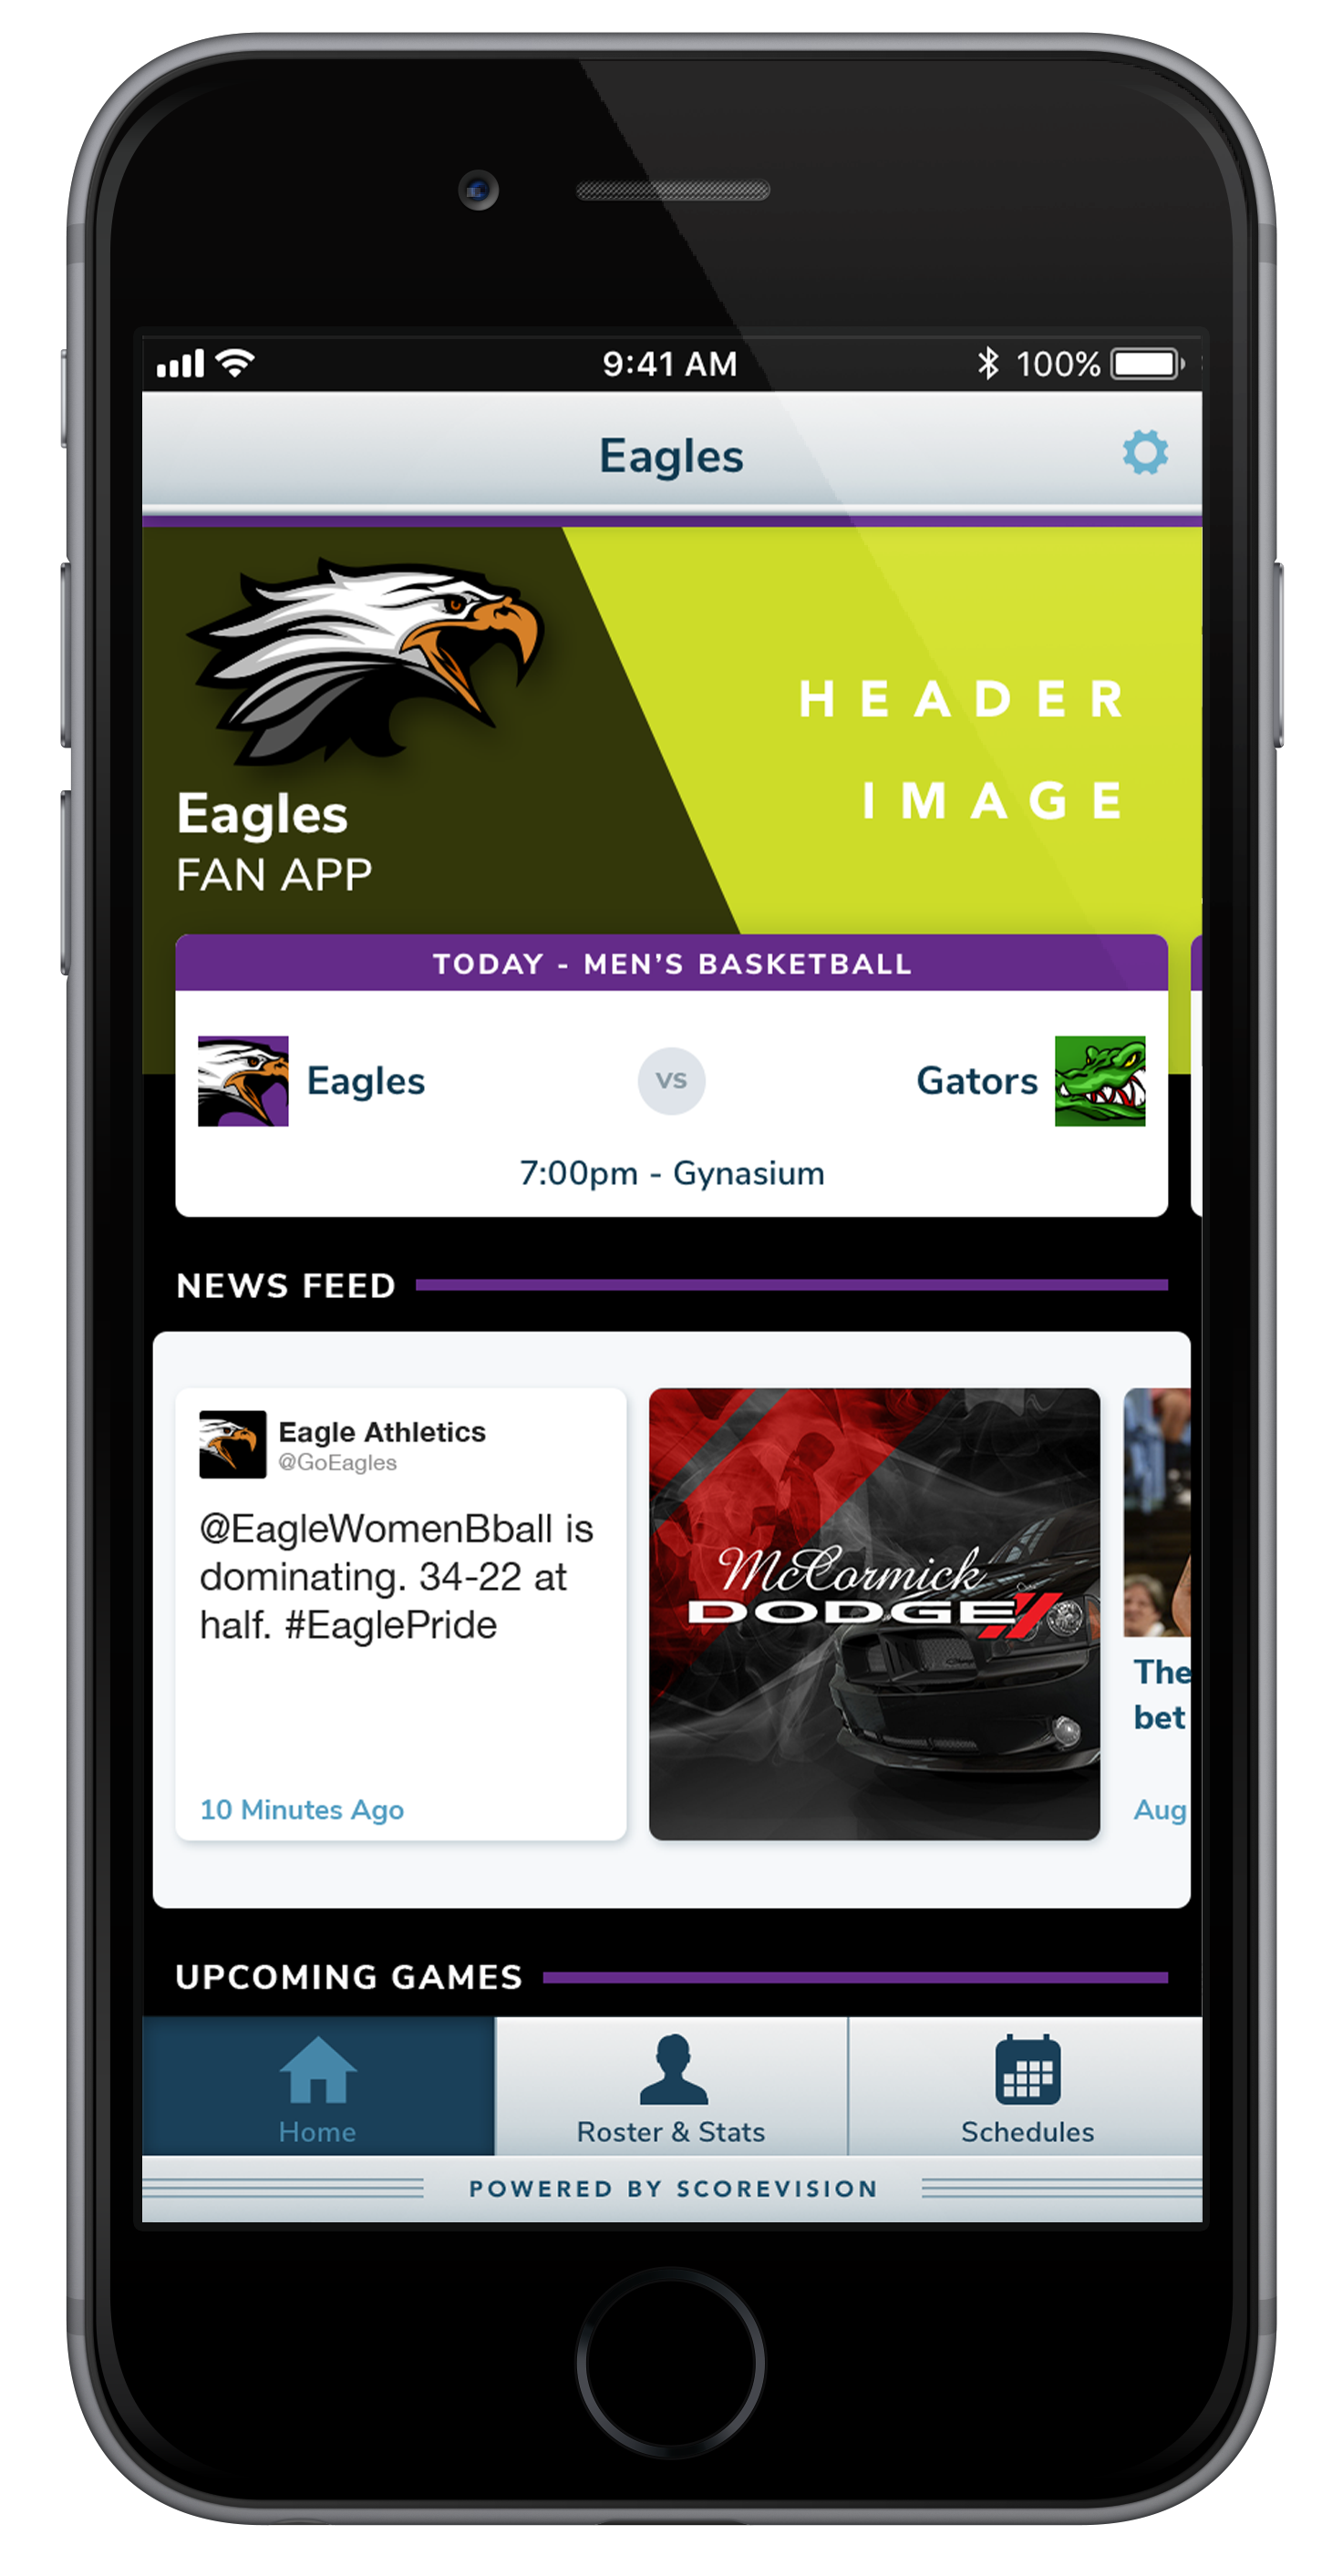
STATIC ARTWORK SPECS:
- type: static
- format: JPG, PNG
- resolution: 1920x1080px @ 72dpi
- template: Photoshop CC
- max size: 2MB
Logo
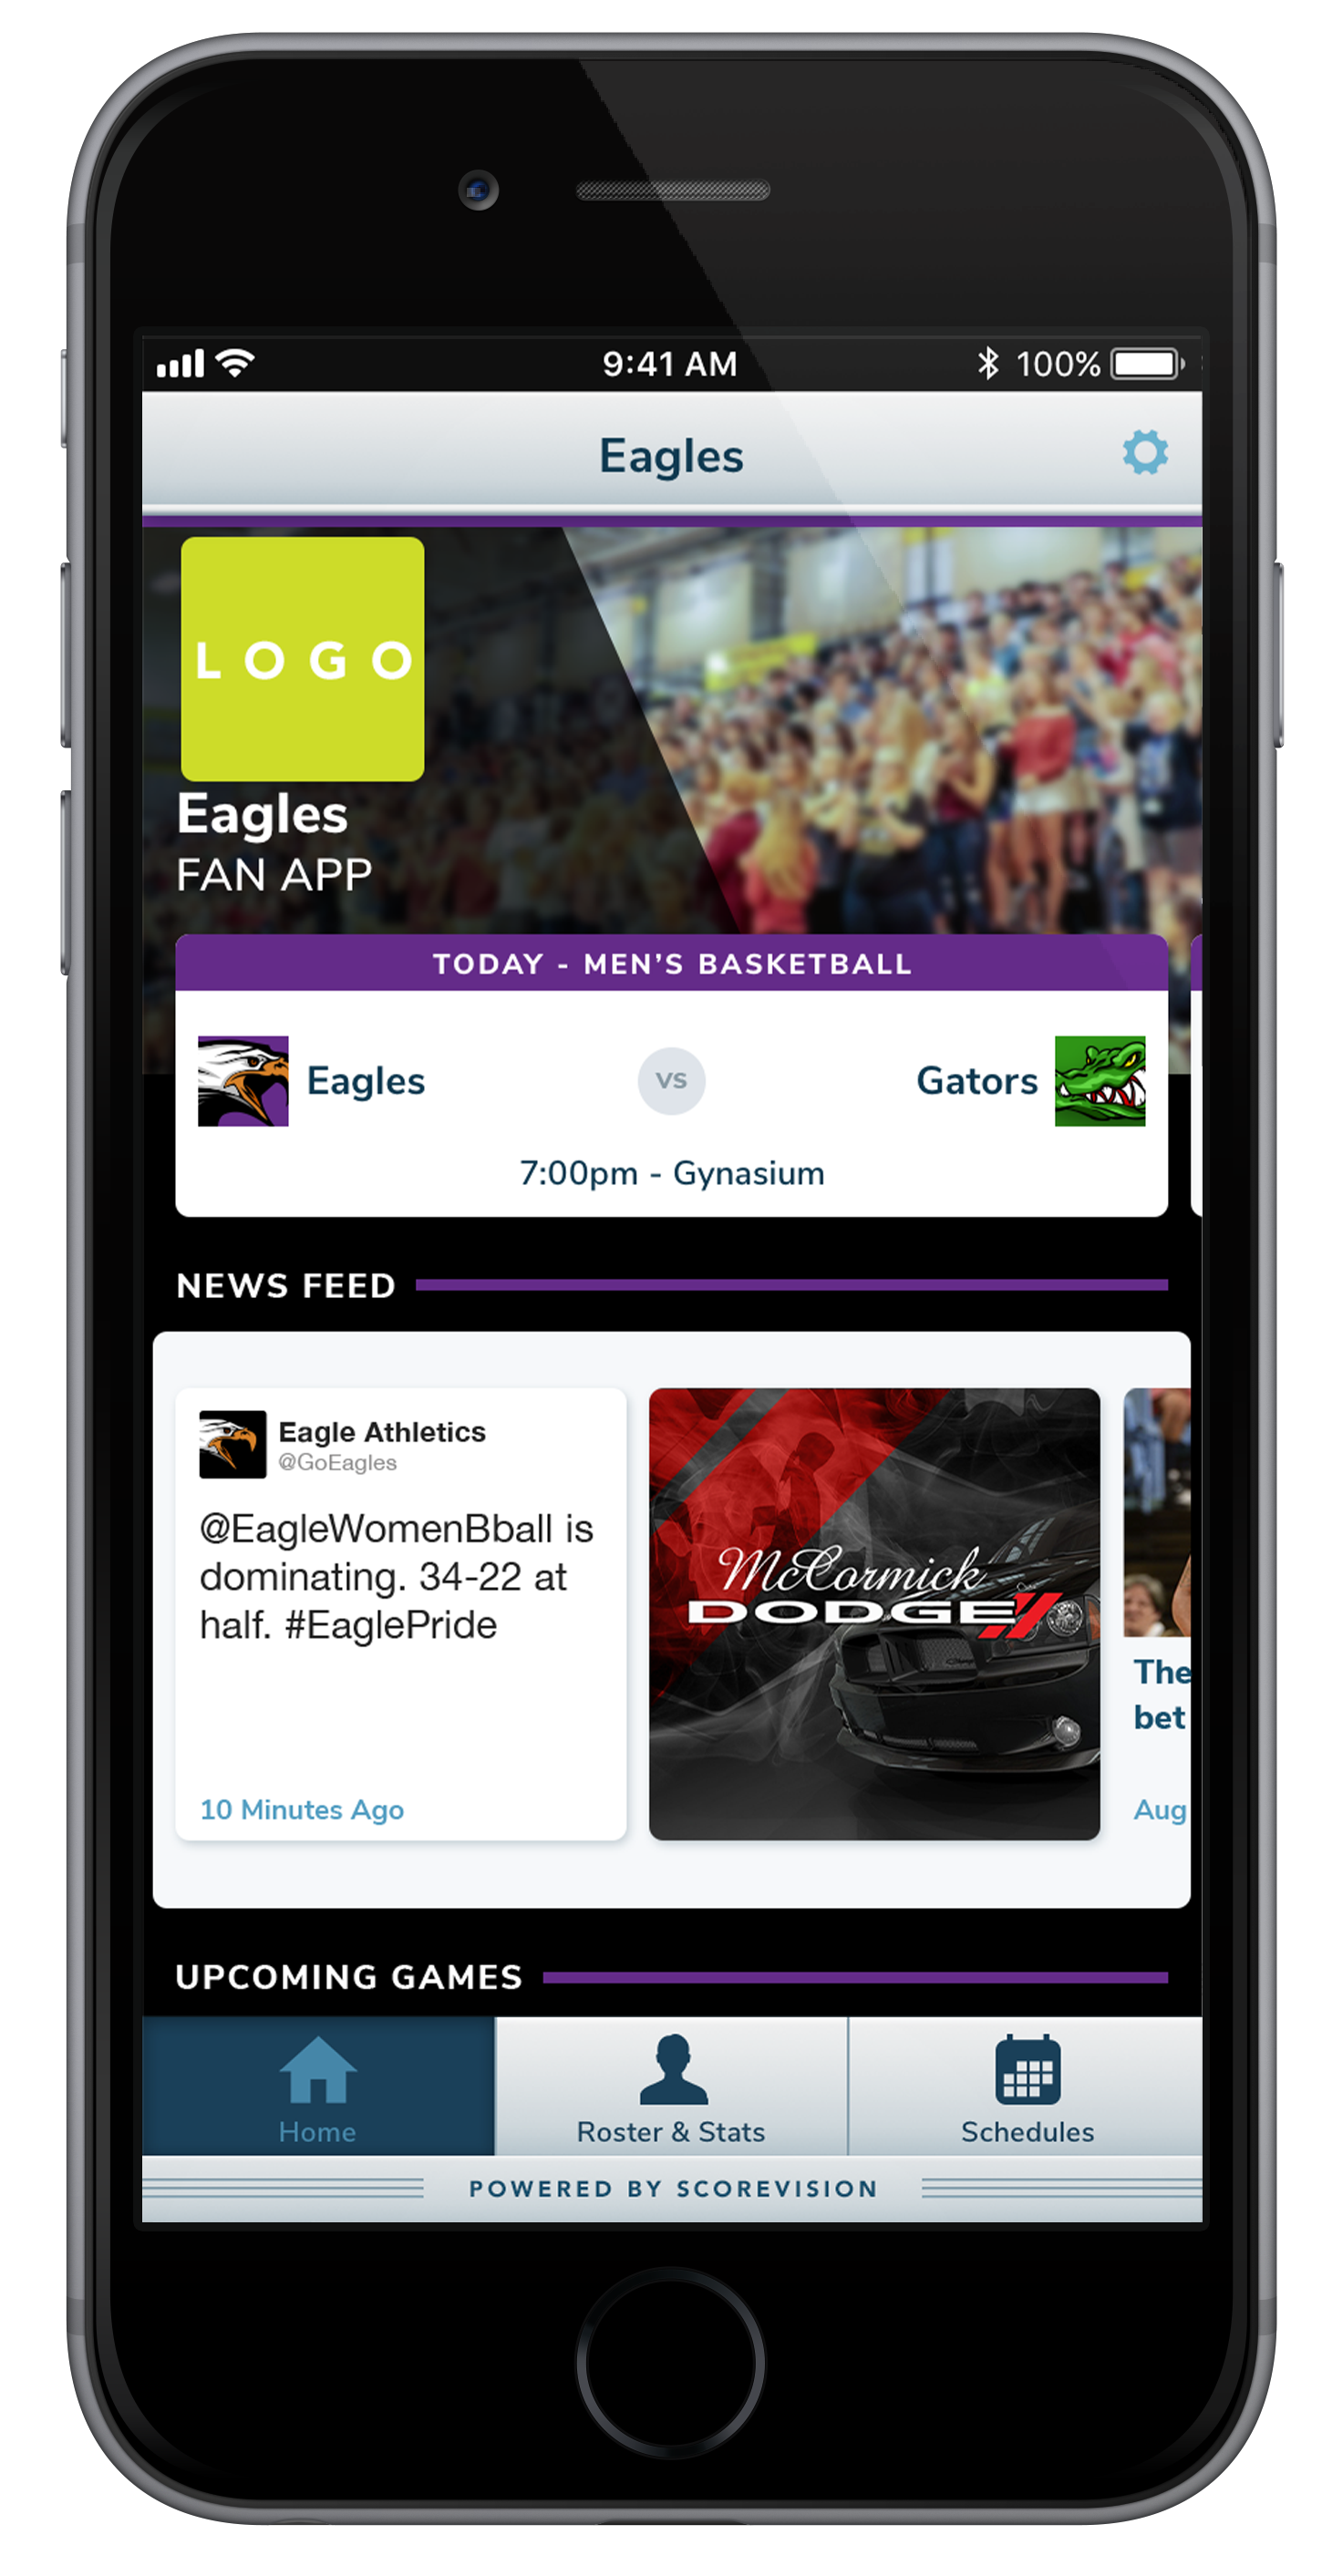
STATIC ARTWORK SPECS:
- type: static
- format: JPG, PNG
- resolution: 250x250px @ 72dpi
- template: Photoshop CC
- max size: 2MB
Fan App Branding Examples

The Fan App has two different locations for school-specific branding to appear. Both places (logo and header) can be customized through the ScoreVision Cloud. The logo and header images are always visible on the home screen of a school's Fan App.
Instructions for the 3-Step Process to Upload Media to the Fan App
I. Media LibraryII. Automated Sequences
III. Media Defaults
I. Media Library
1. After signing into your ScoreVision Cloud account, select the MEDIA tab on the left side of the screen. From the drop-down menu, select MEDIA LIBRARY.
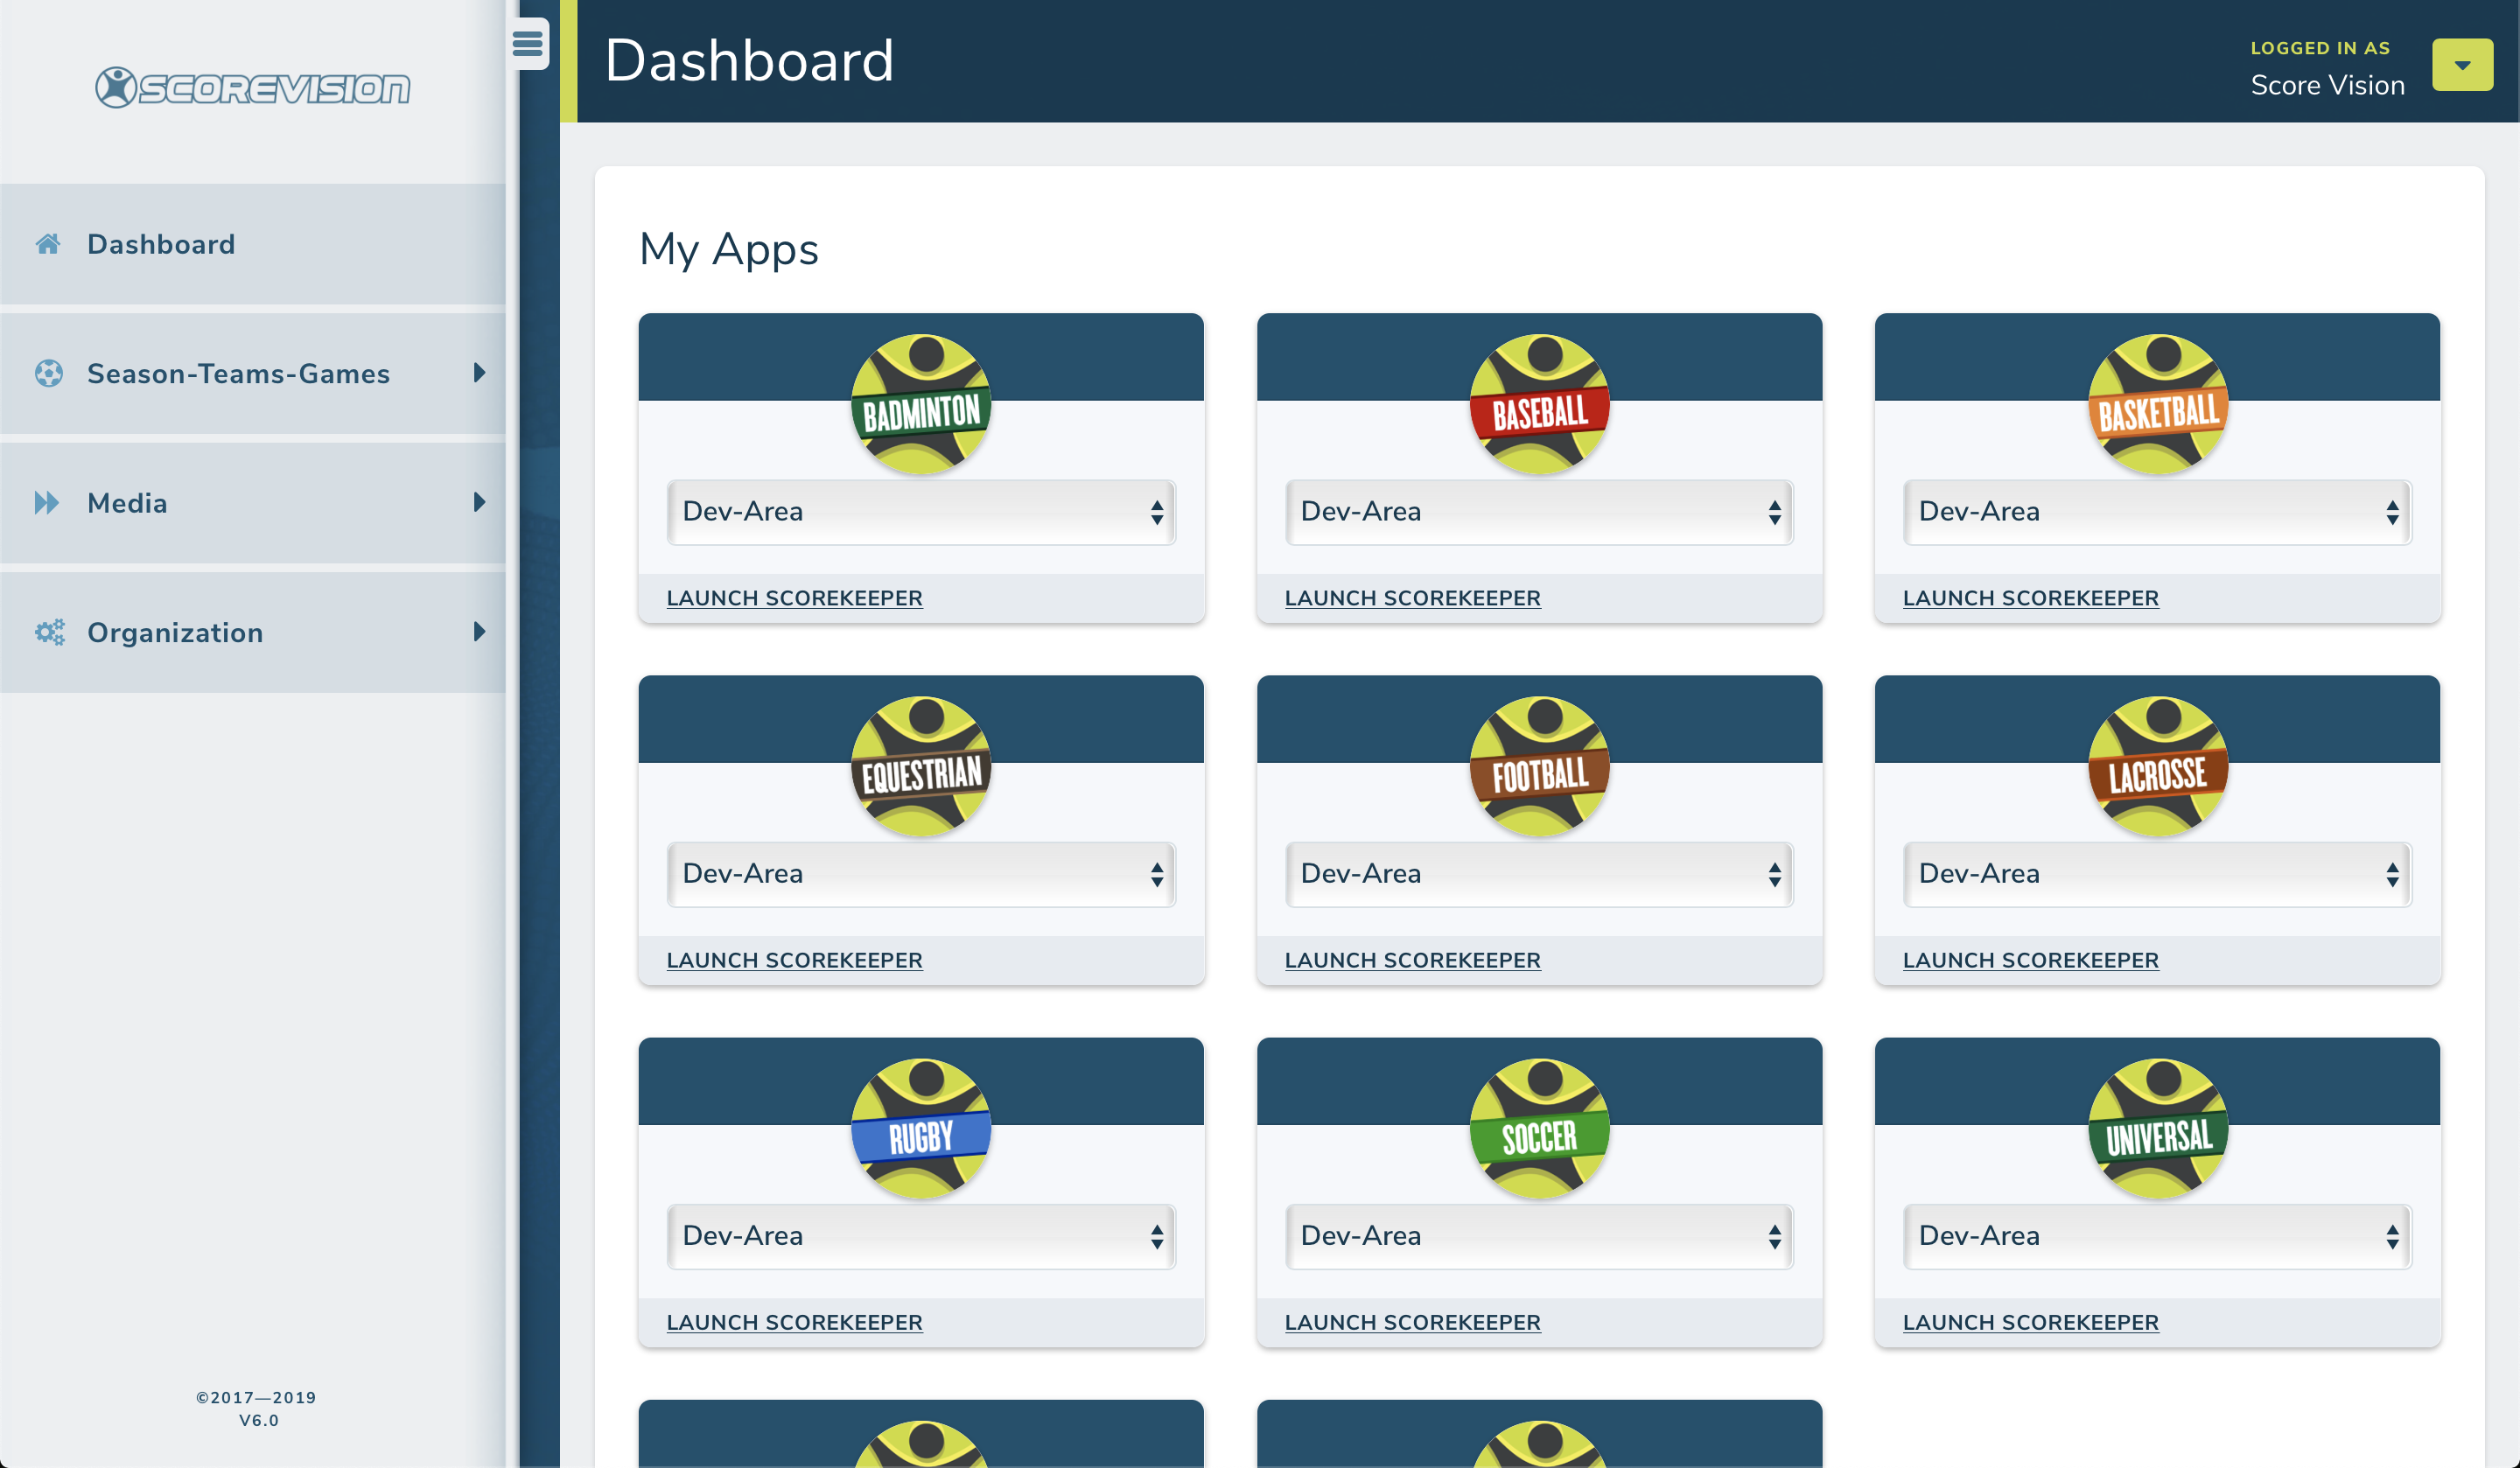

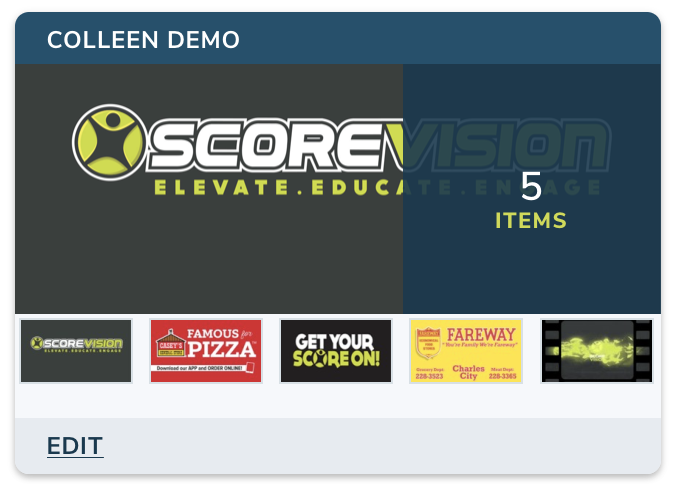
2. There are three steps involved in uploading media content to your ScoreVision Fan App. The first step is to upload media to the Media Library in the ScoreVision Cloud. The Media Groups are organized in folders. Notice how each Media Group is named, displays total number of items in the group, and displays thumbnail previews of the content within that group. On the initial Media Library page, you have the following options:
- Filter by Keyword
- Create New Group
- Edit Media Group

NOTE: Uploading media content to the Media Library does not automatically upload it to your ScoreVision Fan App. See the following section for instructions on the next step after uploading media content to the Media Library: Automated Sequnces, and then Media Defaults.
Filter by Keyword
1. To filter by Keyword, type into the Keyword search bar (i.e. Raising Cane's Ads) and click SEARCH.

Create New Group
1. To create a new group, click anywhere within the CREATE NEW GROUP box.
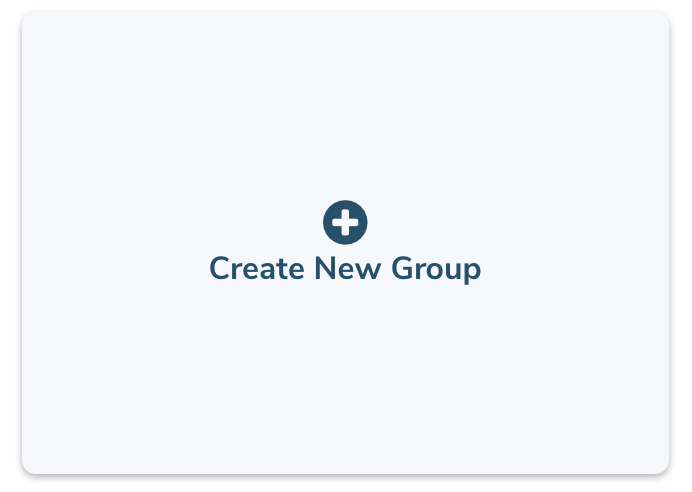
2. Name the Media Group, and then click SAVE.

3. Each Media Group is divided into sections (Cinema Ad, Panorama Ad, etc.), according to where the media displays. NOTE: Before clicking ADD MEDIA for a section, notice the dimensions size listed for the section (i.e. 1920x300 for Fan App Game Feed Ad). Only media of that dimension will upload.

4. To add images and/or videos to a section within the Media Group, click ADD MEDIA next to the desired section. It will open a pop-up window prompting you to select media from your computer to upload.

5. While media is uploading, the ADD MEDIA button will change to UPLOADING.

6. Once you've uploaded all the media to your new Media Group, click SUBMIT in the top right corner. You also have the option to delete the Media Group by clicking DEACTIVATE, if necessary.

Edit Media Group
1. To edit a Media Group that's already been created, click EDIT on that media group's card.
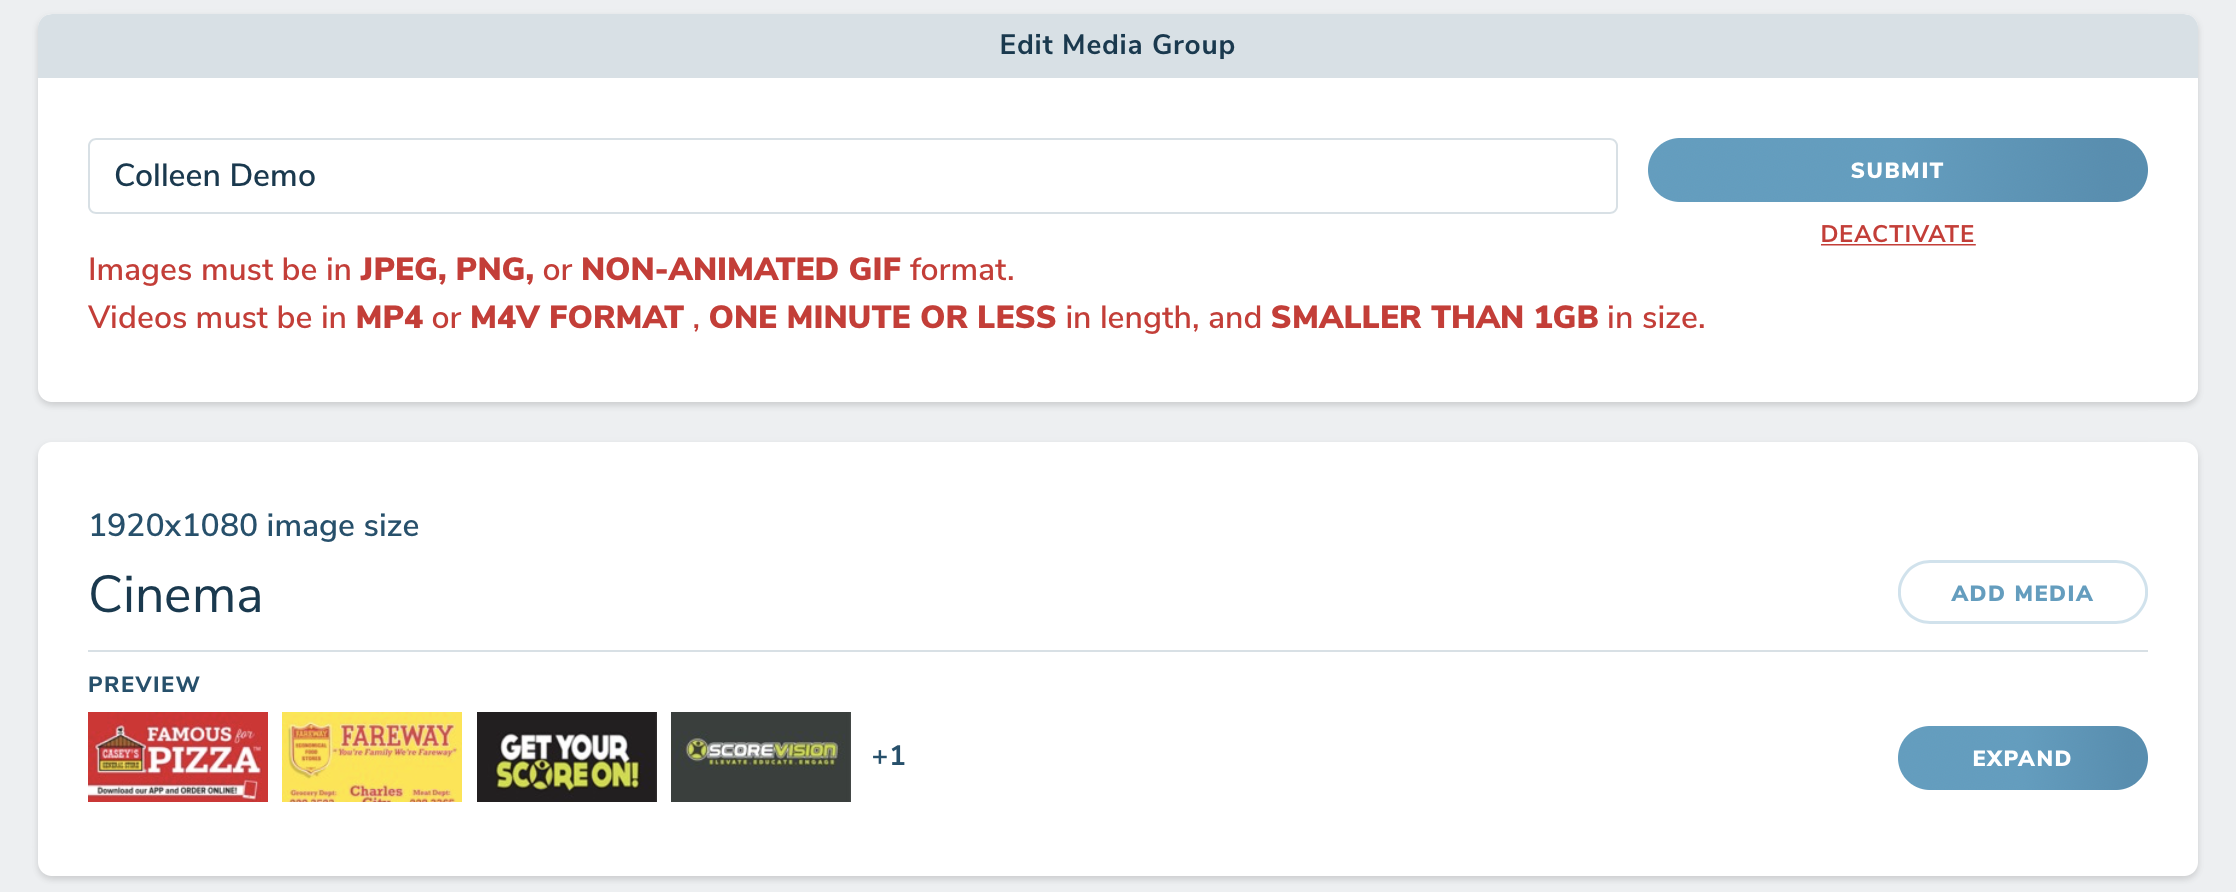
2. Within each section, you will see thumbnail previews of the media within the section. To delete and/or download media from the section, click EXPAND.
3. To download media, select the checkboxes (highlighted in light green with the checkmark inside) for the media you want to download, and then click DOWNLOAD SELECTED at the top. To delete media, you can either click DELETE on their respective card, or select the checkboxes and click DELETE SELECTED at the top. NOTE: The LINK button only applies to the two Fan App media sections.
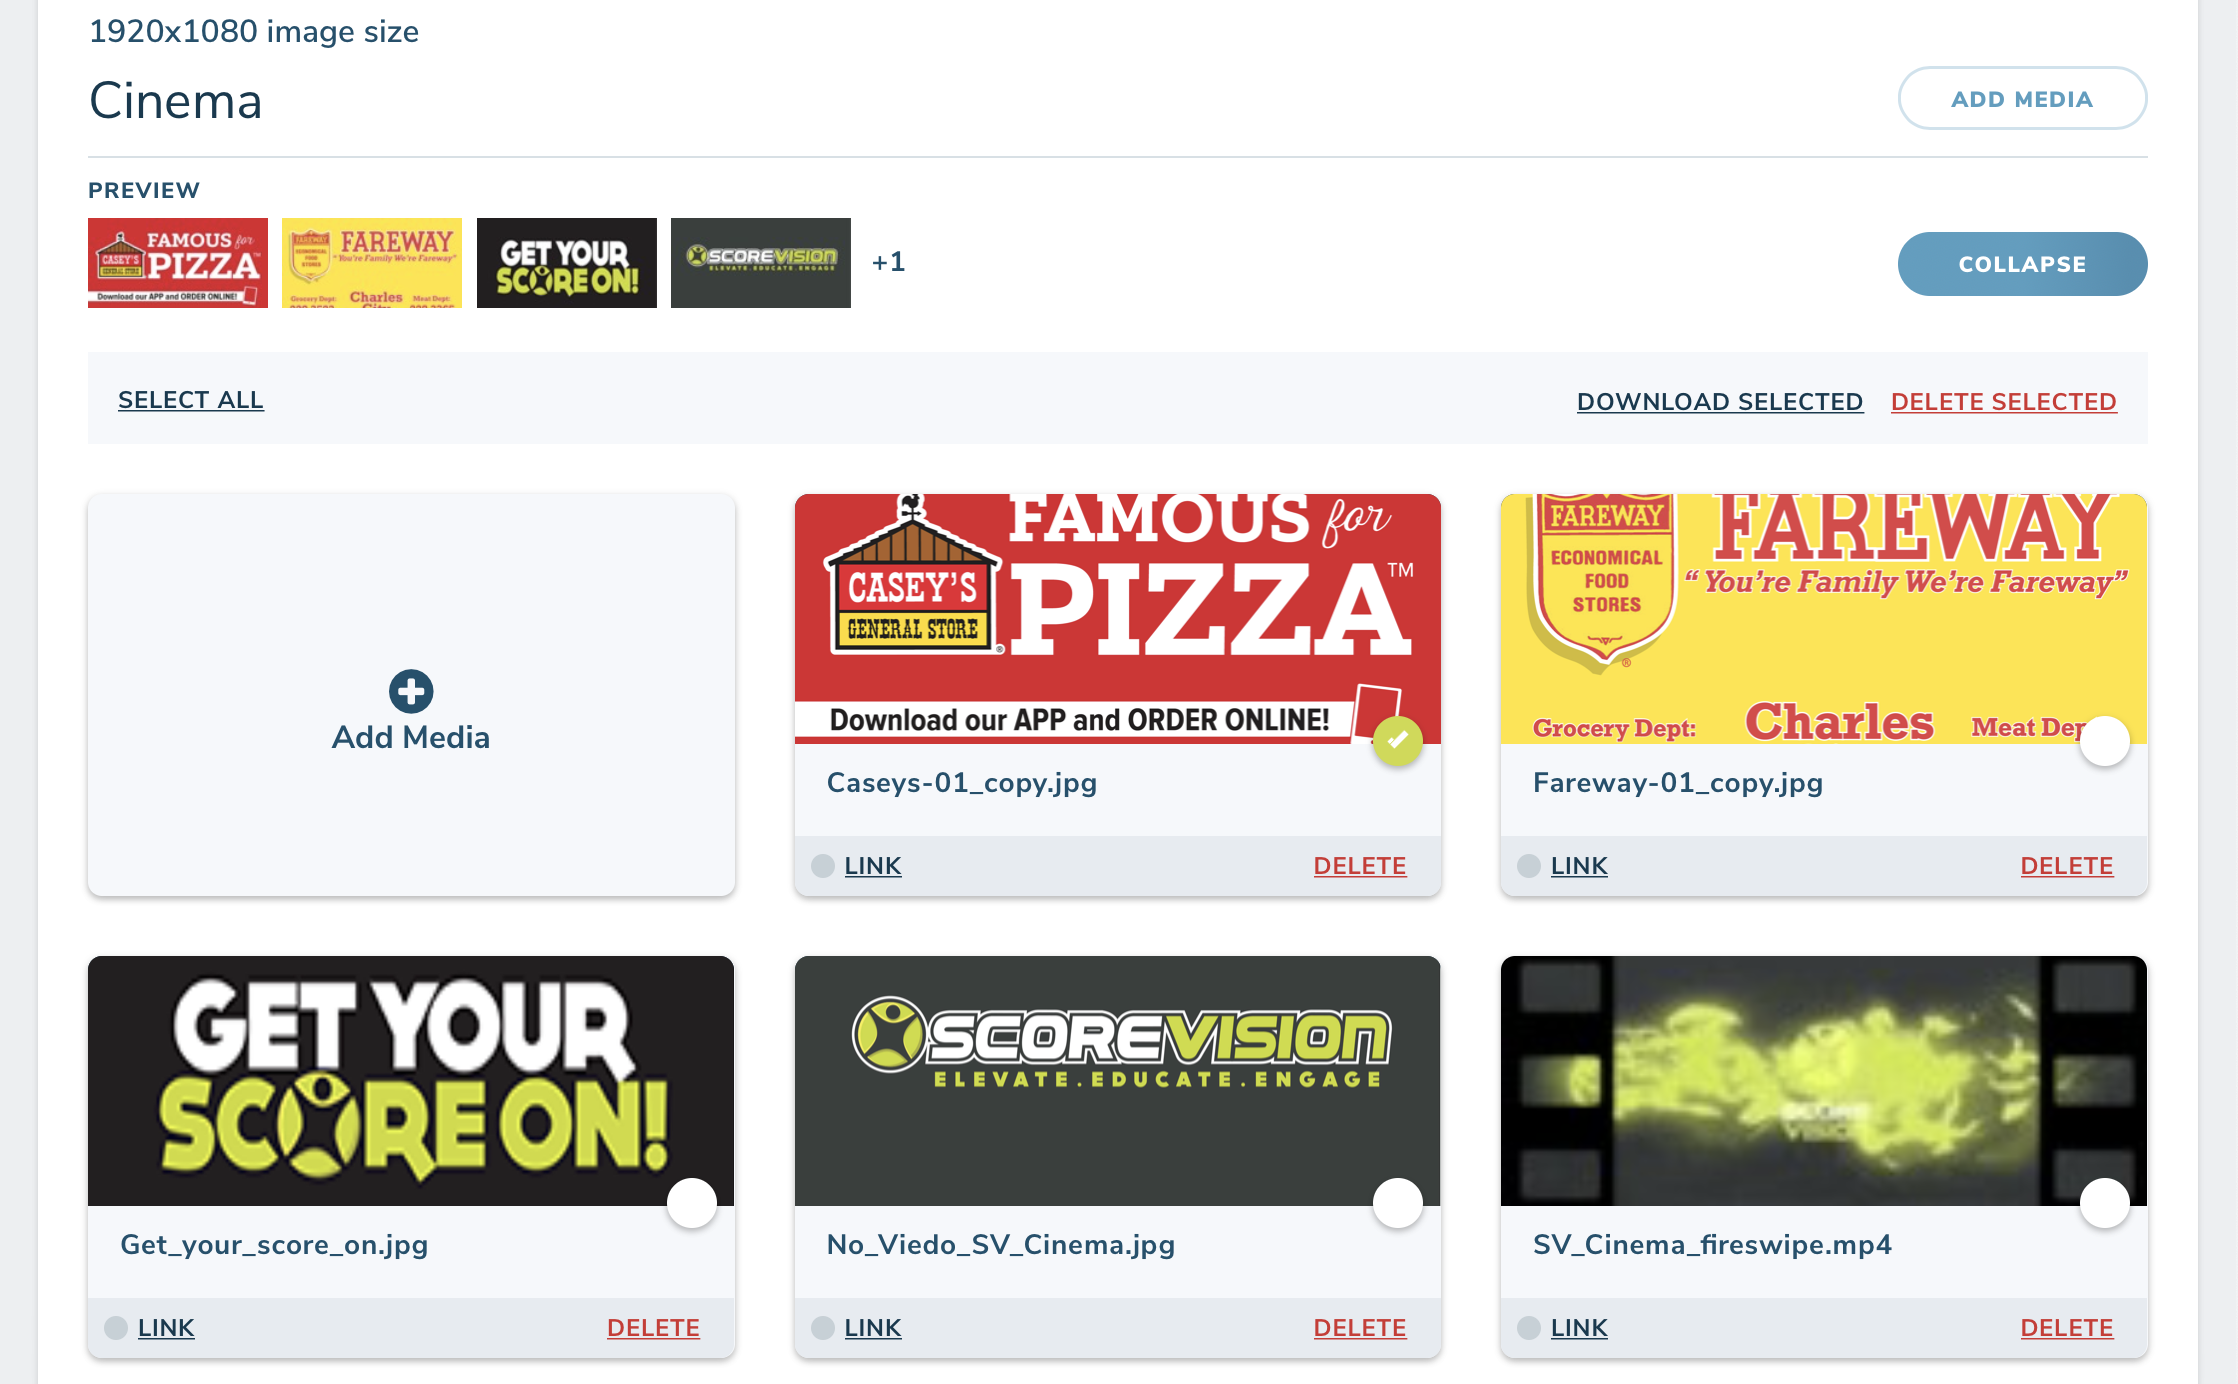
4. You can always upload new media content by clicking ADD MEDIA next to the correct section, or by clicking the ADD MEDIA box when a section is expanded.
II. Automated Sequences
1. After signing into your ScoreVision Cloud account, select the MEDIA tab on the left side of the screen. From the drop-down menu, select AUTOMATED SEQUENCES.


2. Automated Sequences are groupings of media that display automatically during games (during pregame, timeouts, halftime, etc.). Descriptions for each Fan App Sequence are as follows:
- Fan App Game Feed Ad: Panorama version of ads for the Fan App. Displays throughout games when following along on the Fan App.
- Fan App News Feed Ad: Displays on the home screen for a team's Fan App page (access to game events, team schedules, rosters, and stats goes through this page)
3. There are three steps involved in uploading media content to your ScoreVision display. The first step is to upload media to the Media Library in the ScoreVision Cloud. The second step is to divide the uploaded media content from your Media Library into Automated Sequences.

NOTE: Dividing media content into Automated Sequences does not automatically upload it to your ScoreVision display. See the Media Defaults guide for instructions on the how to assign your Automated Sequences.
Add New Sequence
1. To add a new Sequence, click ADD next to the proper Fan App section.

2. Upon creating a sequence, you will see the following page. Name your sequence in the Contents Name box. To add media content to the sequence, select which Media Group(s) you want to select media from by choosing the Media Group(s) from the drop-down menu. Then, drag-and-drop desired media from Available Media into Selected Media.


3. Once media content is within the Selected Media section, you can delete and edit the image/video. To delete, click DELETE on the respective card for the image/video. To edit, click the blue circle with three dots to open a drop-down menu. Additionally, you can rearrange the order of the media within the sequence by clicking on the respective media's card and then dragging-and-dropping into the desired spot. NOTE: The default display time is 30 seconds. It is best practice to lower that time if you have a fair amount of content within a sequence. You can also schedule the period of time for dates that you want the media to display.
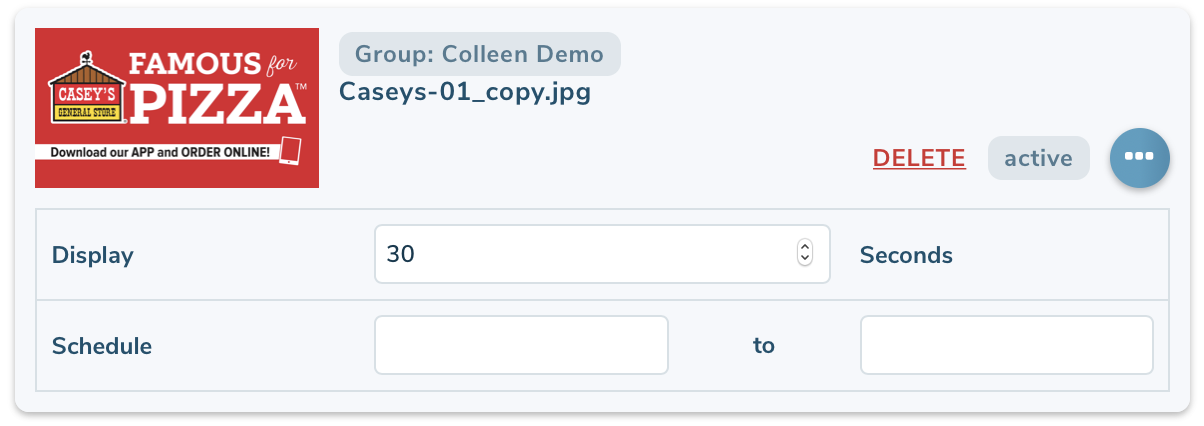
4. Once you're done, click SAVE in the top right corner. You can also click CANCEL to delete the sequence.

Edit Sequences
1. To edit Sequences, click EXPAND next to the section you'd like to edit. From here, you can create a new sequence, edit current sequences, or delete current sequences.

2. To delete a sequence, you can either click DELETE on their respective card, or select the checkboxes (highlighted in light green with the checkmark inside) and click DELETE SELECTED at the top.
3. To edit a Sequence that's already been created, click EDIT on that sequence's card.

4. To add media content to the sequence, select which Media Group(s) you want to select media from by choosing the Media Group(s) from the drop-down menu. Then, drag-and-drop desired media from Available Media into Selected Media.


5. Once media content is within the Selected Media section, you can delete and edit the image/video. To delete, click DELETE on the respective card for the image/video. To edit, click the blue circle with three dots to open a drop-down menu. NOTE: The default display time is 30 seconds. It is best practice to lower that time if you have a fair amount of content within a sequence. You can also schedule the period of time for dates that you want the media to display.

6. Once you're done, click SAVE in the top right corner. You can also click CANCEL to delete the sequence.

III. Media Defaults
1. After signing into your ScoreVision Cloud account, select the MEDIA tab on the left side of the screen. From the drop-down menu, select MEDIA DEFAULTS.

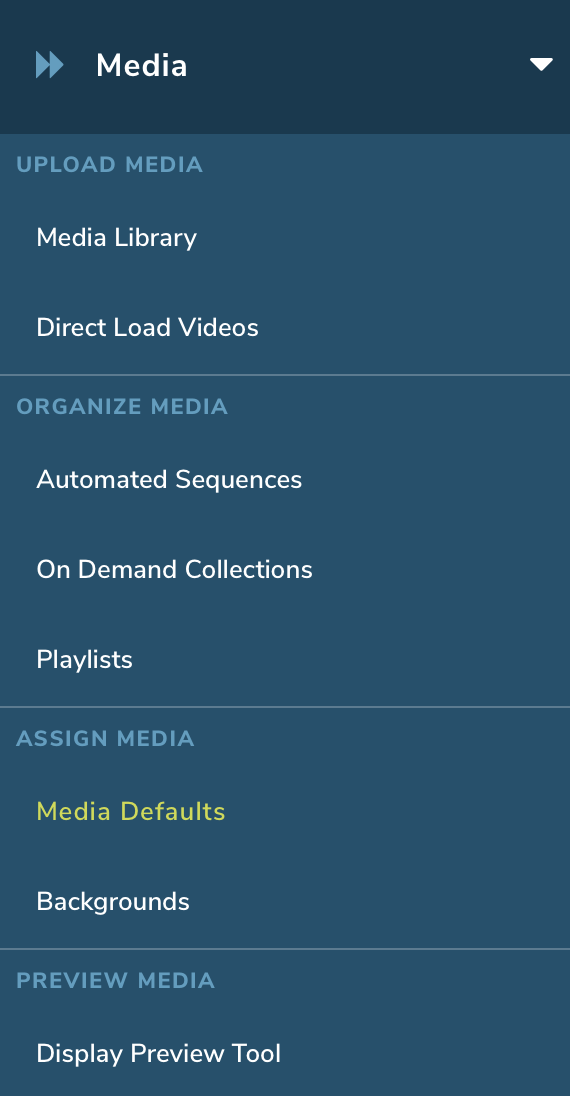
2. The Media Defaults page is where the defaults for the Fan App media are set.

3. There are three steps involved in uploading media content to your ScoreVision Fan App. The first step is to upload media to the Media Library in the ScoreVision Cloud. The second step is to divide the uploaded media content from your Media Library into Automated, Sequences. The third step is to set sequences on the Media Defaults page.
4. Descriptions for each Fan App section on this page are as follows:
- Fan App Game Feed Ad: Panorama version of ads for the Fan App. Displays throughout games when following along on the Fan App.
- Fan App News Feed Ad: Displays on the home screen for a team's Fan App page (access to game events, team schedules, rosters, and stats goes through this page)
Add New Media Default
1. To add a new Media Default, click the ADD DEFAULT box for the respective sequence that you want to set a default for.

2. Upon creating a media default, you will see the following page. The Spot Type drop-down menu will allow you to select when you want the sequence to display (i.e. for Fan App sequences, leave General as the Spot Type). Next, select the Location that you want it to display at (your facility). Lastly, select which Sponsor Sequence (they will be named according to the name given to them when they were created on the Automated Sequences page). When you're done, click SAVE.

Edit Media Defaults
1. To edit Media Defaults, click EDIT on that media default's card.

2. From the Sponsor Sequence drop-down menu, select the sequence that you want to display during that Spot Type (i.e. for this example, the Spot Type is Pregame). Once you're done, click SAVE.

3. To delete a Spot Type, click DELETE on the respective spot type's card. If you accidentally delete a Spot Type, simply add a new default for that section by clicking the ADD DEFAULT button.
SPECIAL NOTES:
- There is not a SAVE button on the Media Defaults page. All actions are saved automatically.
- The Media Defaults set on this page determine the organization-level default. This means that the defaults will display for each sport, unless otherwise noted. Season-level Media Overrides allow you to override the organization's media default for a specific season to display a different default instead. Please see the Media Overrides guide for more information.
