This guide will provide instructions on how to access the Media Library, create new Media Groups, Edit Media Groups, and upload images and videos for your ScoreVision system.
Overview
1. After signing into your ScoreVision Cloud account, select the MEDIA tab on the left side of the screen. From the drop-down menu, select MEDIA LIBRARY.


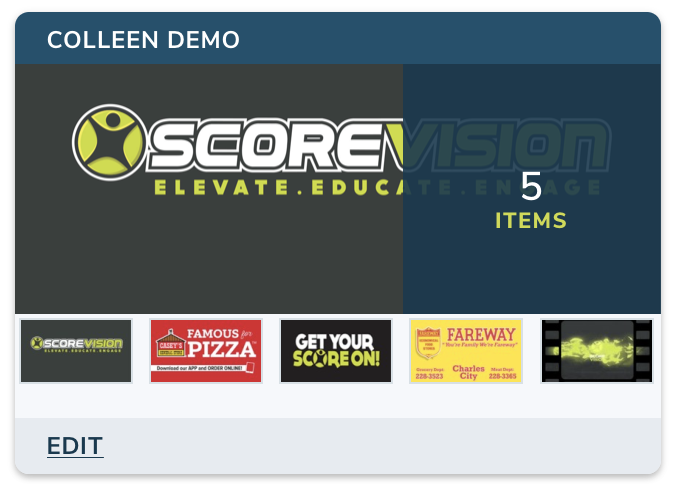
2. There are three steps involved in uploading media content to your ScoreVision display. The first step is to upload media to the Media Library in the ScoreVision Cloud. The Media Groups are organized in folders. Notice how each Media Group is named, displays total number of items in the group, and displays thumbnail previews of the content within that group. On the initial Media Library page, you have the following options:
- Filter by Keyword
- Create New Group
- Edit Media Group

NOTE: Uploading media content to the Media Library does not automatically upload it to your ScoreVision display. See the following guides for instructions on the next steps after uploading media content to the Media Library: Automated Sequences, On Demand Collections, Playlists, and Media Defaults.
Filter by Keyword
1. To filter by Keyword, type into the Keyword search bar (i.e. Raising Cane's Ads) and click SEARCH.

Create New Group
1. To create a new group, click anywhere within the CREATE NEW GROUP box.

2. Name the Media Group, and then click SAVE.

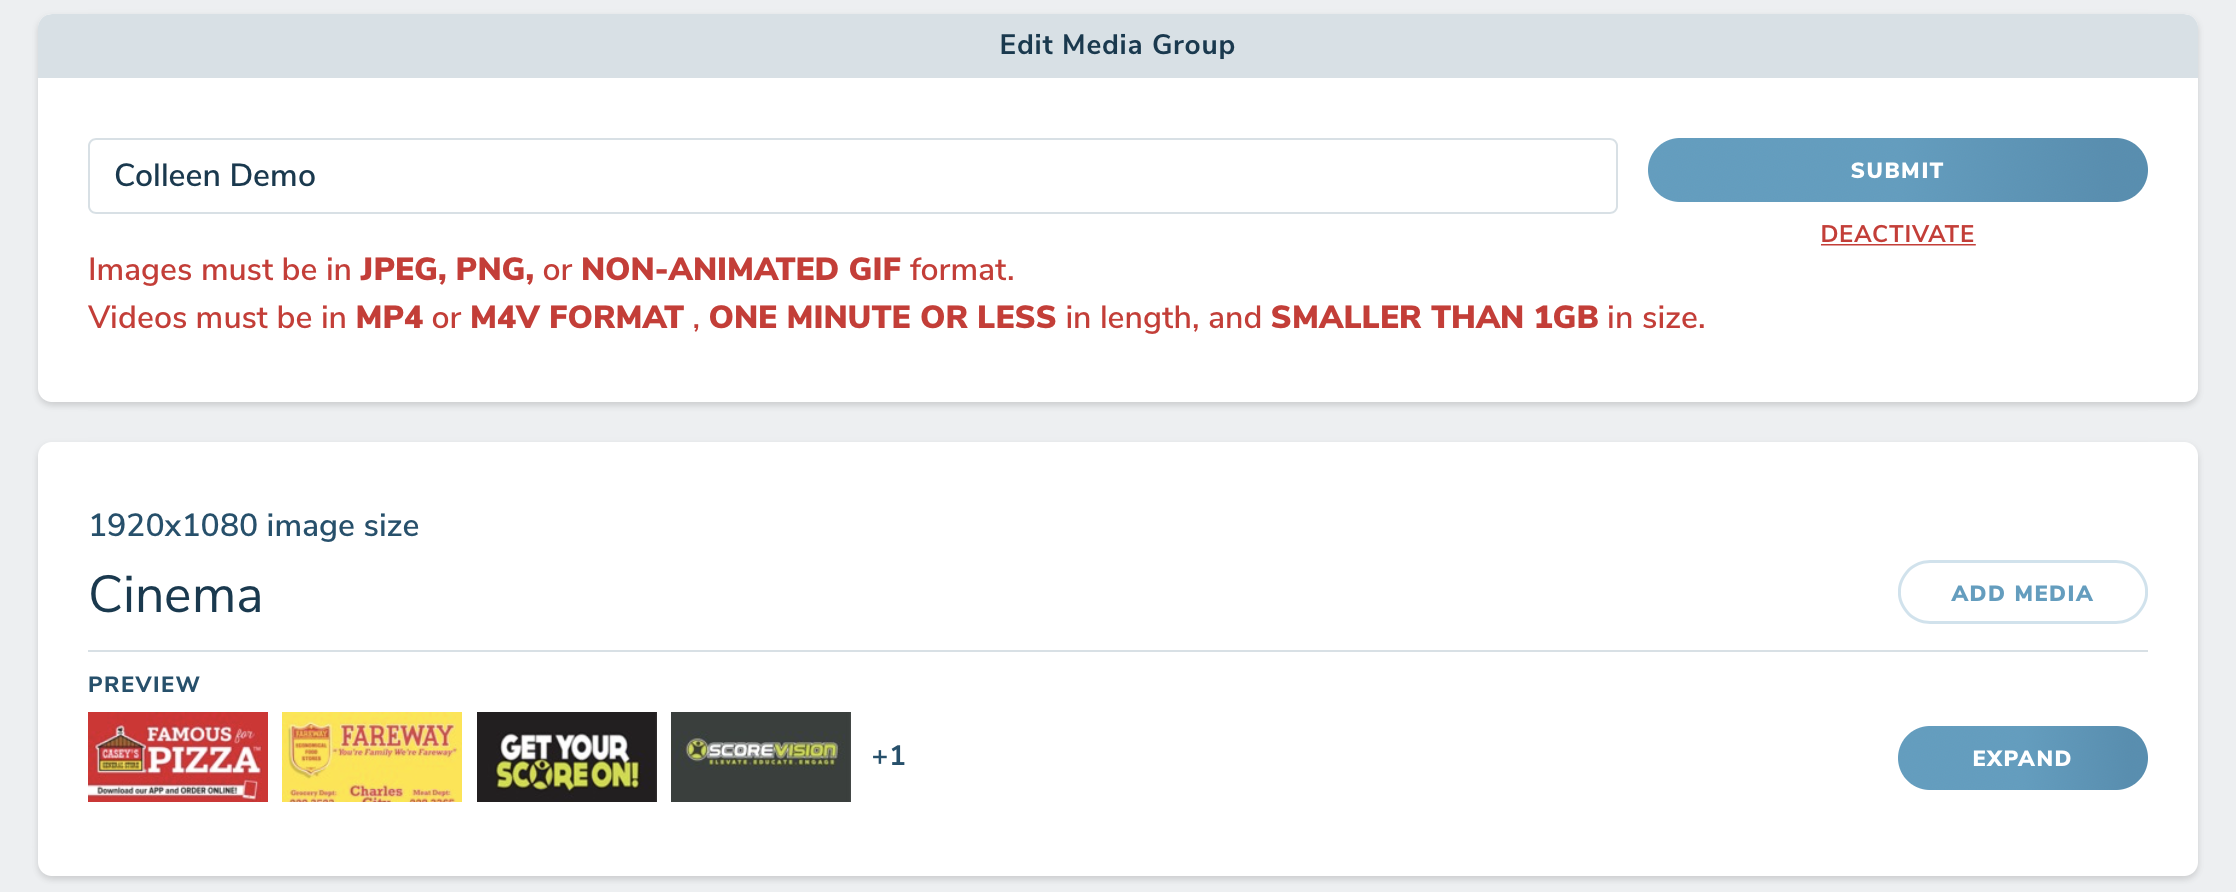
3. Each Media Group is divided into sections (Cinema Ad, Fan App Event Feed, Panorama Ad, etc.), according to where the media displays. NOTE: Before clicking ADD MEDIA for a section, notice the dimensions size listed for the section (i.e. 1920x1080 for Cinema). Only media of that dimension will upload.

4. To add images and/or videos to a section within the Media Group, click ADD MEDIA next to the desired section. It will open a pop-up window prompting you to select media from your computer to upload.

5. While media is uploading, the ADD MEDIA button will change to UPLOADING.

6. Once you've uploaded all the media to your new Media Group, click SUBMIT in the top right corner. You also have the option to delete the Media Group by clicking DEACTIVATE, if necessary.

Edit Media Group
1. To edit a Media Group that's already been created, click EDIT on that media group's card.

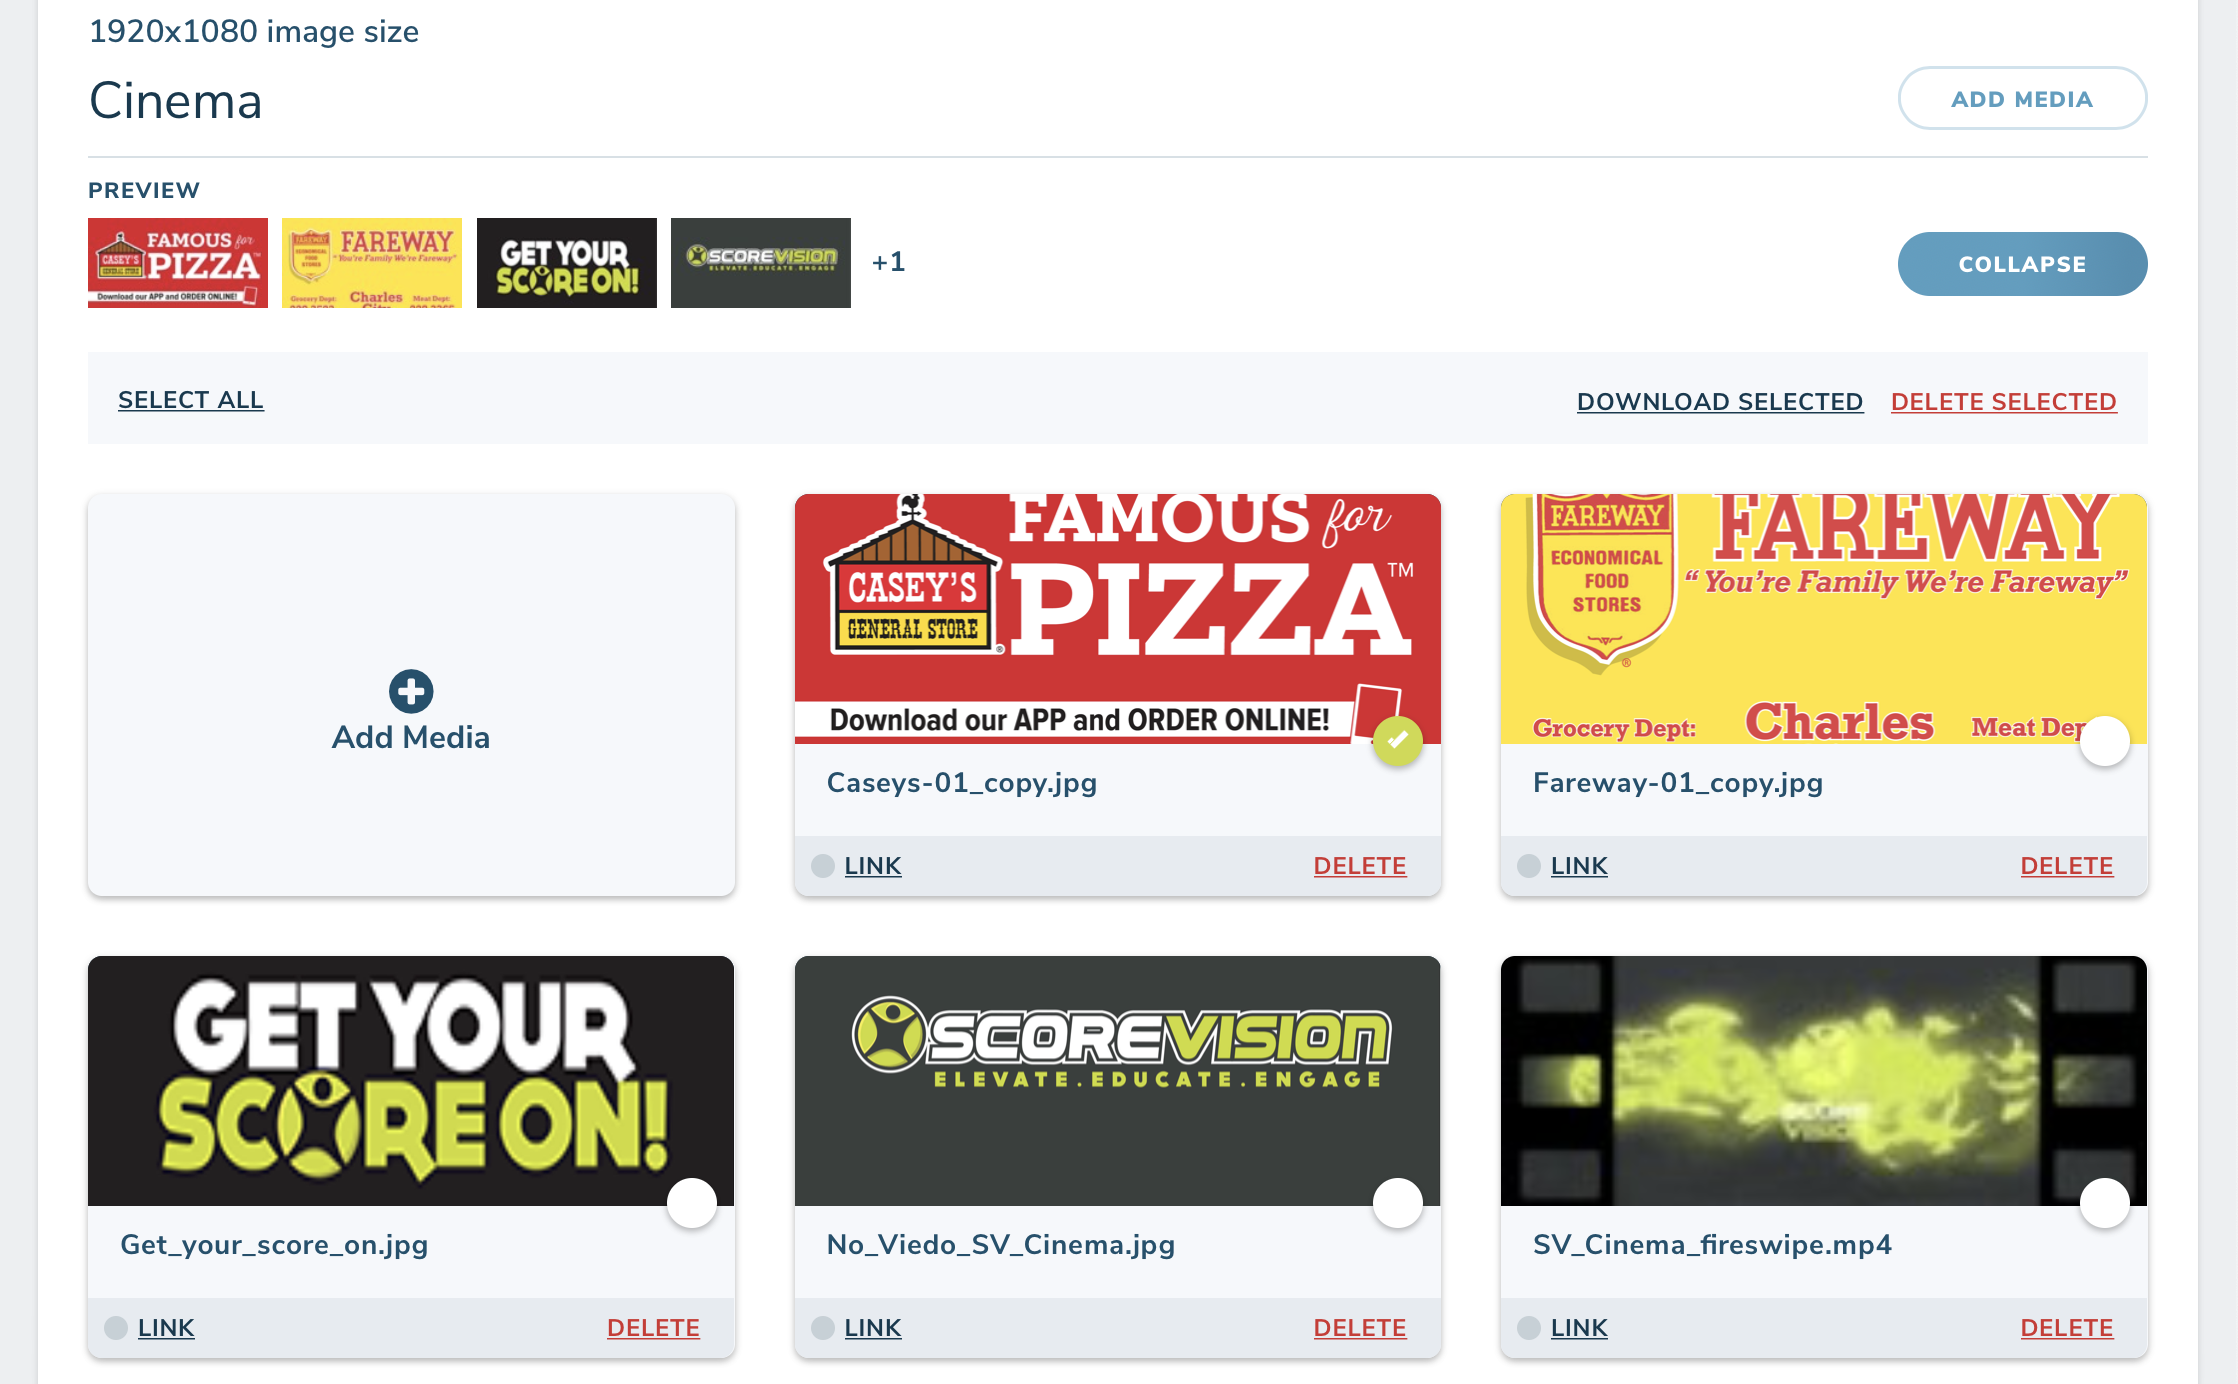
2. Within each section, you will see thumbnail previews of the media within the section. To delete and/or download media from the section, click EXPAND.

3. To download media, select the checkboxes (highlighted in light green with the checkmark inside) for the media you want to download, and then click DOWNLOAD SELECTED at the top. To delete media, you can either click DELETE on their respective card, or select the checkboxes and click DELETE SELECTED at the top. NOTE: The LINK button only applies to the two Fan App media sections.

4. You can always upload new media content by clicking ADD MEDIA next to the correct section, or by clicking the ADD MEDIA box when a section is expanded.
