This article provides steps on how to start and run a game on the Badminton Scorekeeper App. This includes both cloud-based games and ad hoc games, as well as how to filter through different seasons to find your game.
Connecting your Scorekeeper App
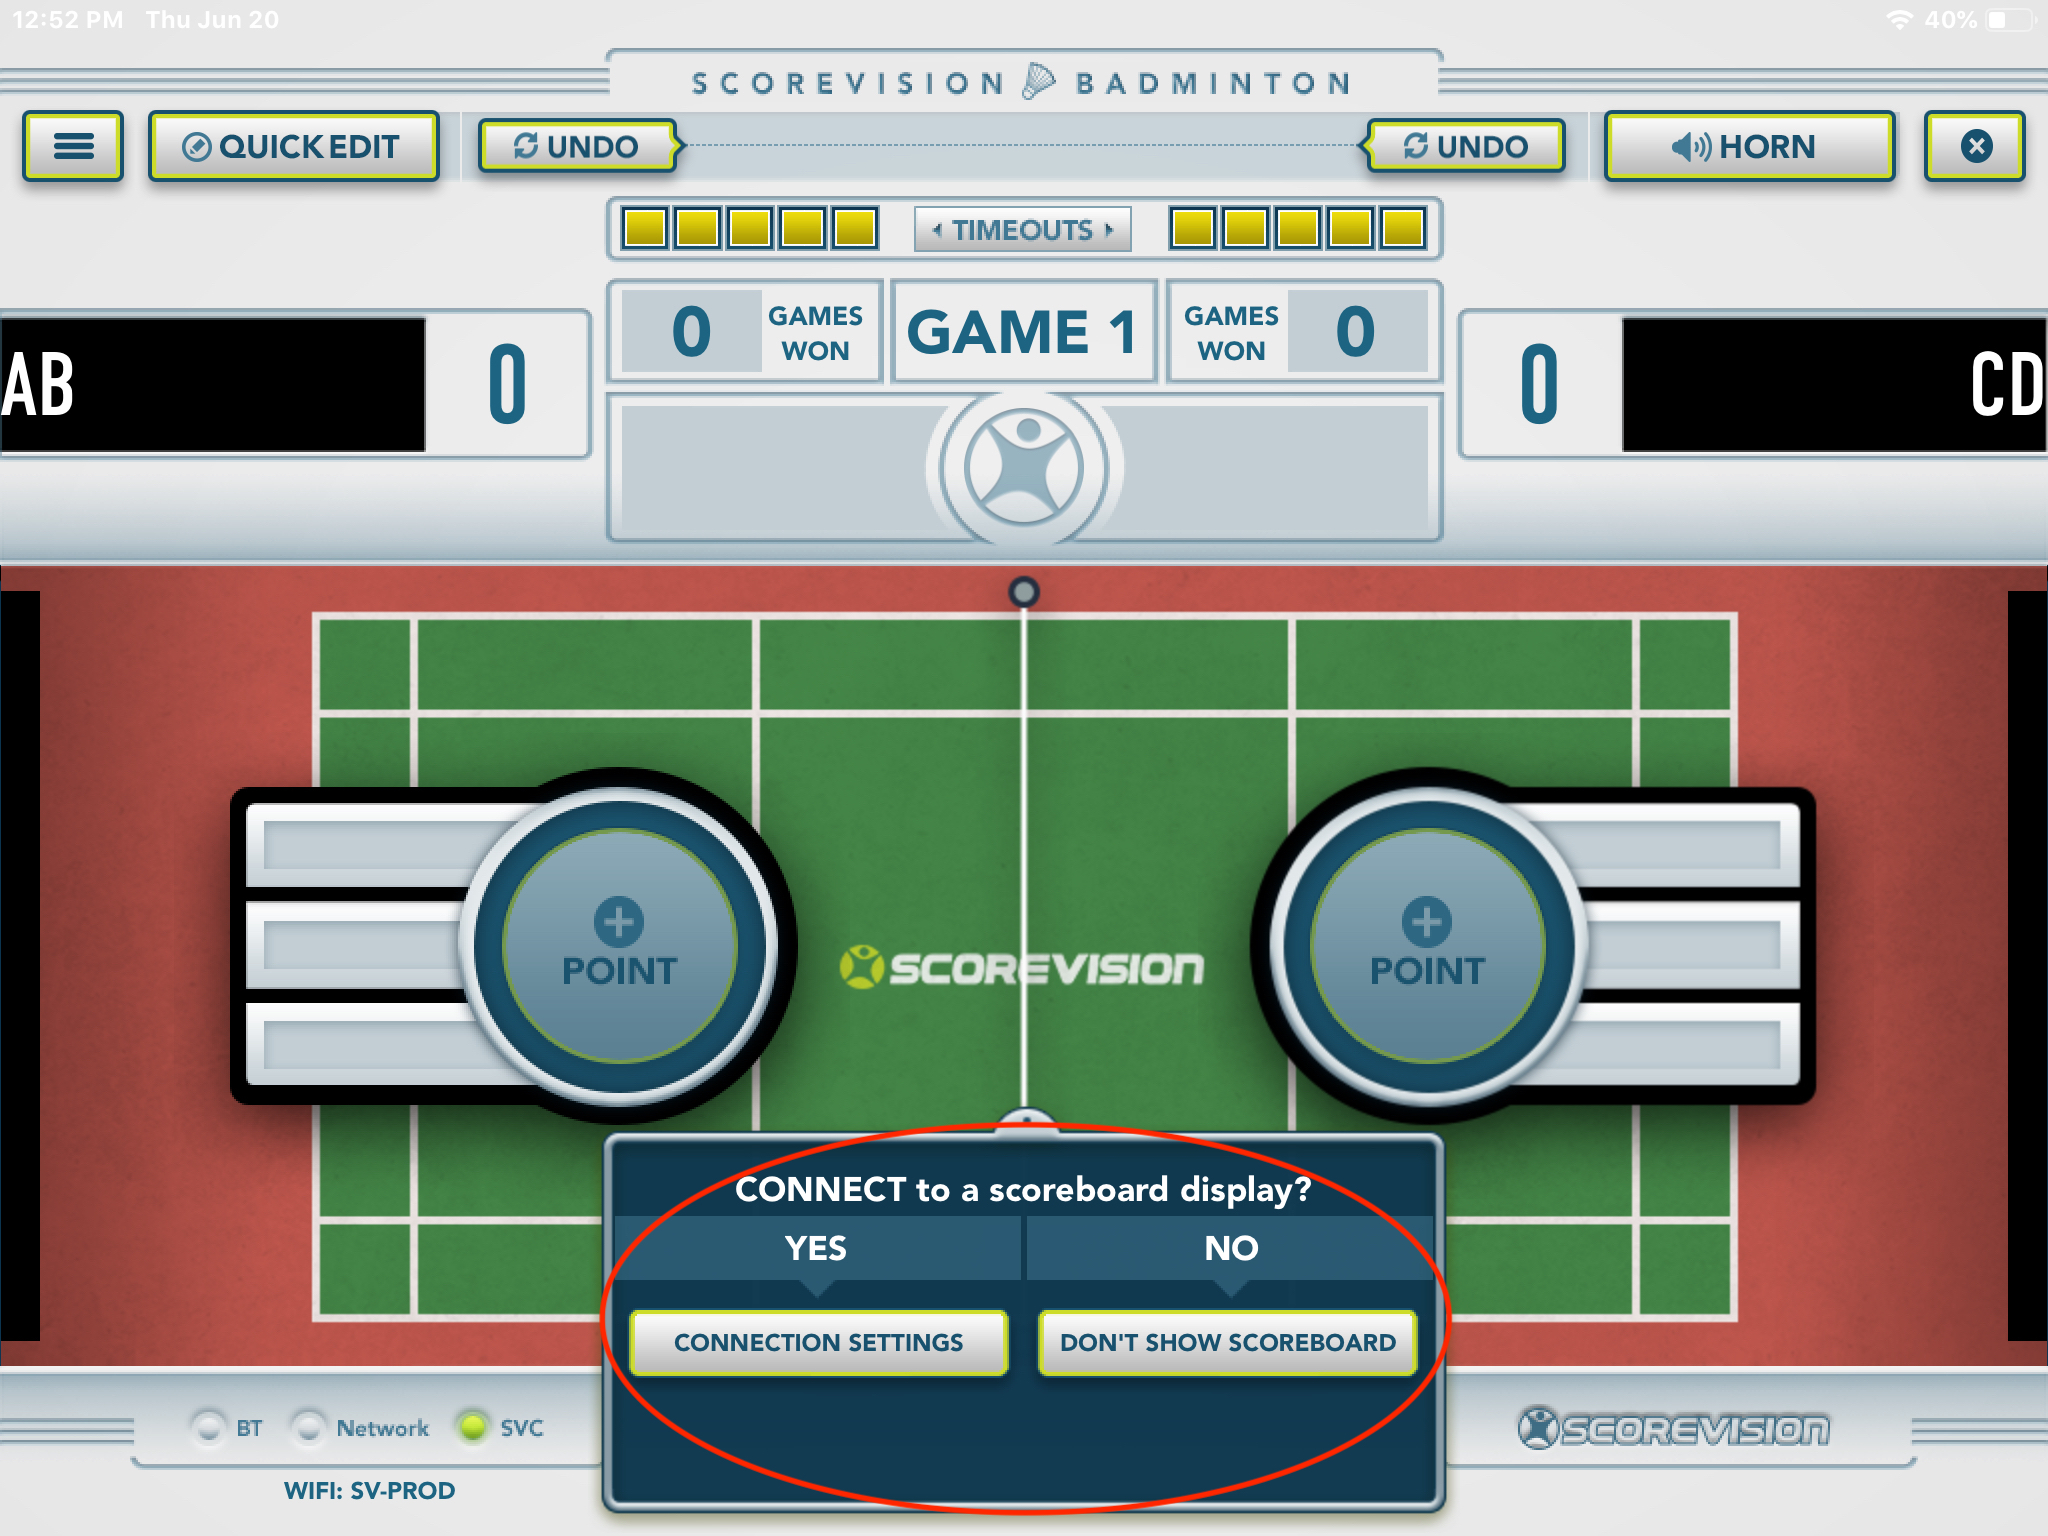
1. If you want to connect the Scorekeeper app to a ScoreVision display, ensure that the YES tab is selected. Then, press CONNECT to connect to your ScoreVision display (generally, you will select SV-1, but SV-2 also works). If you do not want to connect to a ScoreVision display, refer to #2.
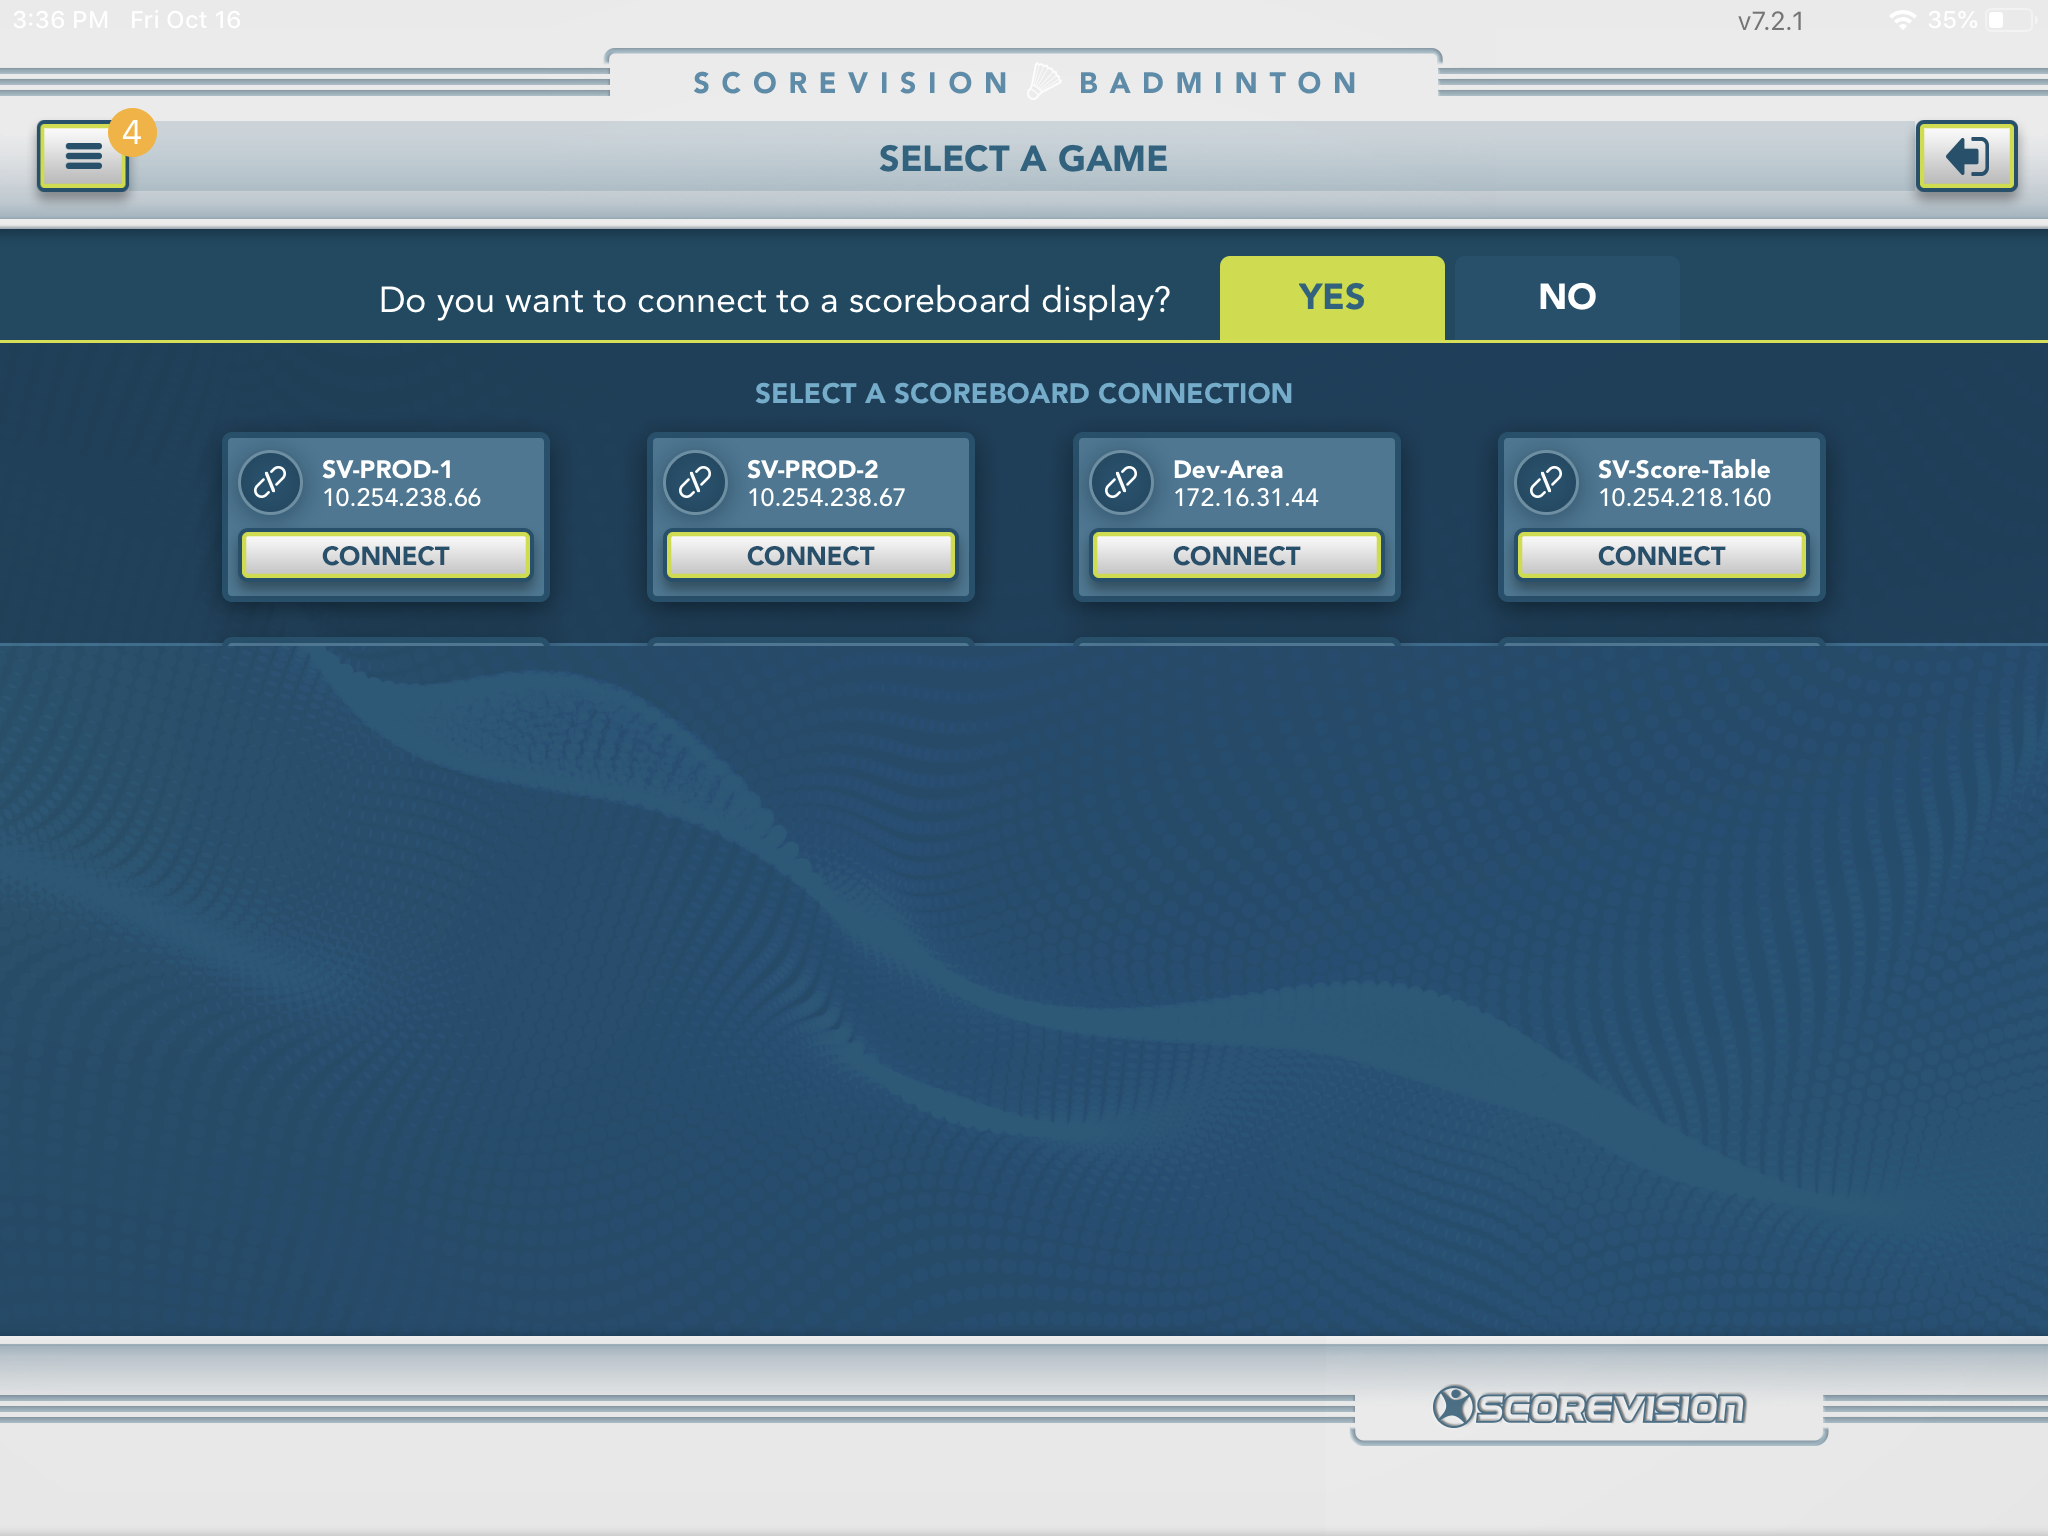
2. If you do not want to connect the Scorekeeper app to a ScoreVision display, ensure that the NO tab is selected.

NOTE: You have two options for starting a game. You can either use the filters to select a game that was created on the cloud, or you can add a new game from scratch.
Selecting a game from the cloud
1. Press FILTER BY SEASON.
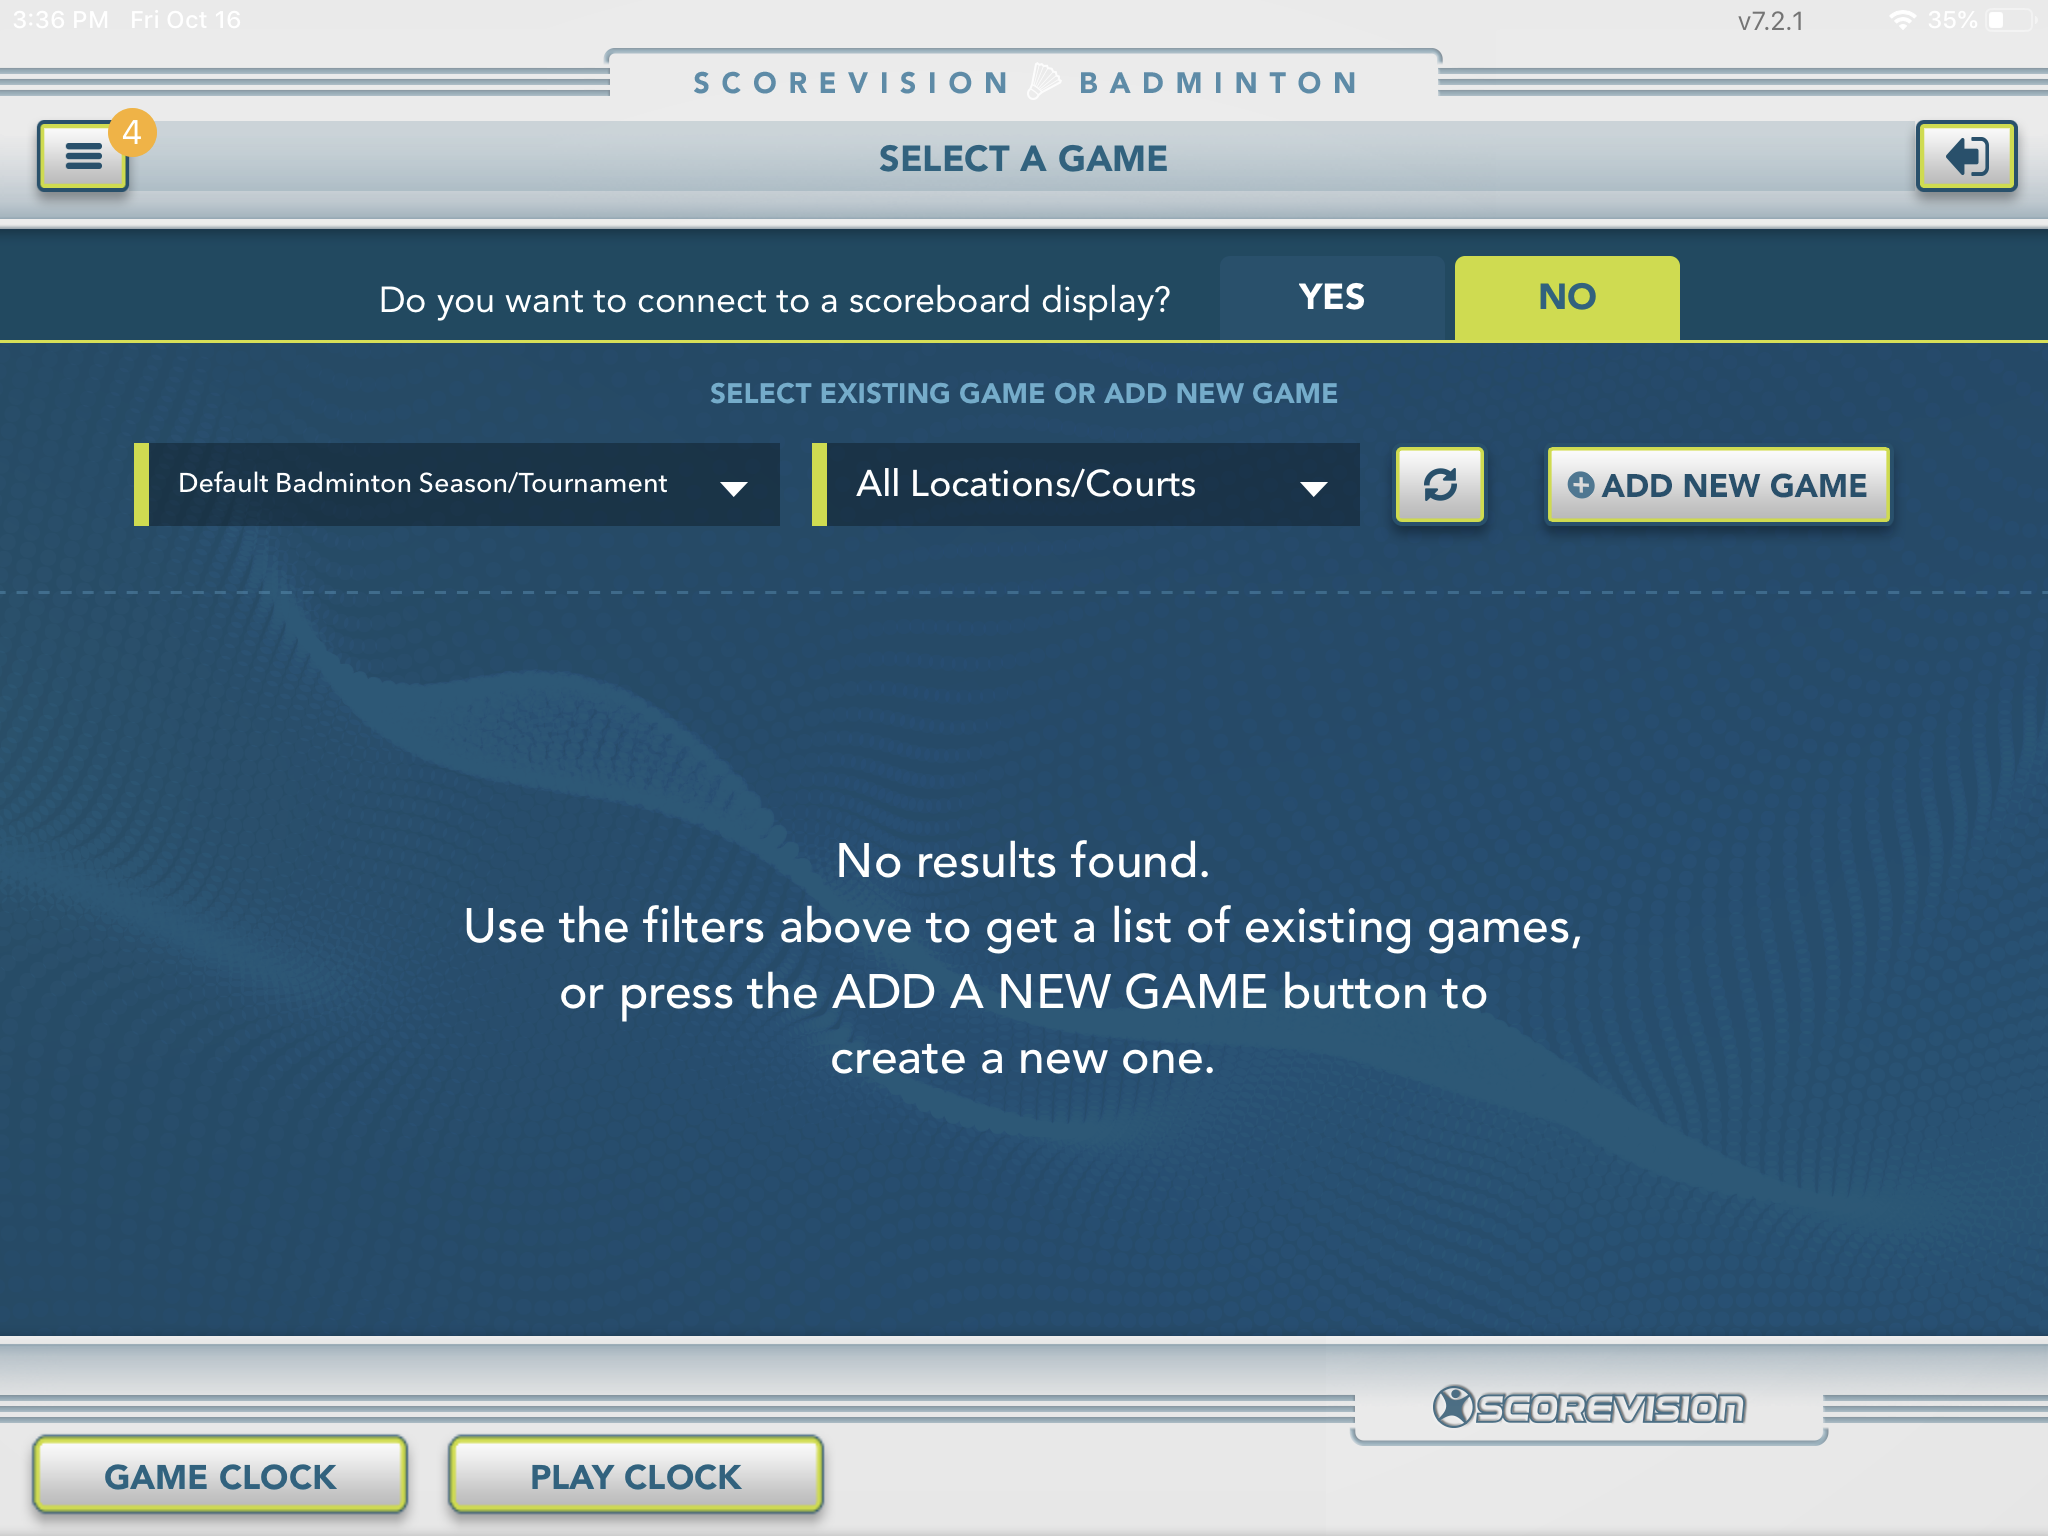
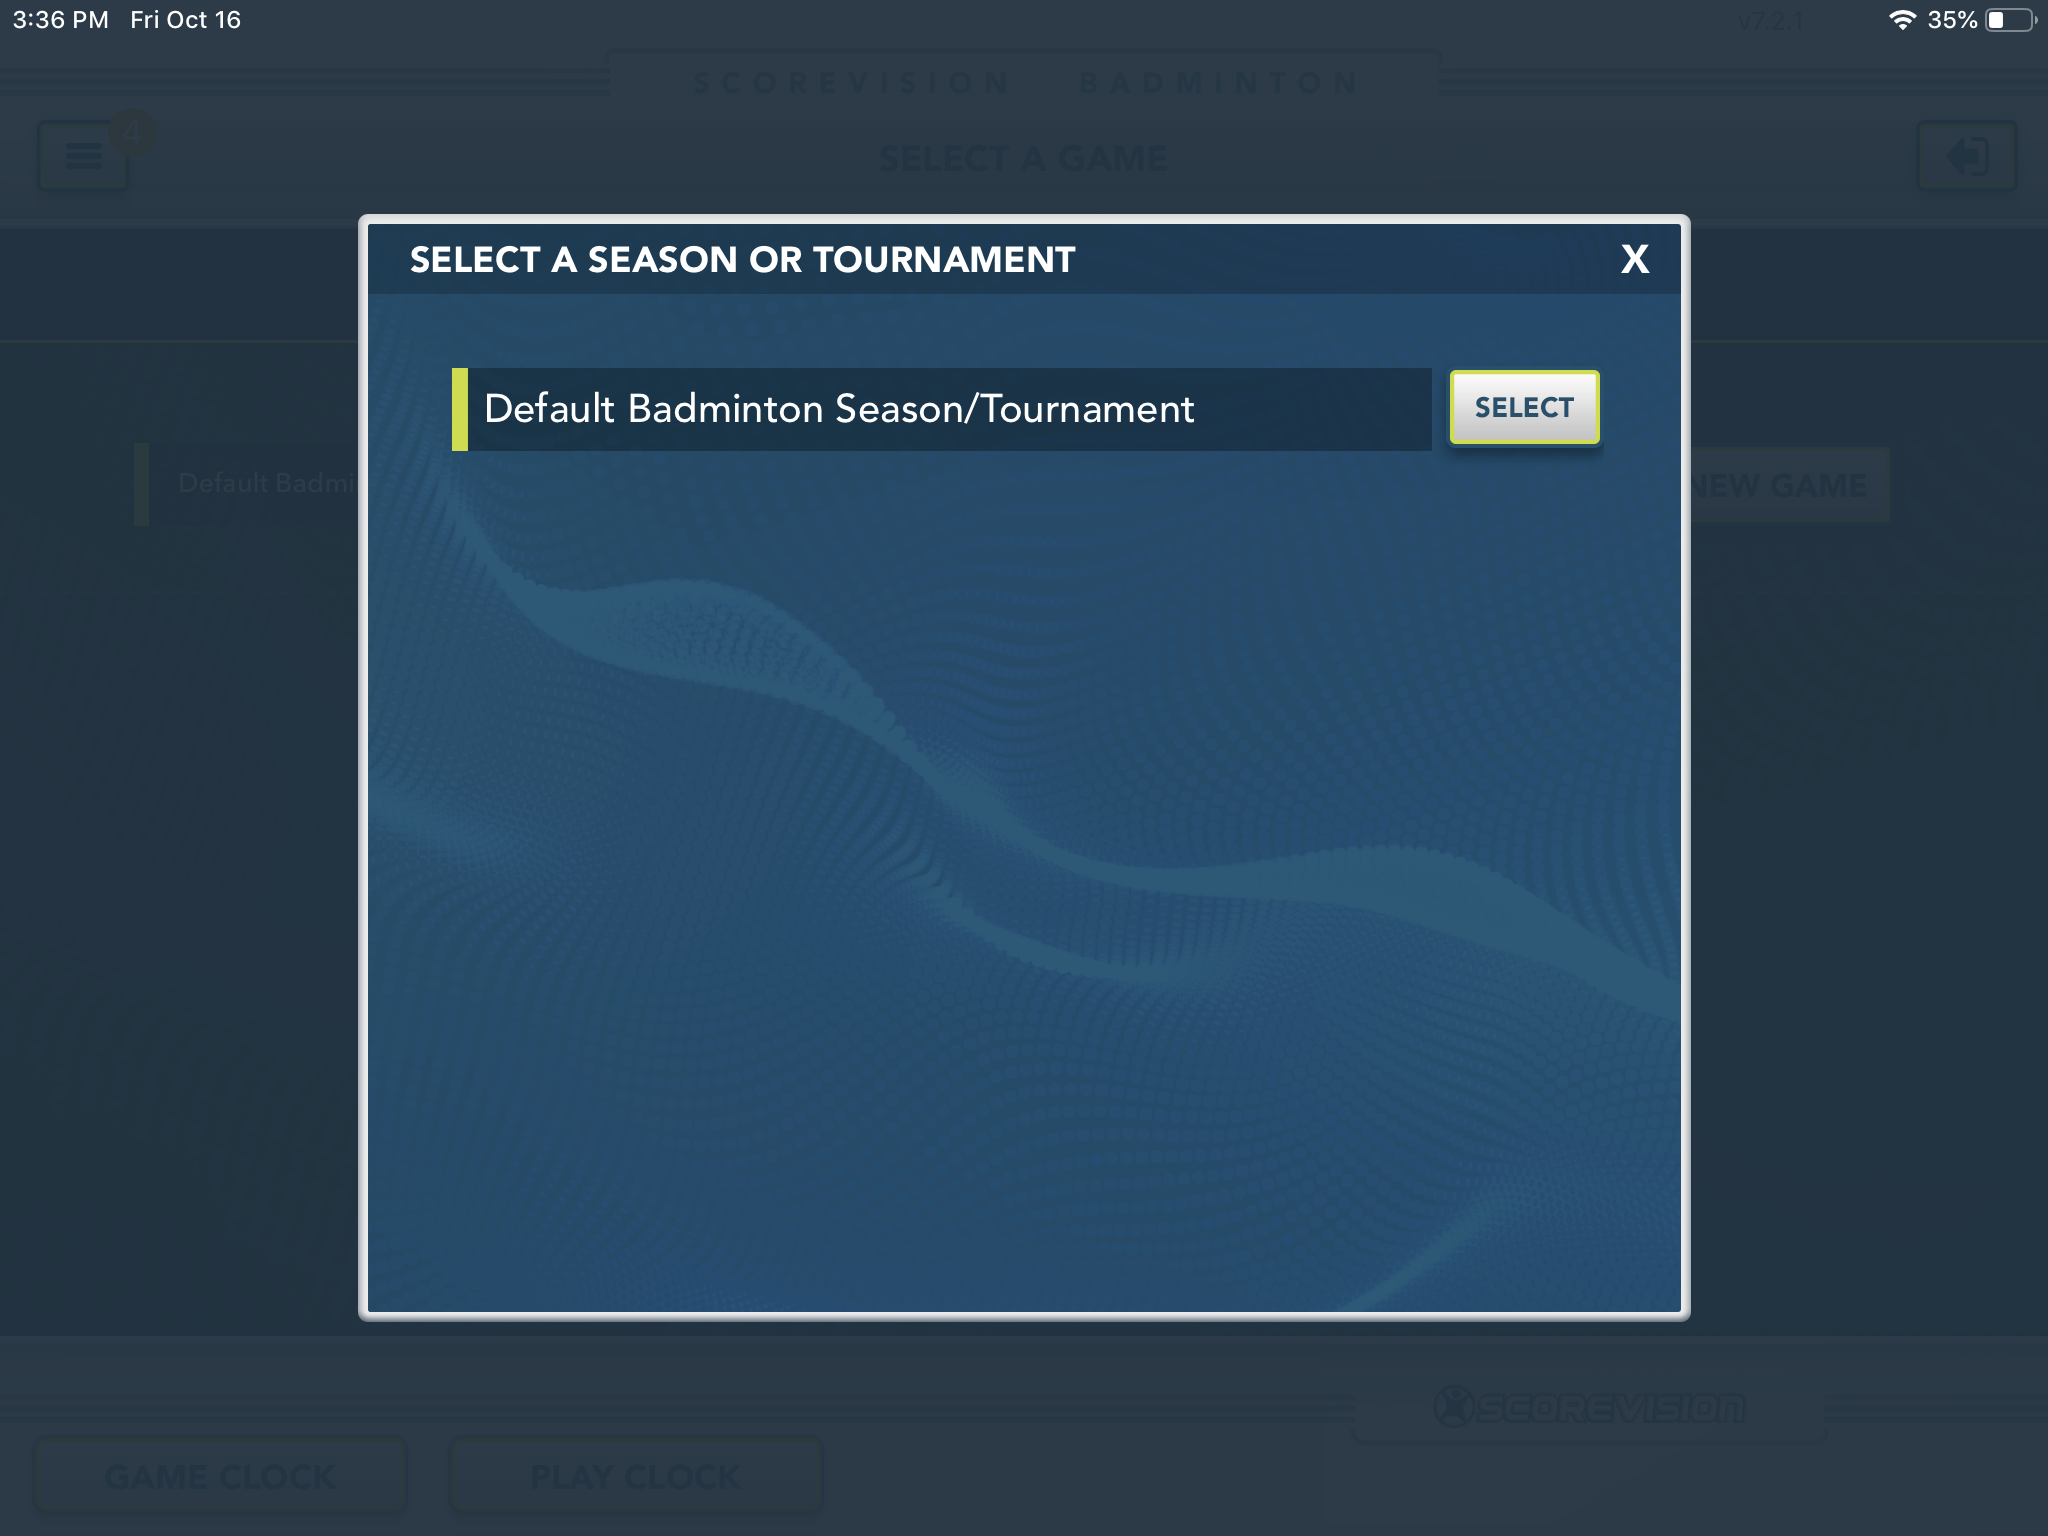
2. A list of available pre-made seasons will appear in a pop-up window. Select the season that you want to use.
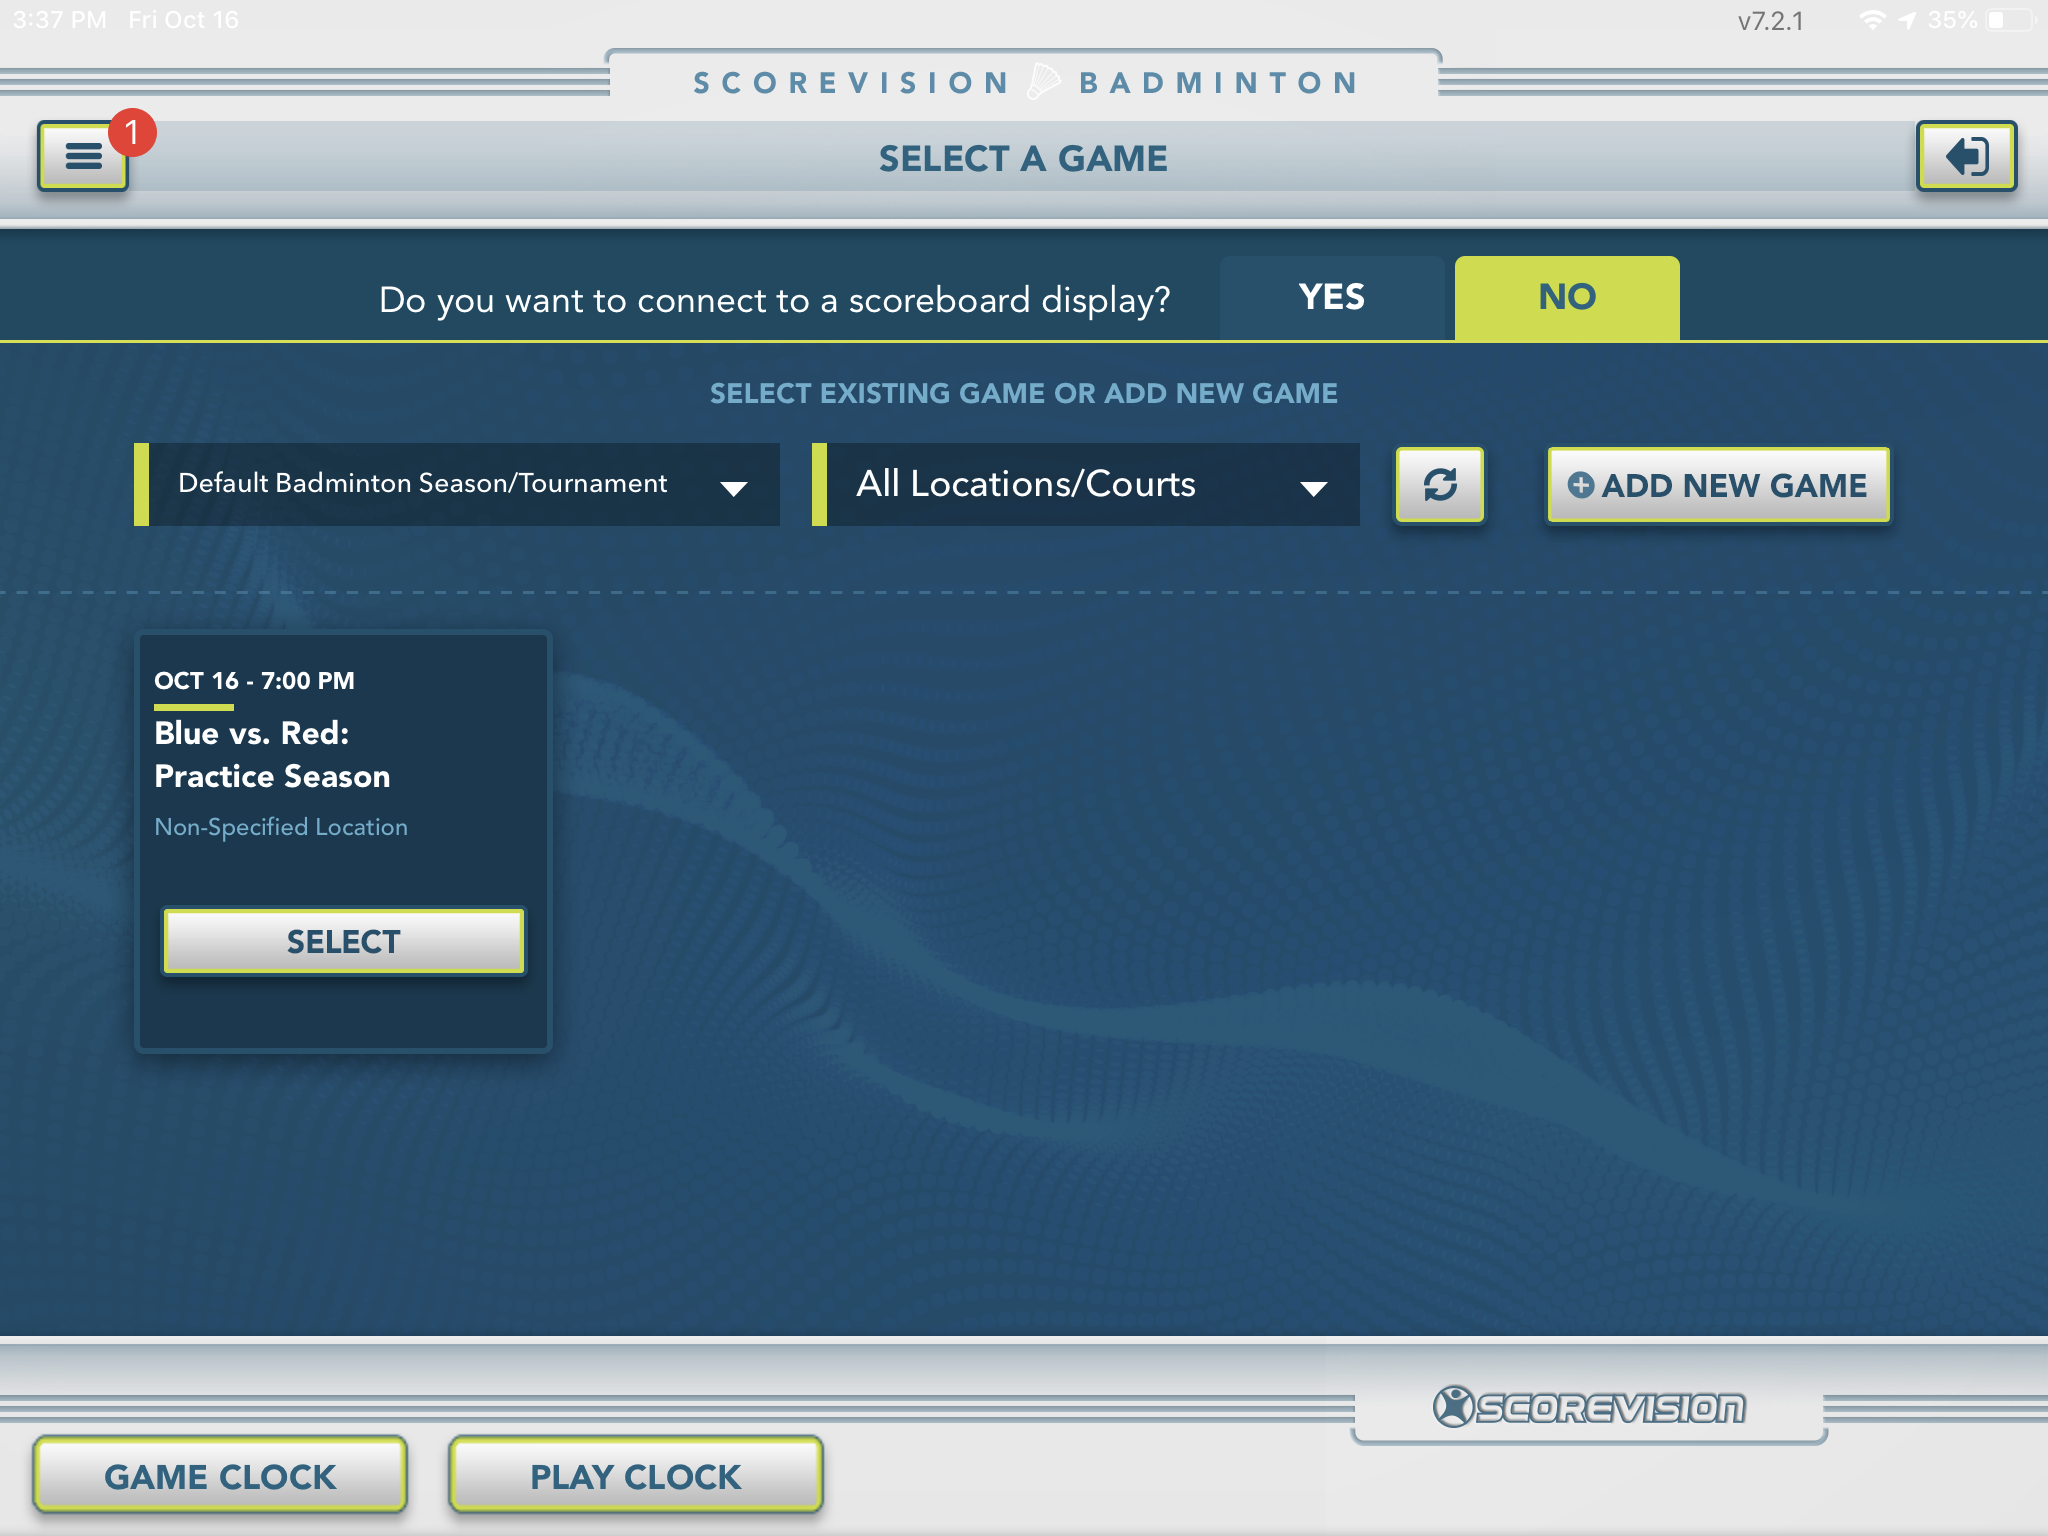
3. If you have previously-entered games in the cloud, a list of those games will appear in the open space below the filter menus. These games will be sorted by start date and time, the nearest upcoming game first.
Press SELECT to begin the game of your choice. The rules that were defined in the cloud (number of periods, timeouts, etc.) will automatically be applied.
Adding a new game from scratch
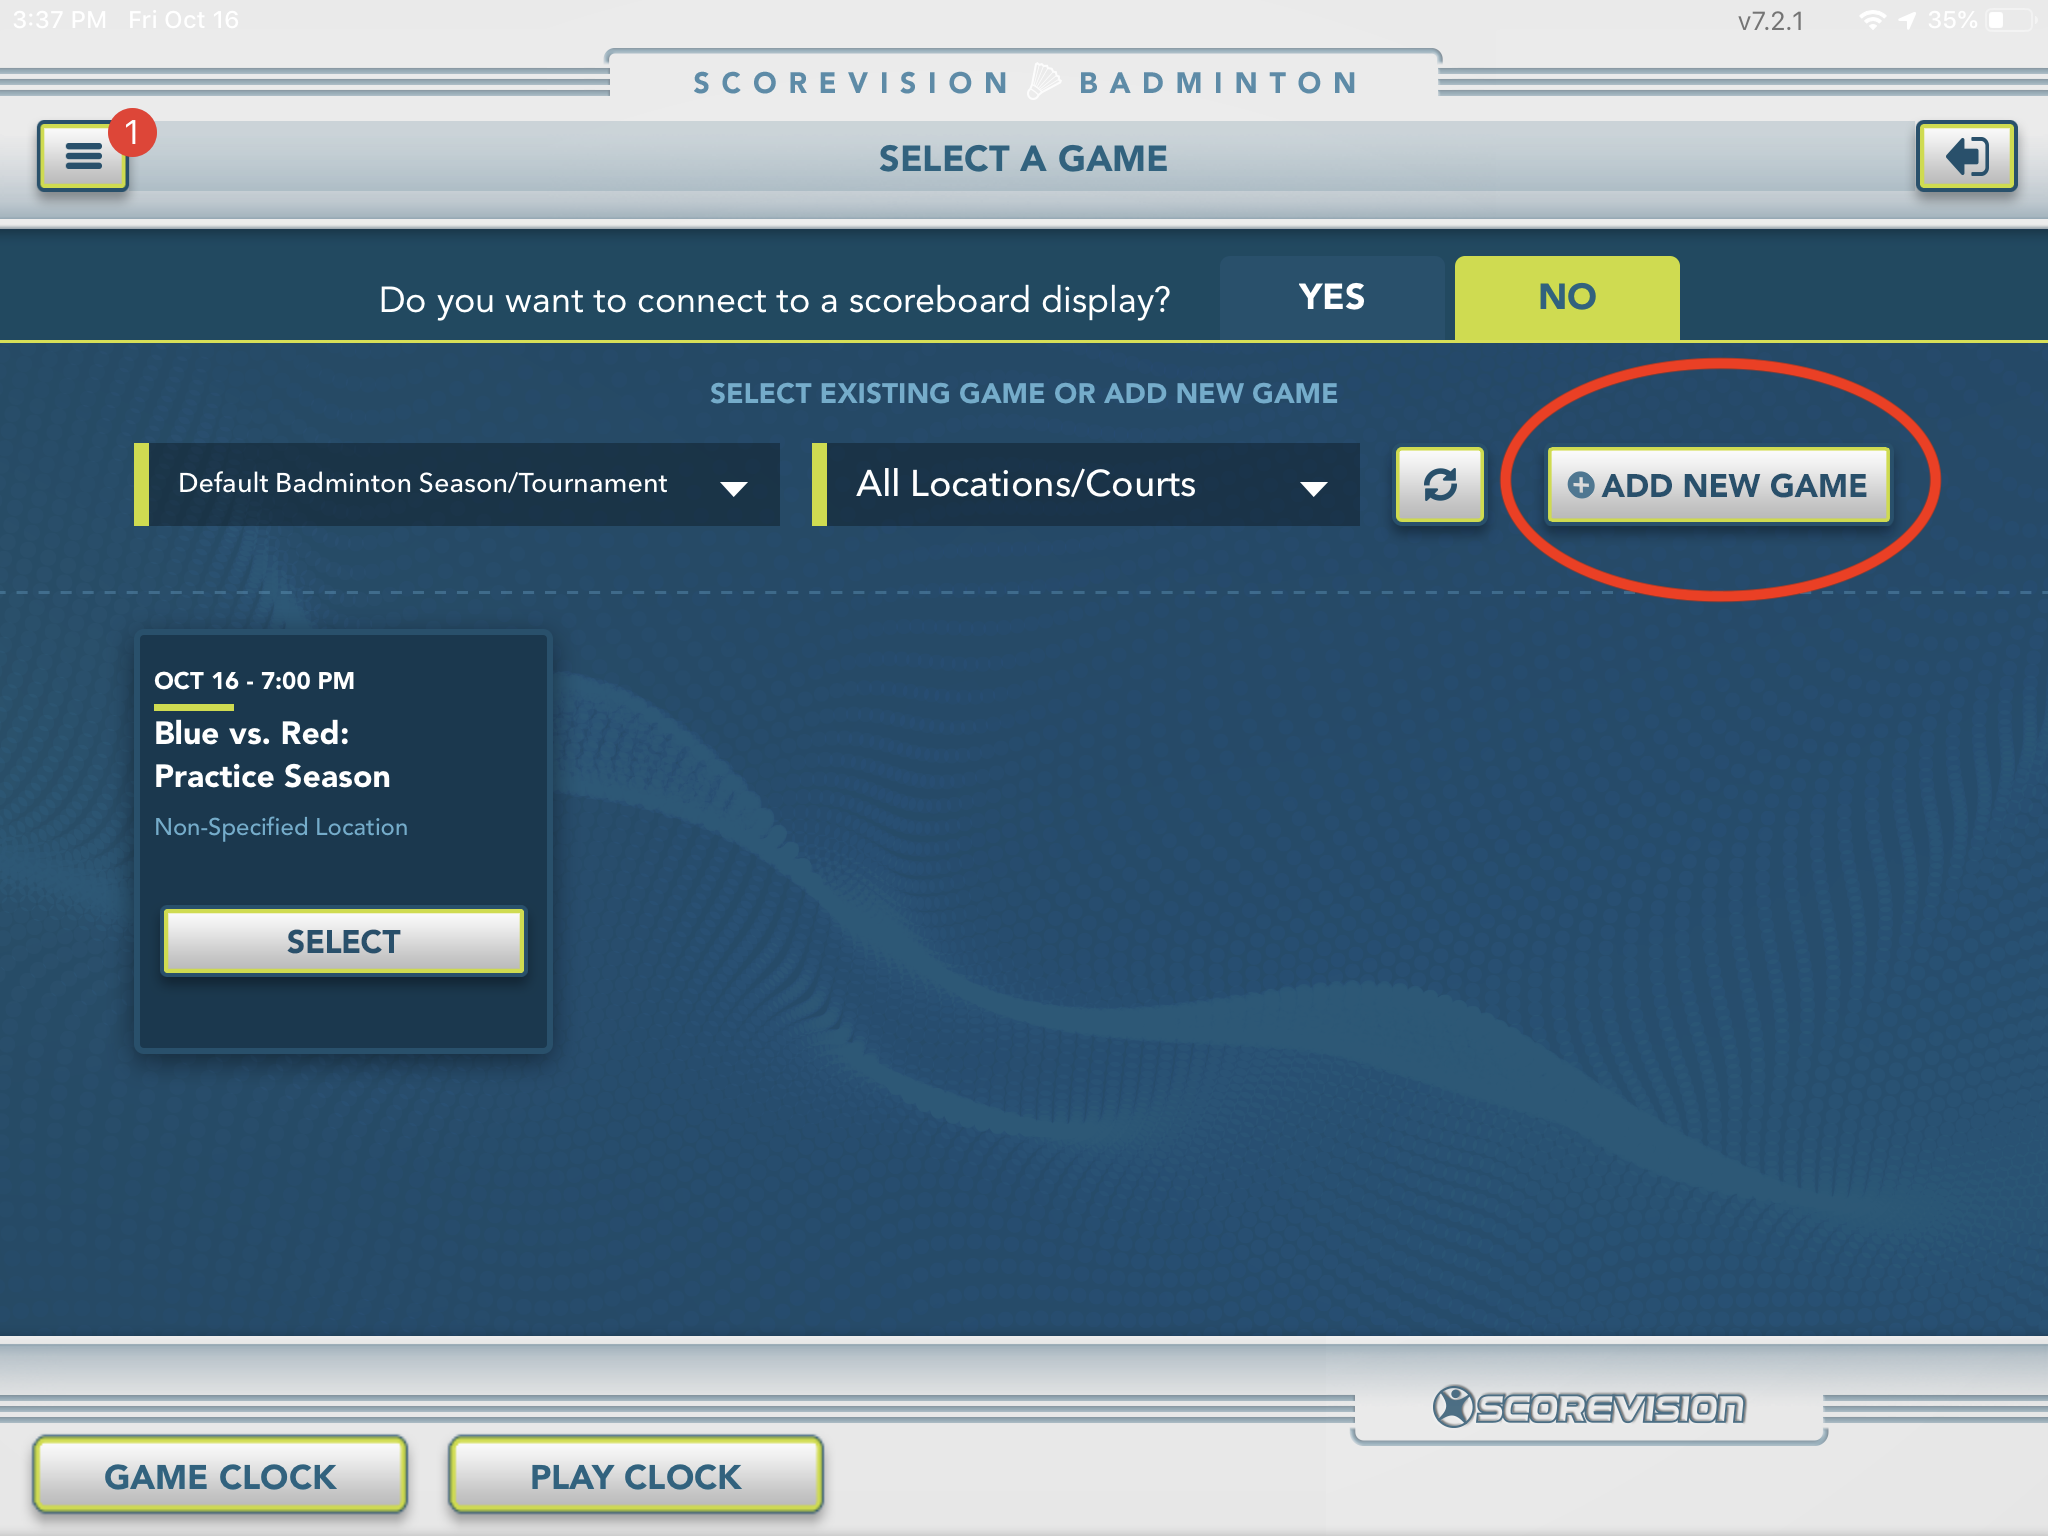
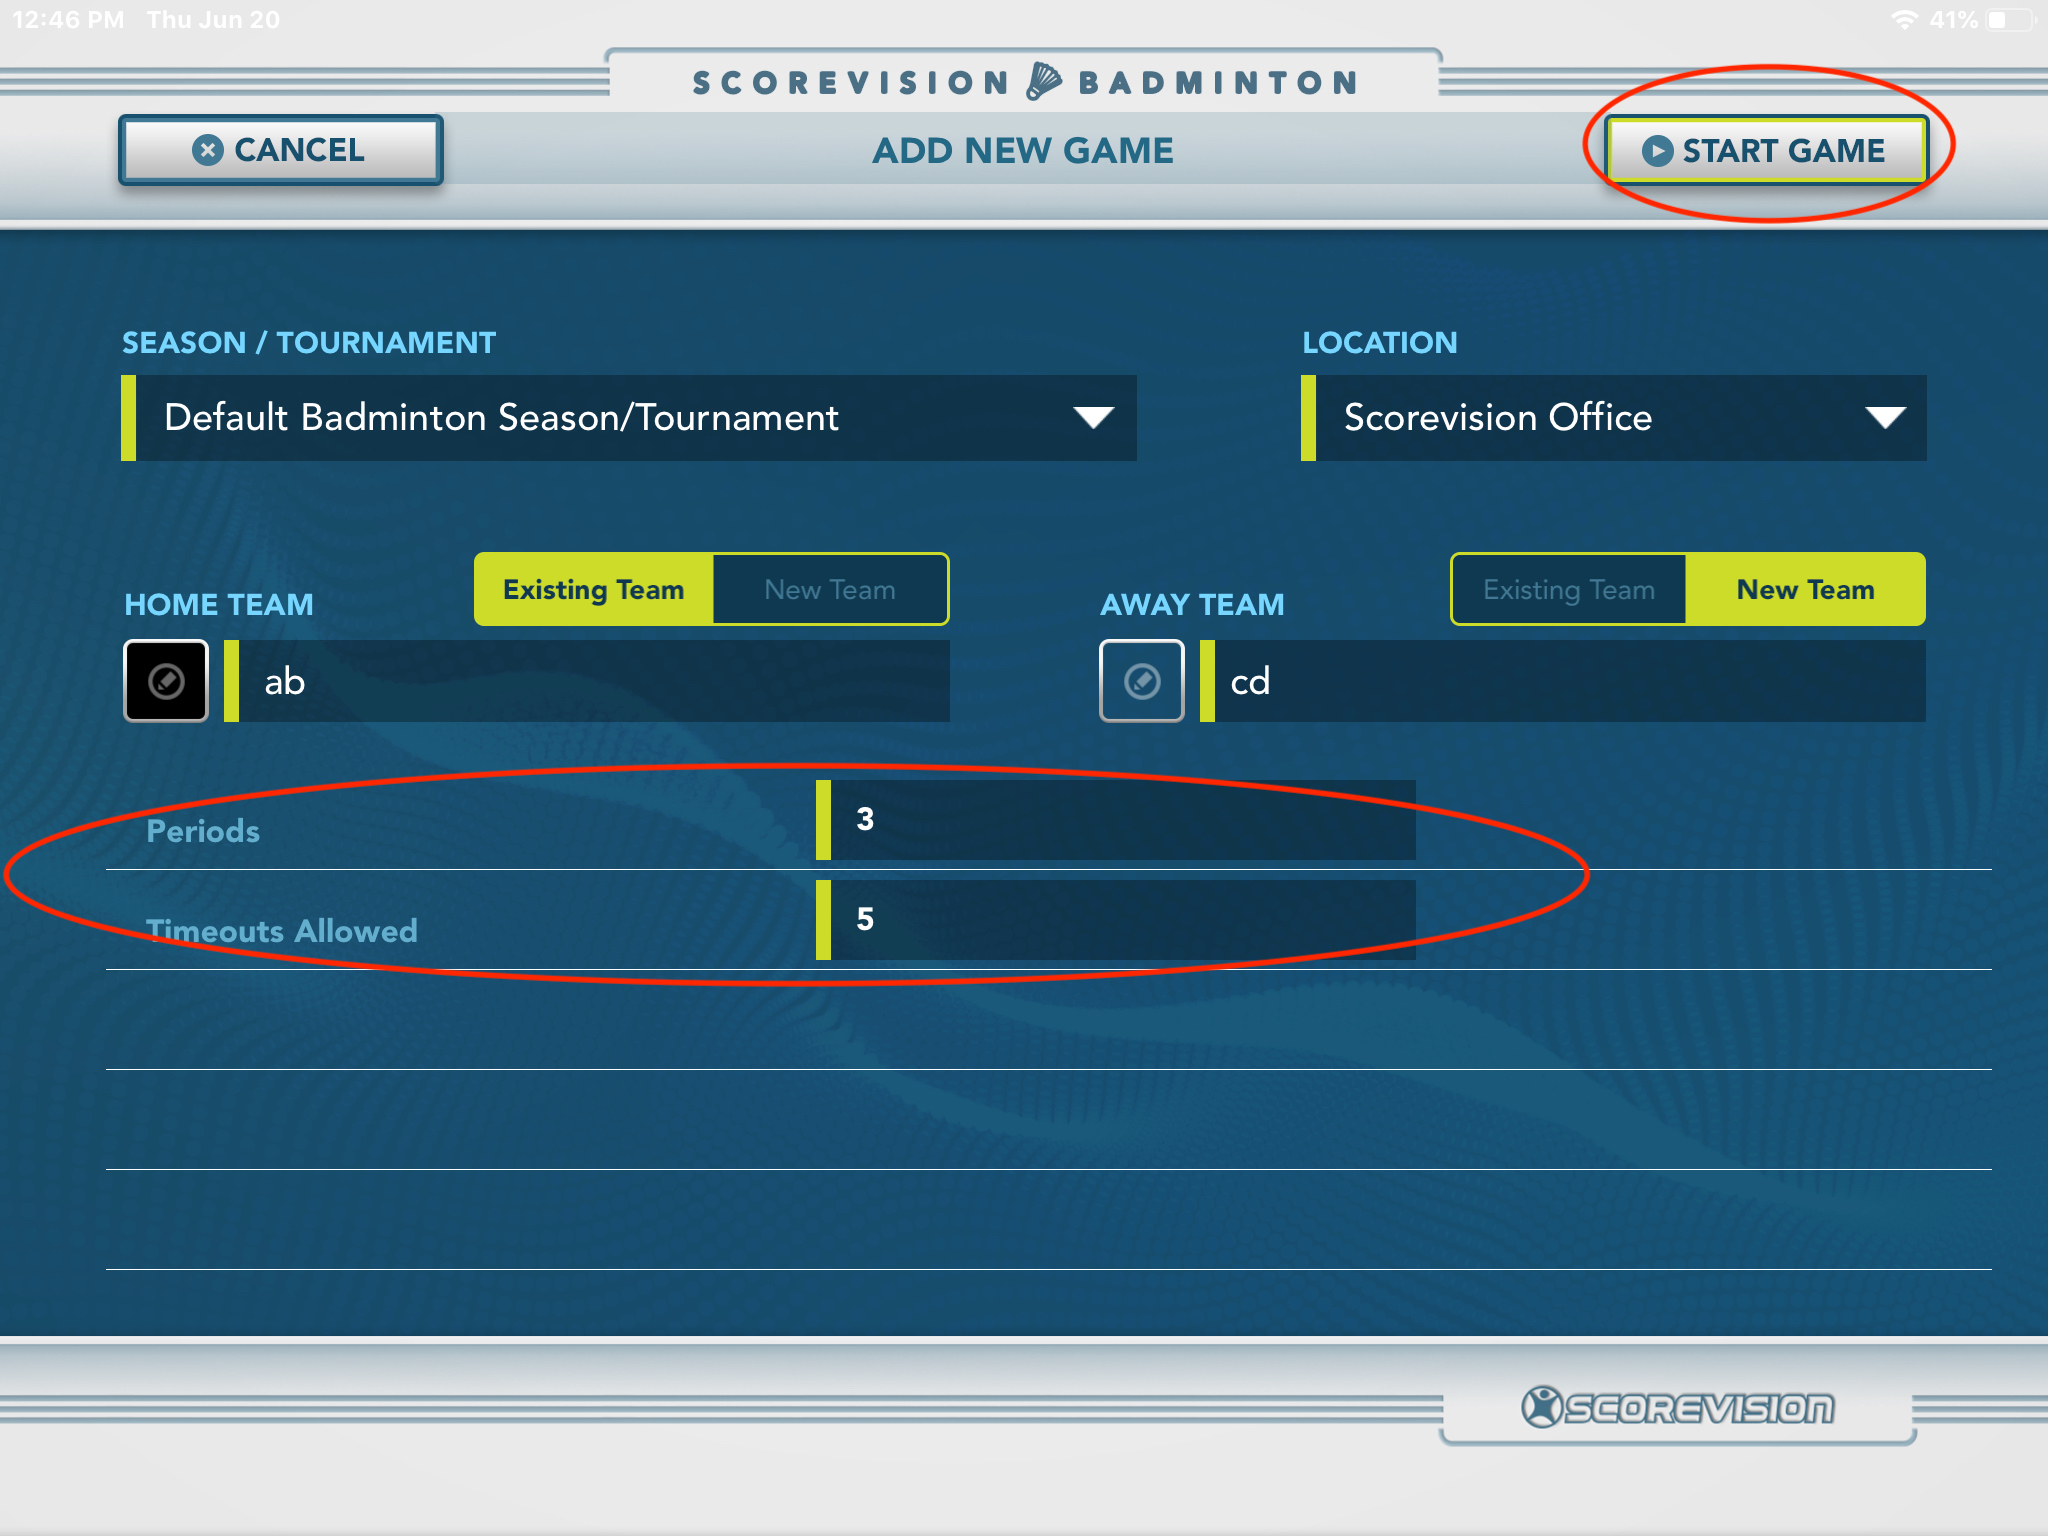
1. If no games appear on your pre-defined list, or if you choose to create an entirely new game from scratch, simply press ADD A NEW GAME.
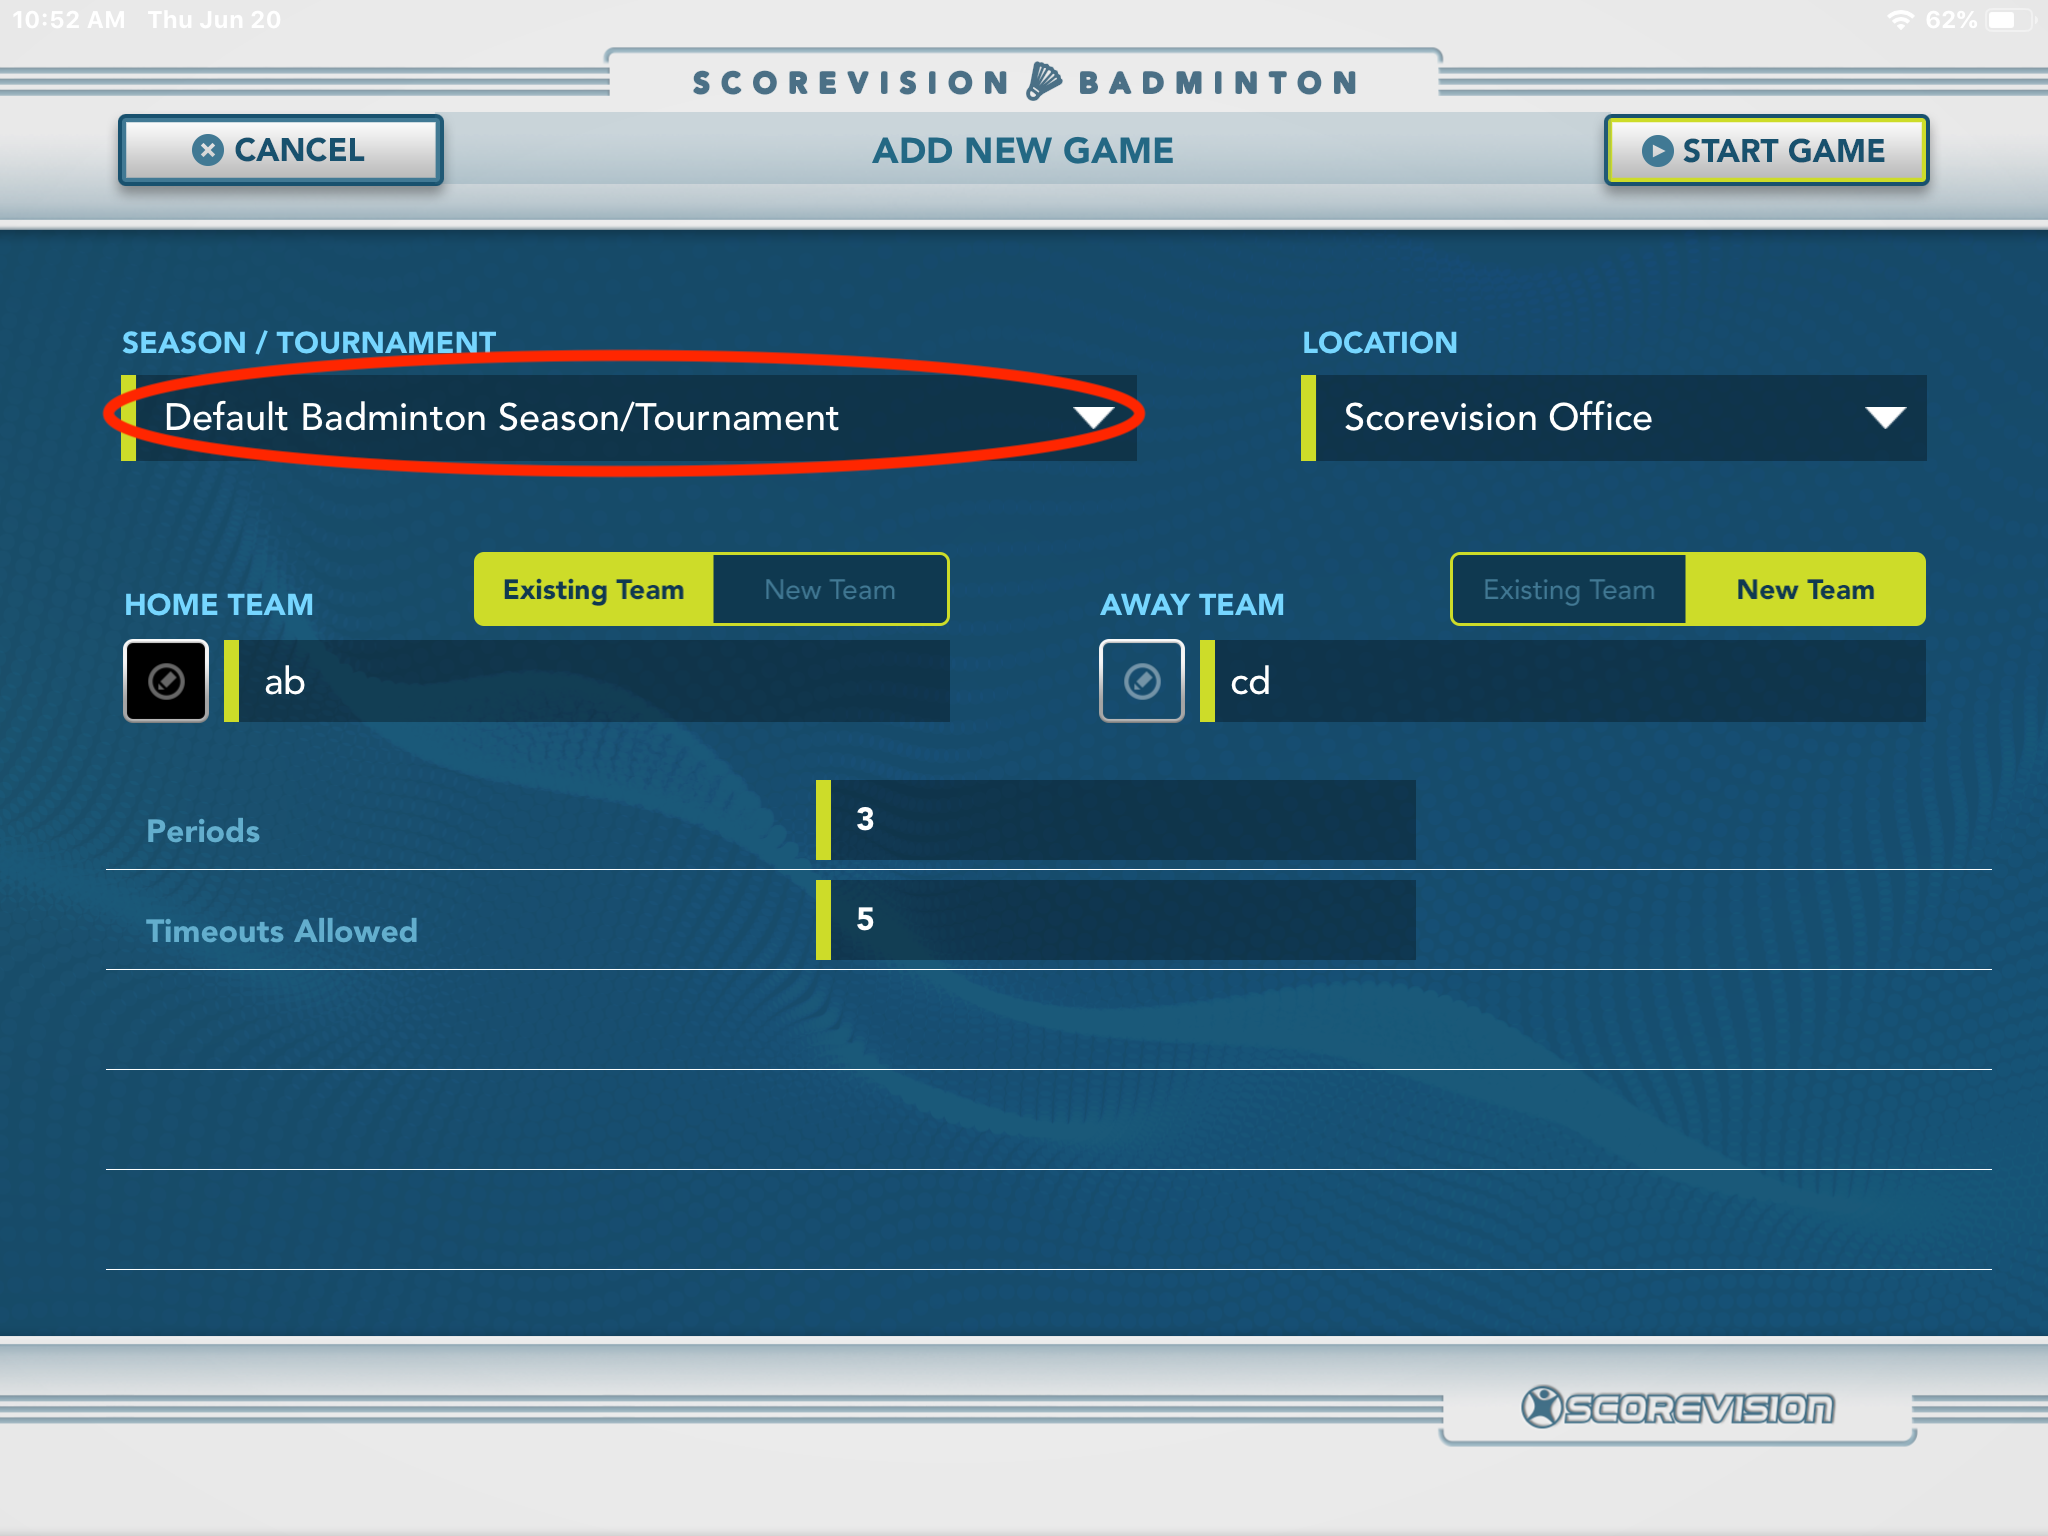
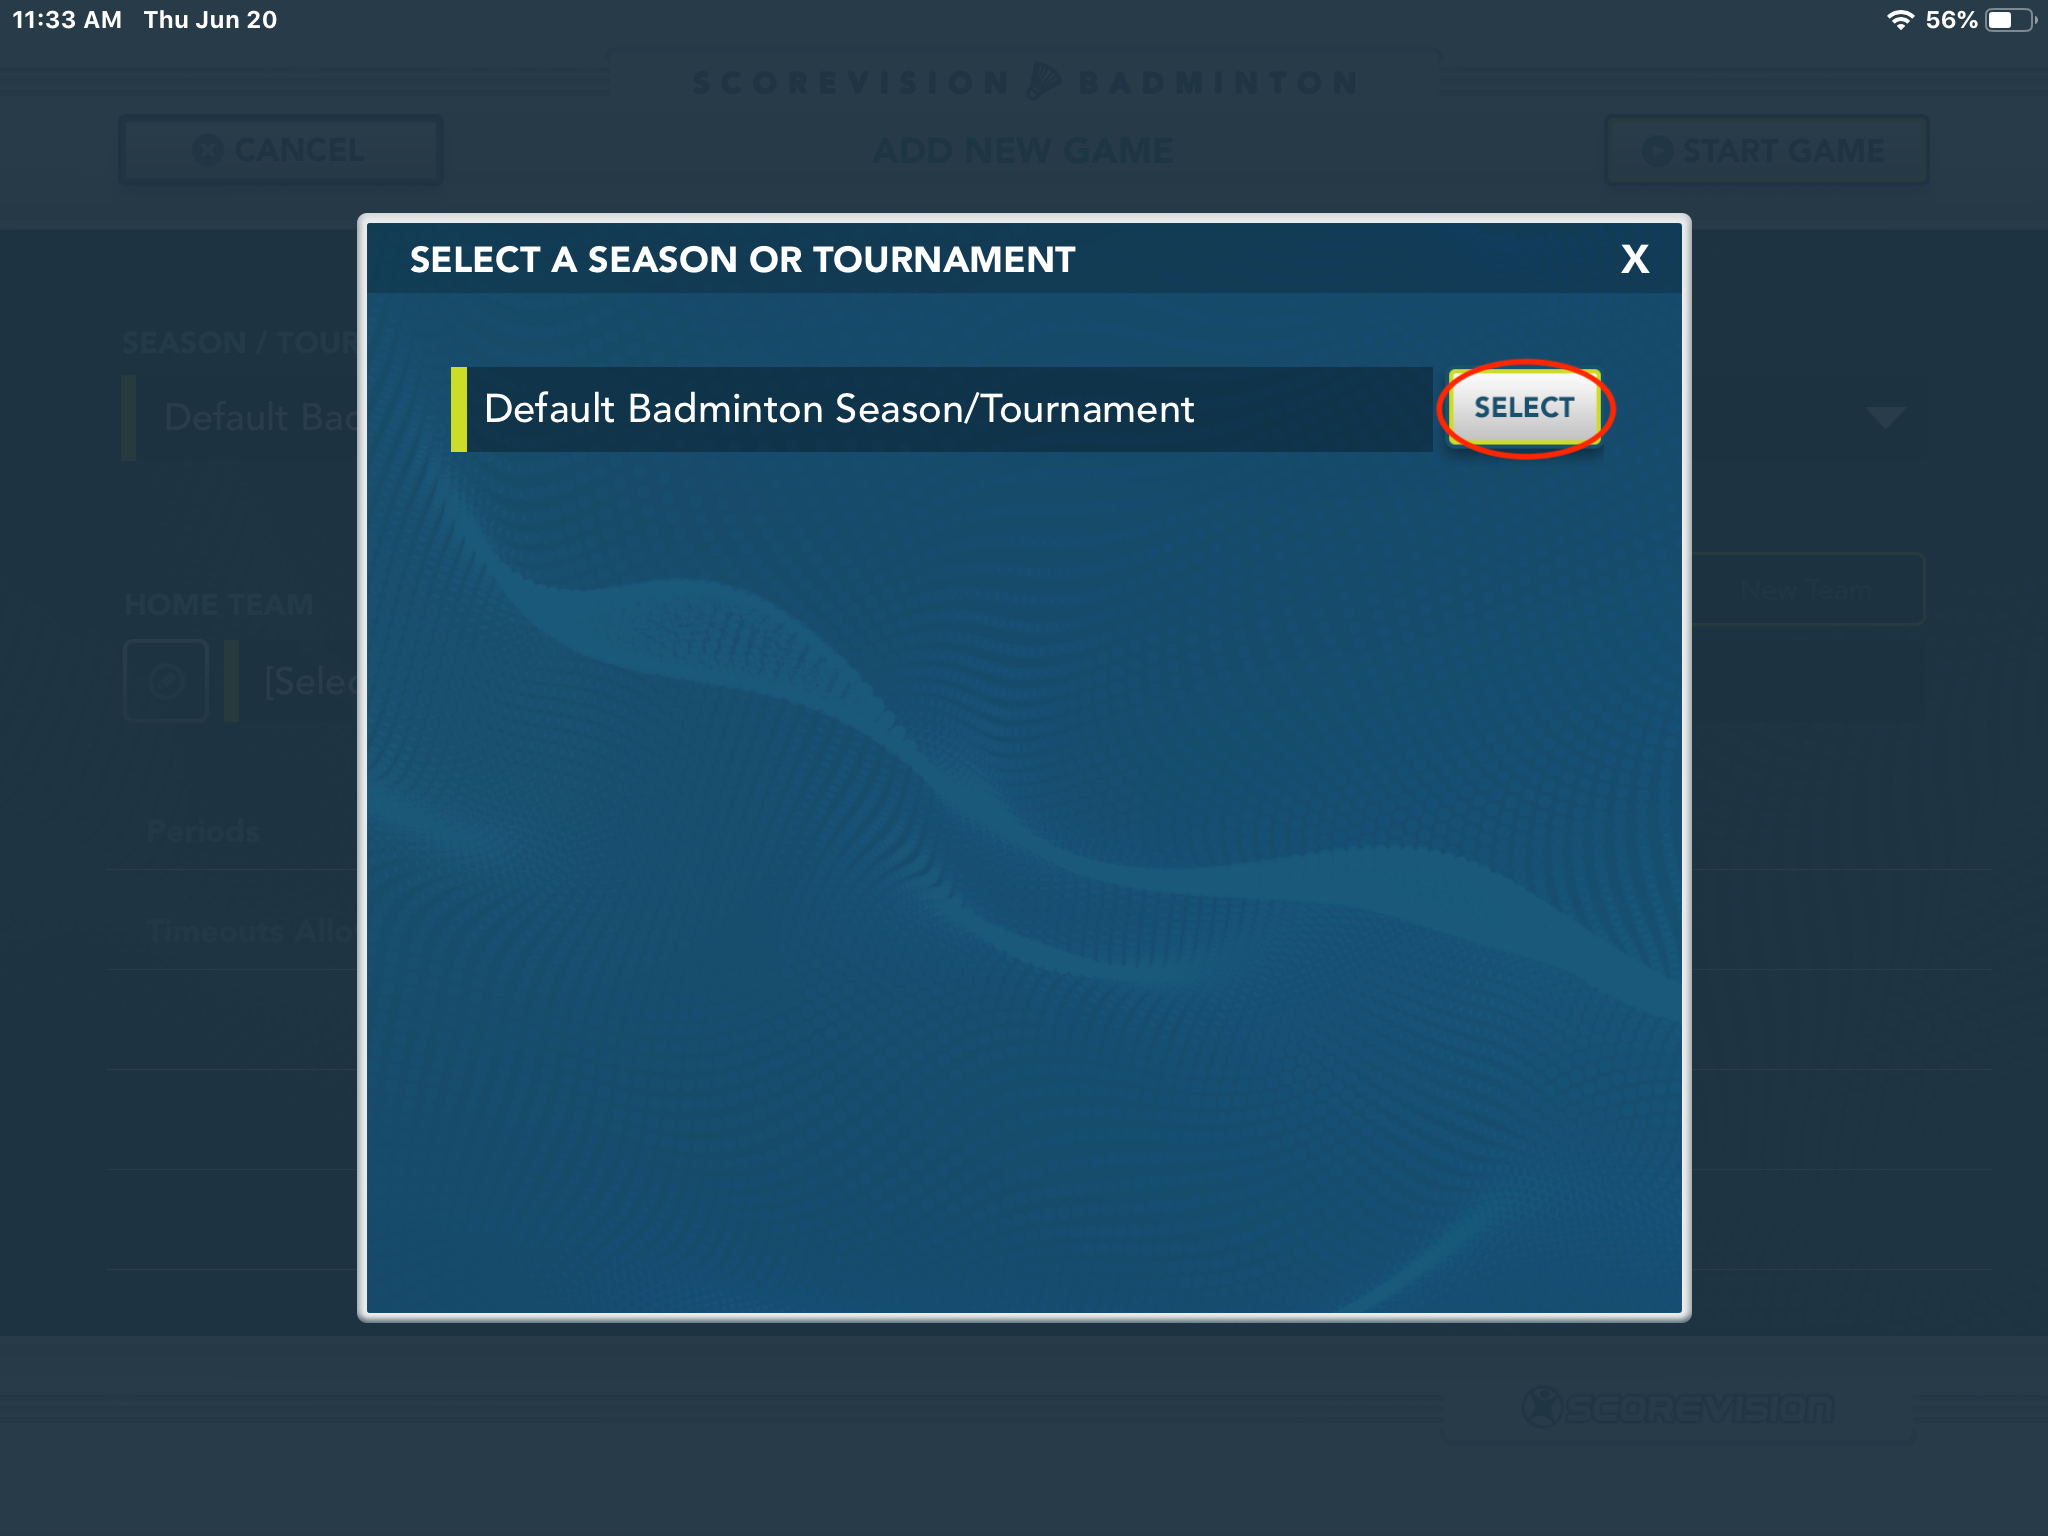
2. Press SEASON/TOURNAMENT field at the top and select the proper season from the pop-up window to ensure the stats for the game get uploaded and associated with the correct season in the cloud.
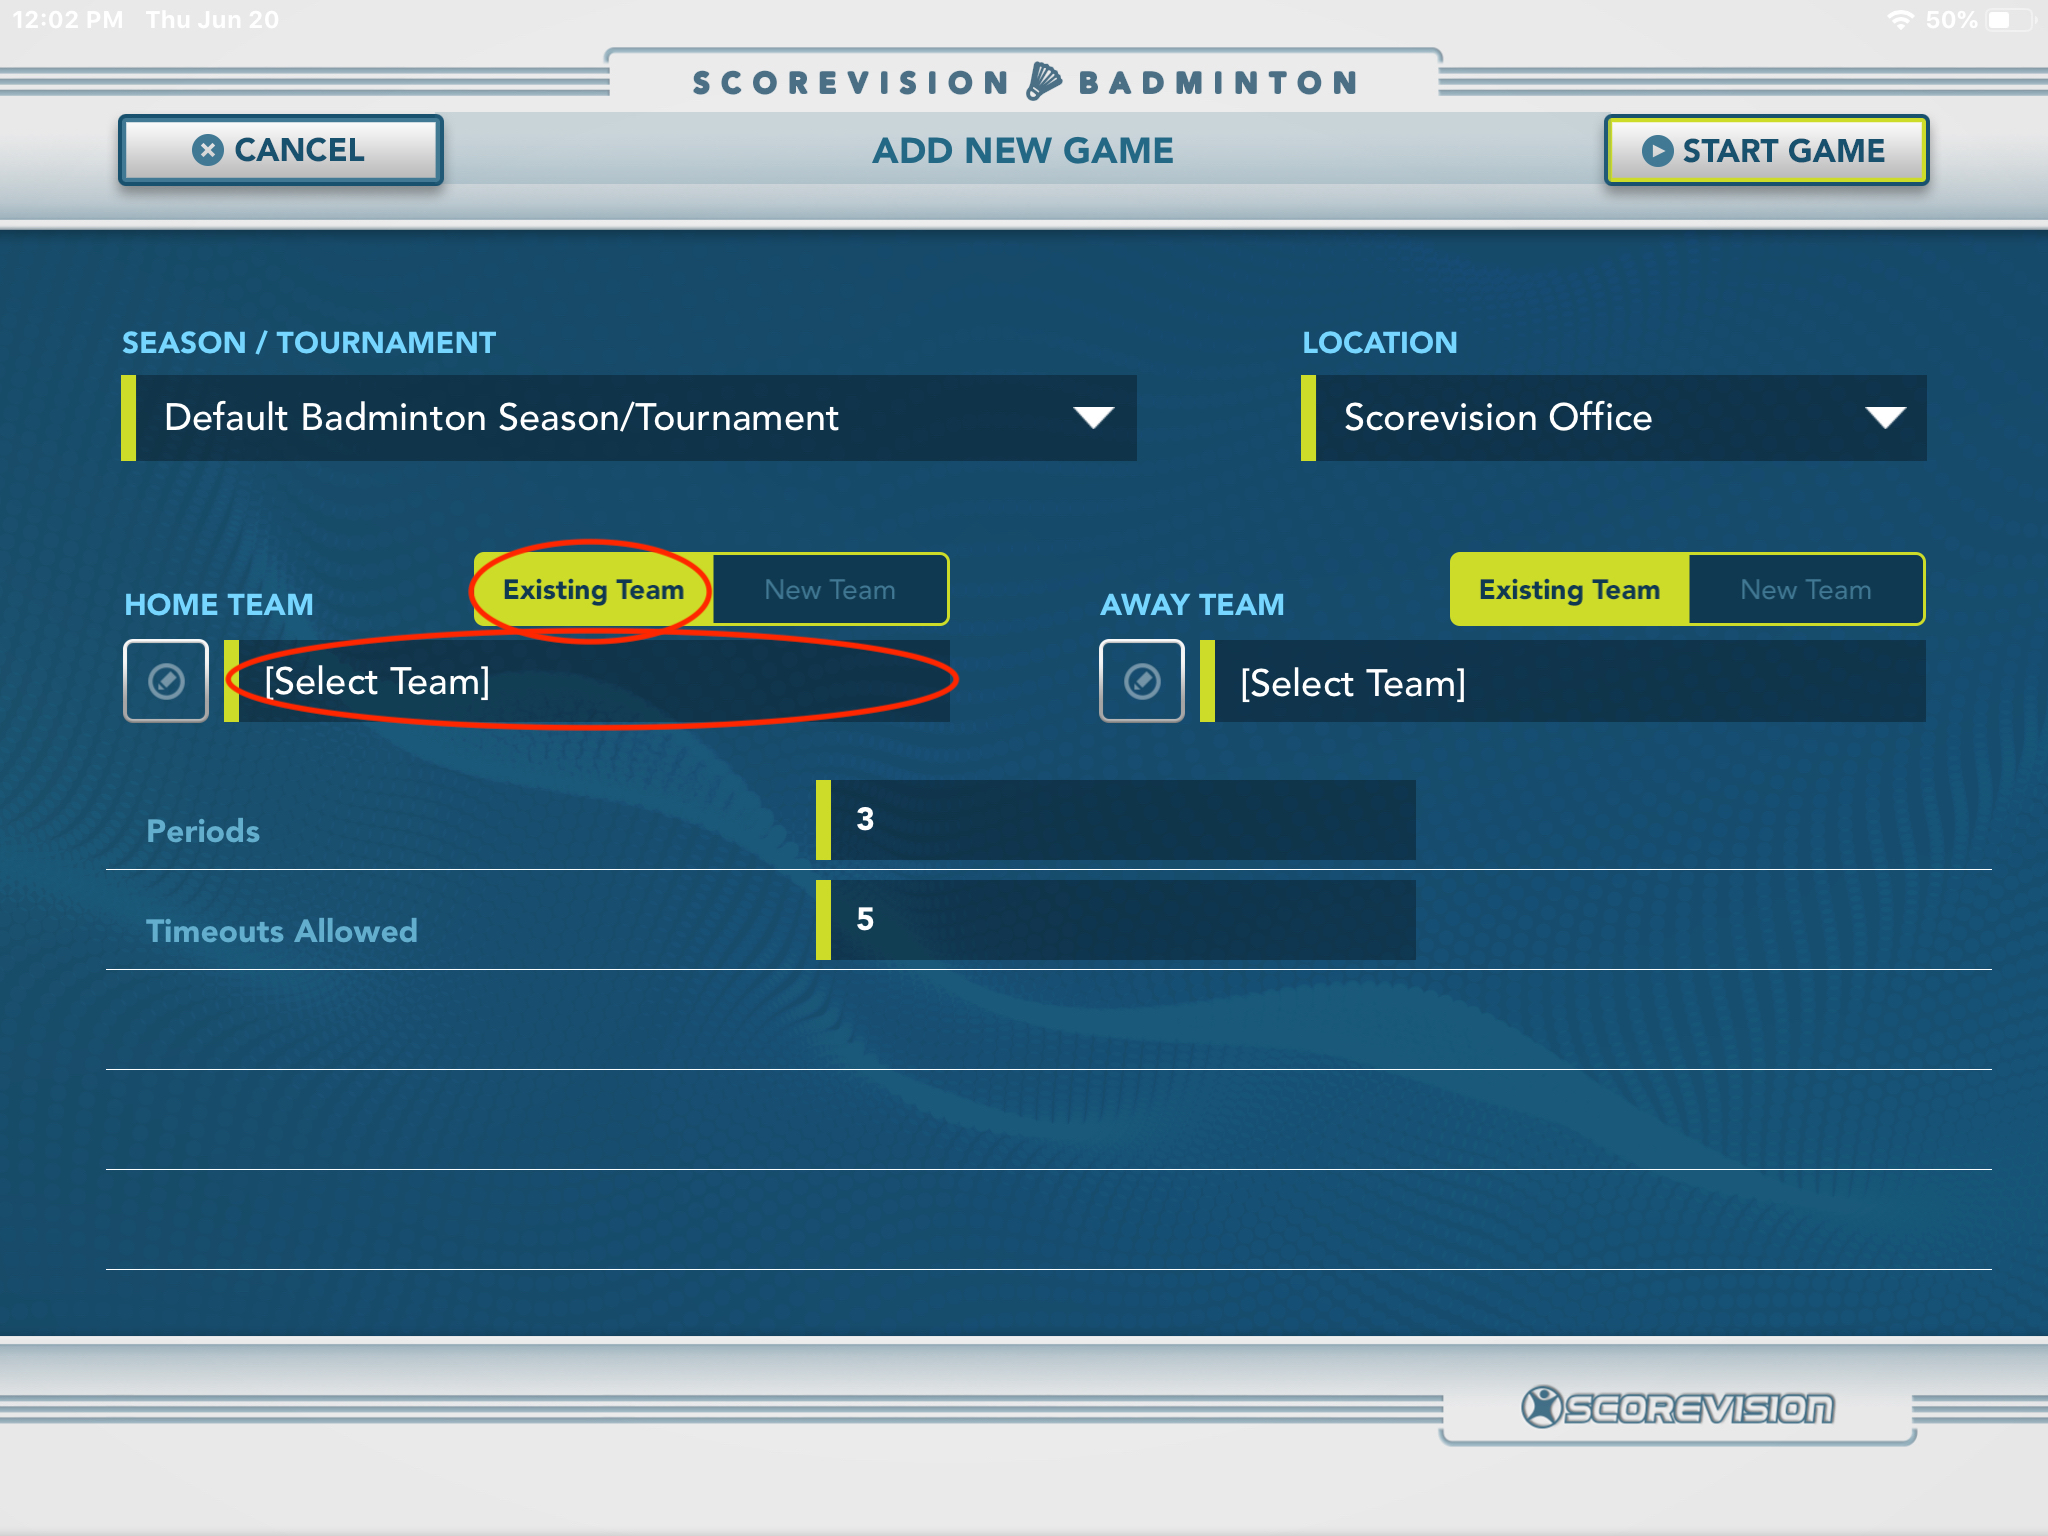
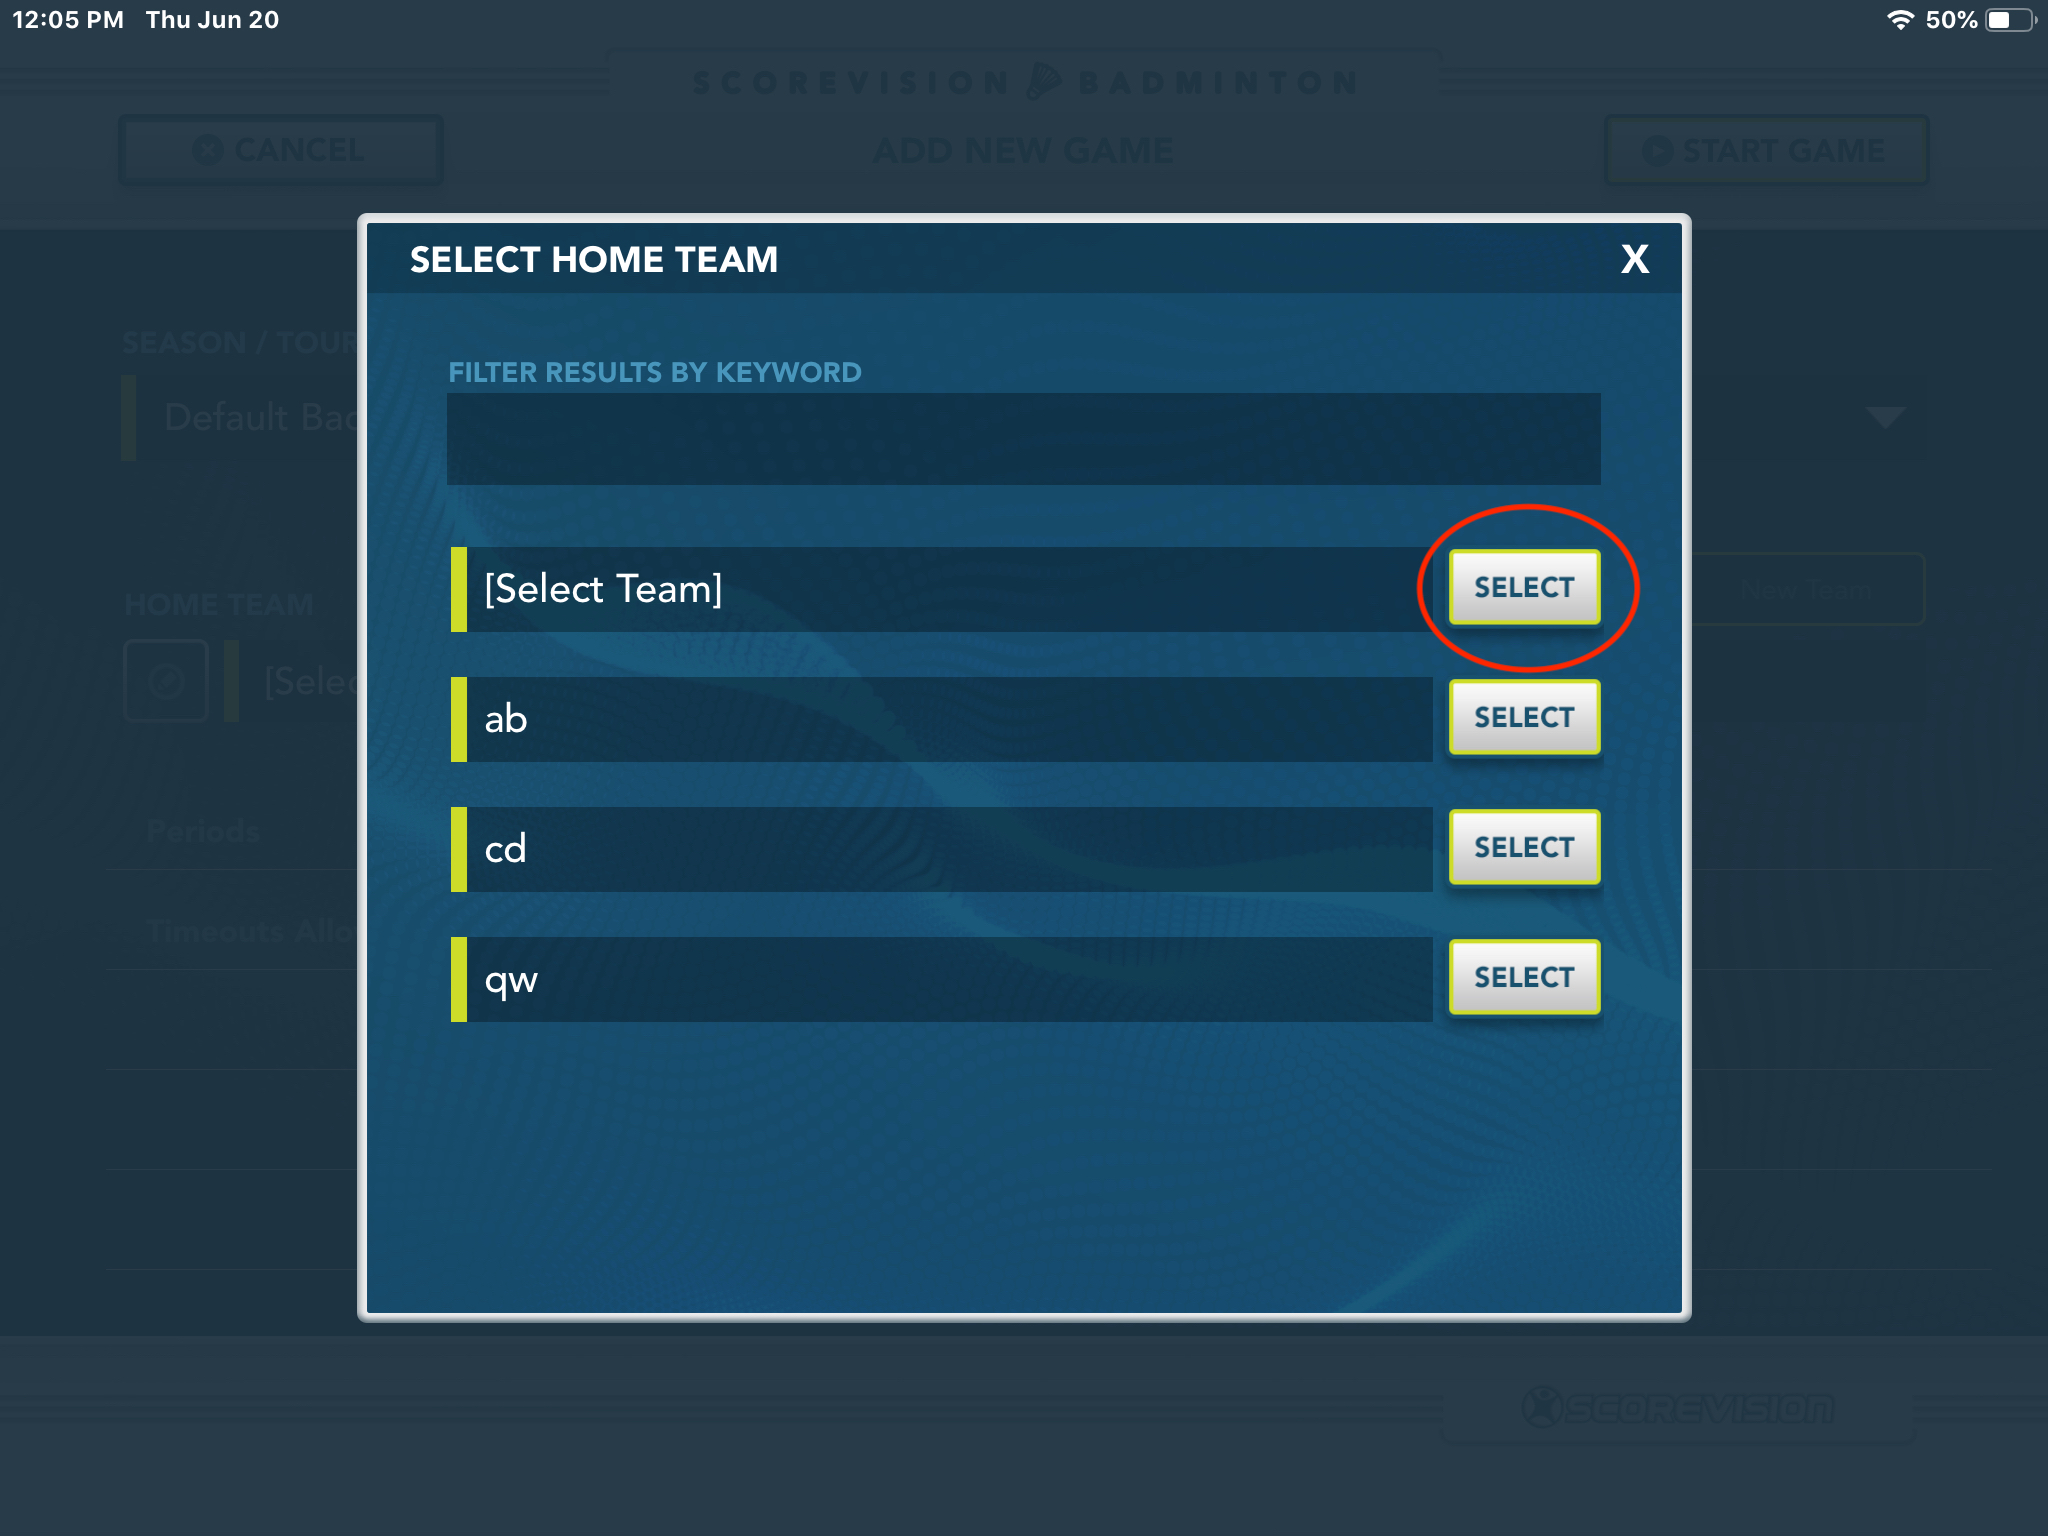
3. Once you’ve selected the season, you can create the game. If you have teams already loaded into your cloud account and would like to use one of them, make sure the EXISTING TEAM toggle tab is highlighted and then press the [SELECT TEAM] field just below the toggle. This will open a pop-up window from which you can select an existing team that has been preset in the cloud.
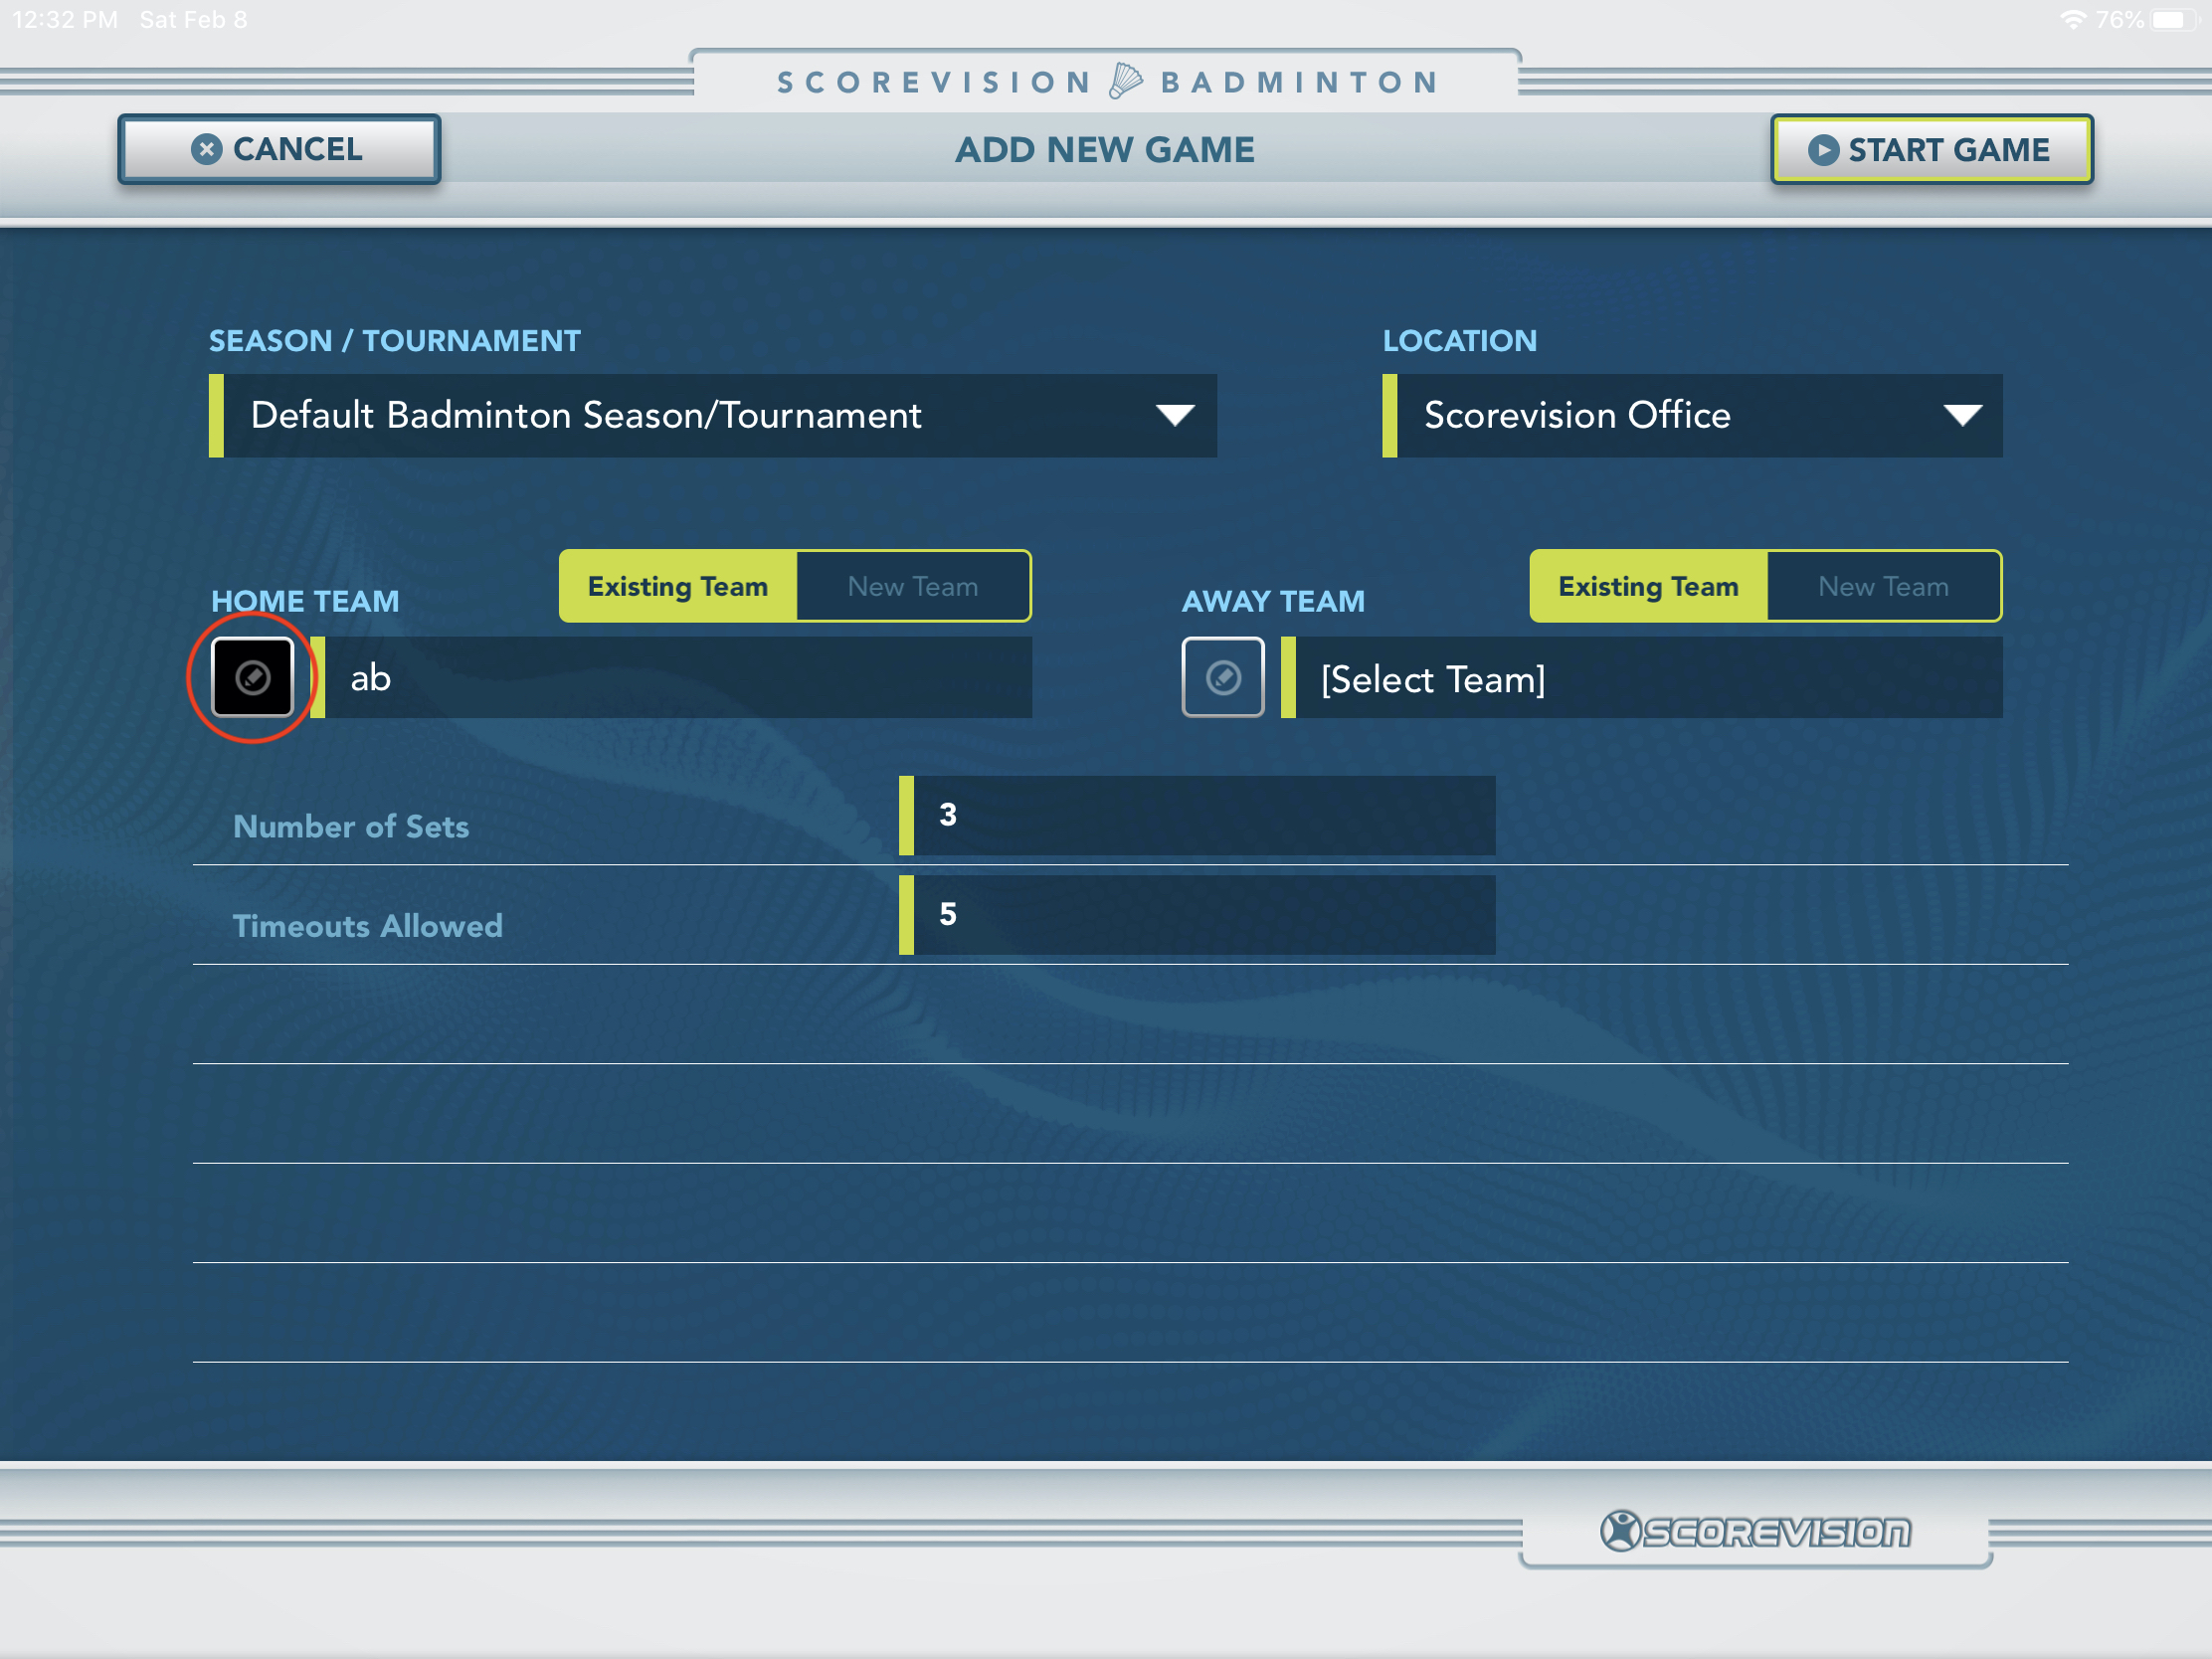
4. If the color bin to the left of the team name is not automatically set with your team’s color, you can change it. Just press the pencil icon in the color bin.
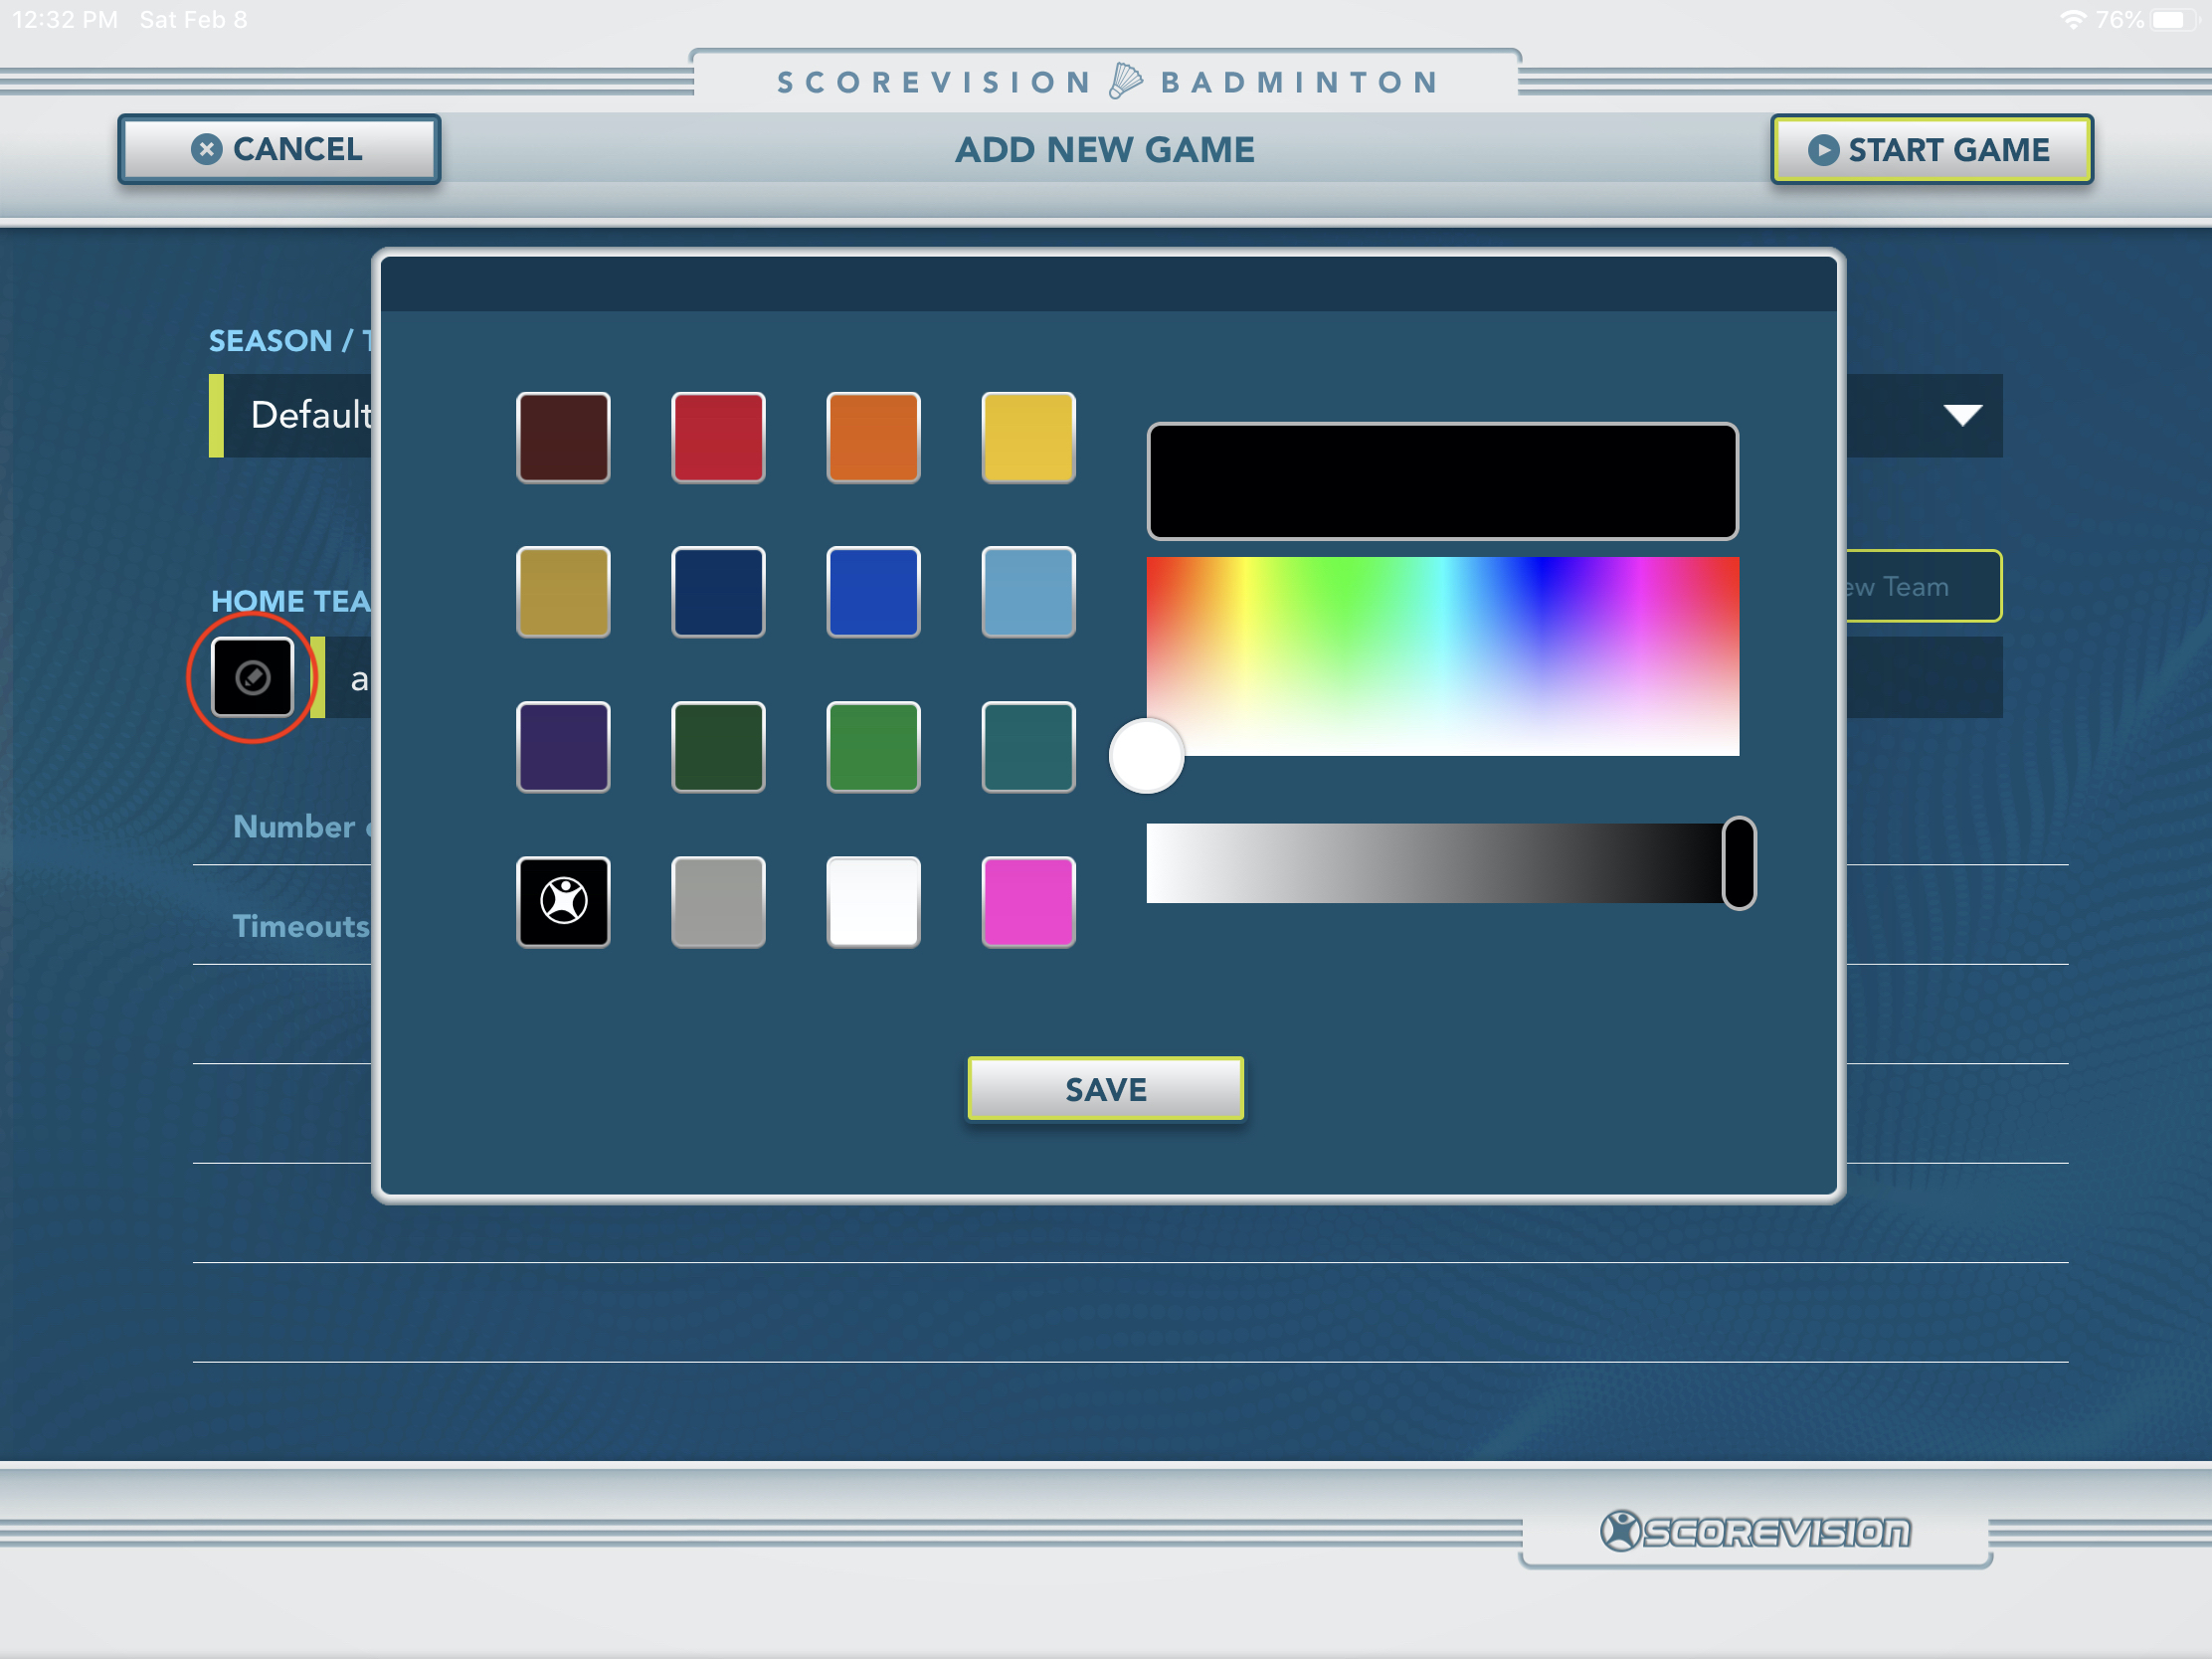
5. In the pop-up color picker, you can either choose one of the standard, pre-defined chips that closely matches your team’s color, or use the sliders to select a more specific hue. Press SAVE to apply any team color changes you make.
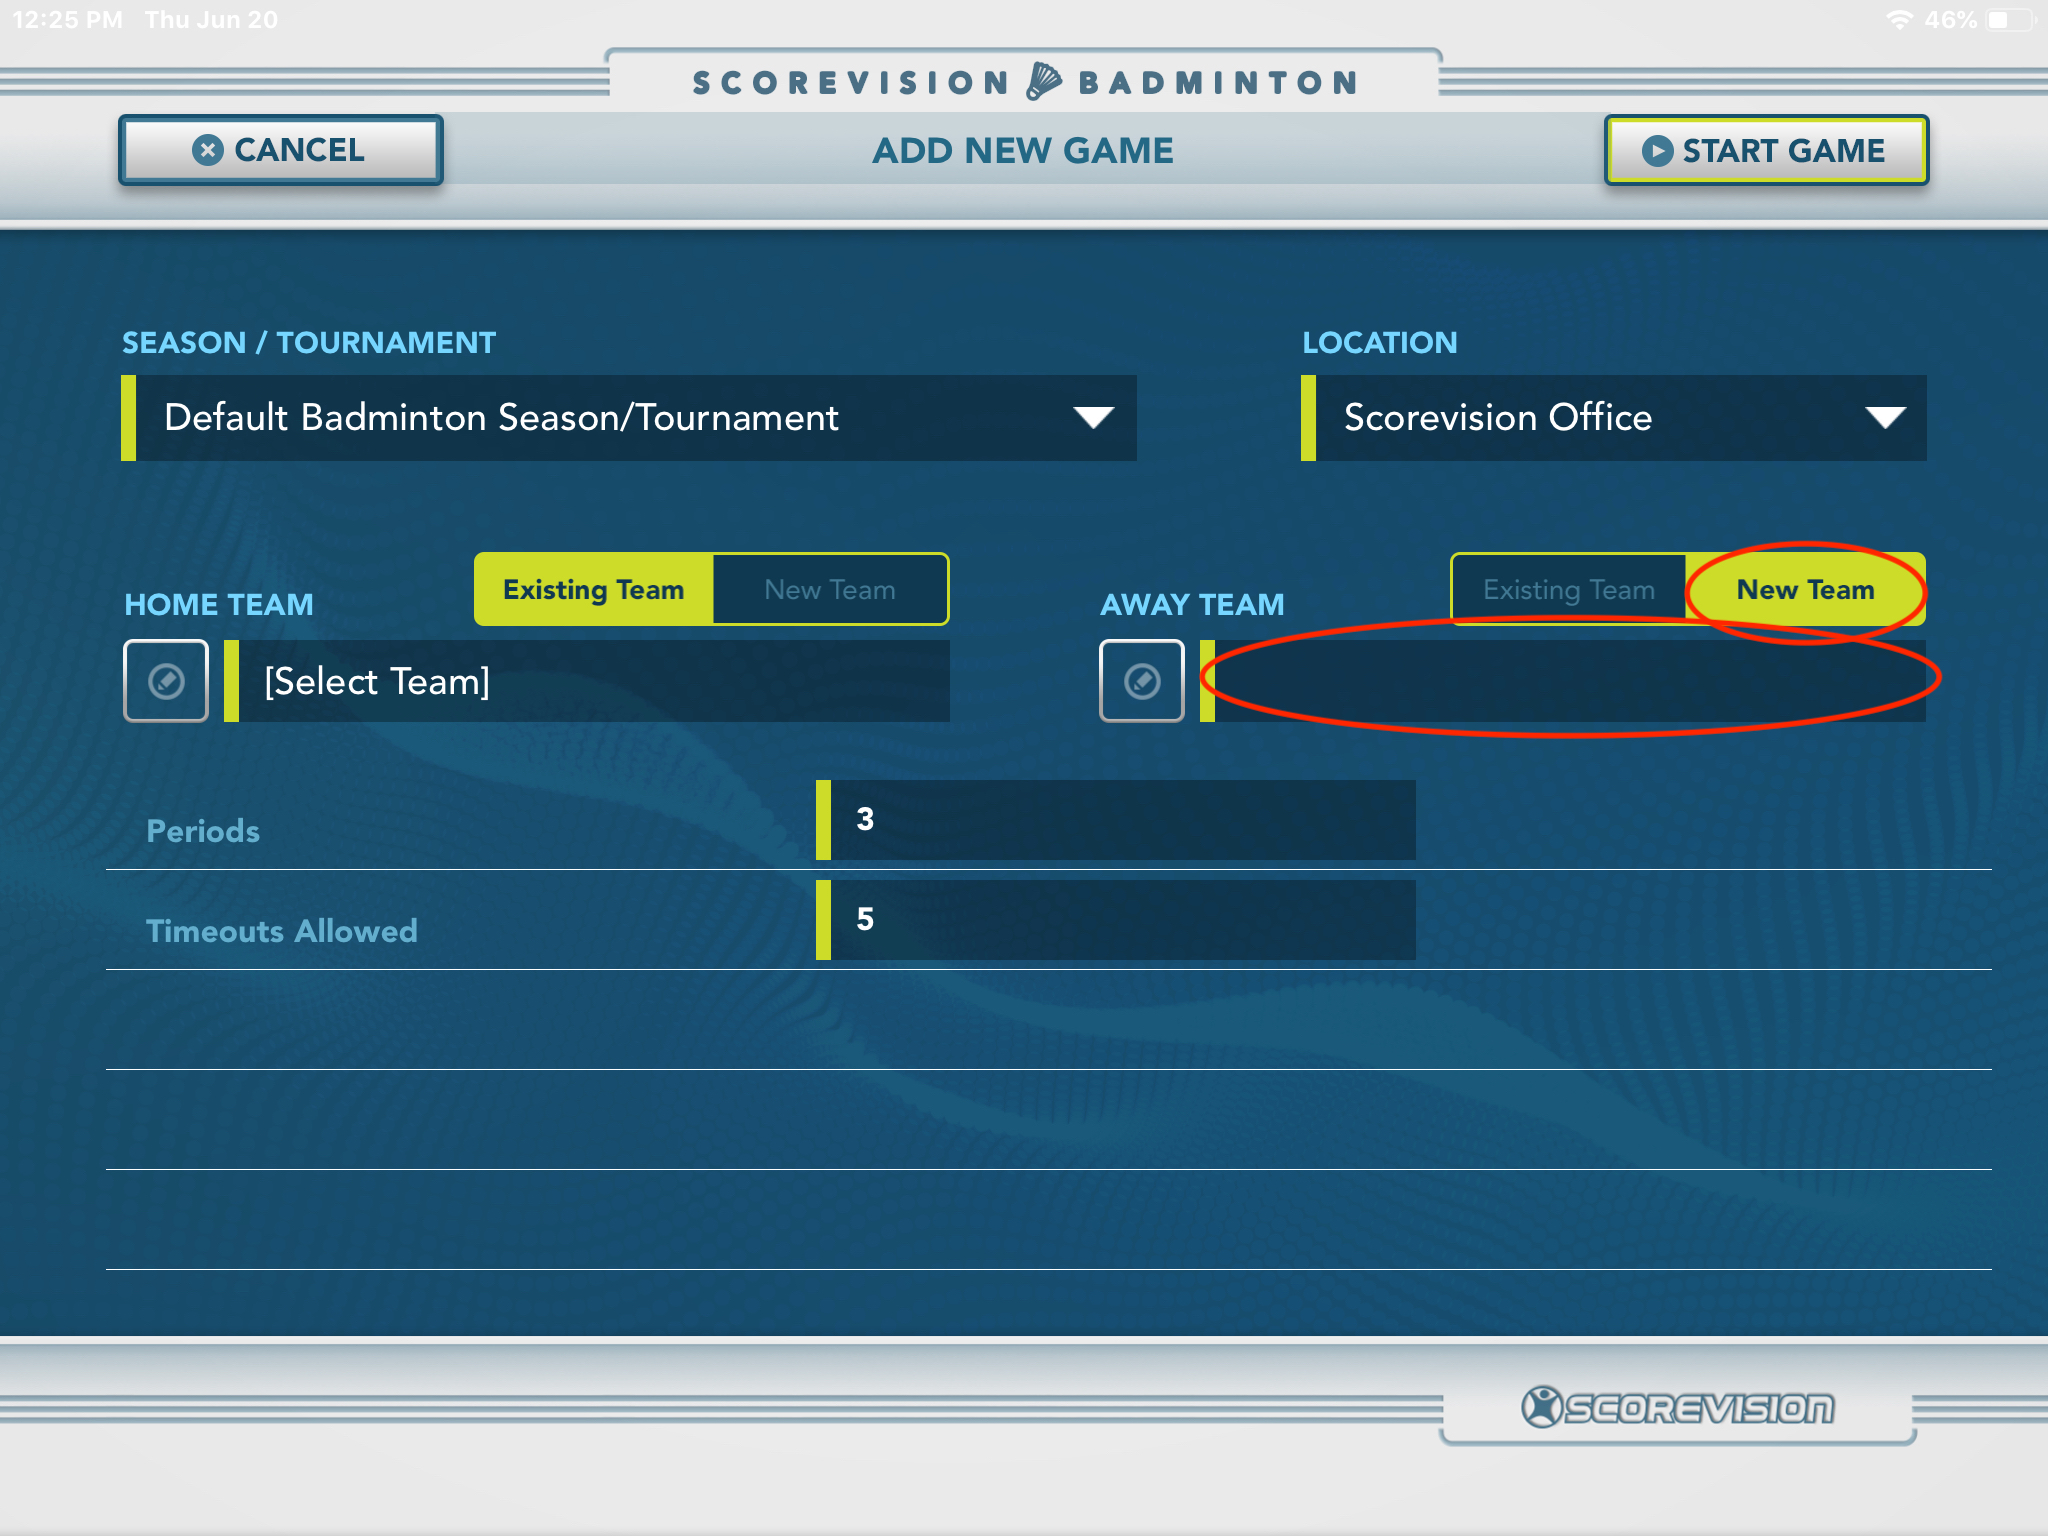
6. You also have the option to create a new team. Ensure that NEW TEAM toggle tab is highlighted, press the empty field below the toggle to activate the keypad, and then type in the team name. Selecting the team color is the same as previously described. You have “existing” and “new” team options for both the home and away teams.
7. There is a list of game settings in a scroll list below the team names. These settings will be populated with preferences defined in your cloud account. Before starting the game, ensure that the game settings on the bottom of the screen are set correctly for the game you are about to play.
Change any settings as necessary, and then press START GAME in the top right corner of the screen.
Setting up game logistics
1. Once you’ve started the game, you may be presented with a CONNECT TO SCOREBOARD DISPLAY help modal. This indicates that you are not connected to a ScoreVision display. Press CONNECTION SETTINGS underneath the YES option and – in the pop-up window – select the CONNECT button for the display to which you wish to connect. Remember, you'll need to connect to the same display as your Producer App (SV1 or SV2). If this help modal does not appear, you should already be connected to a ScoreVision display.
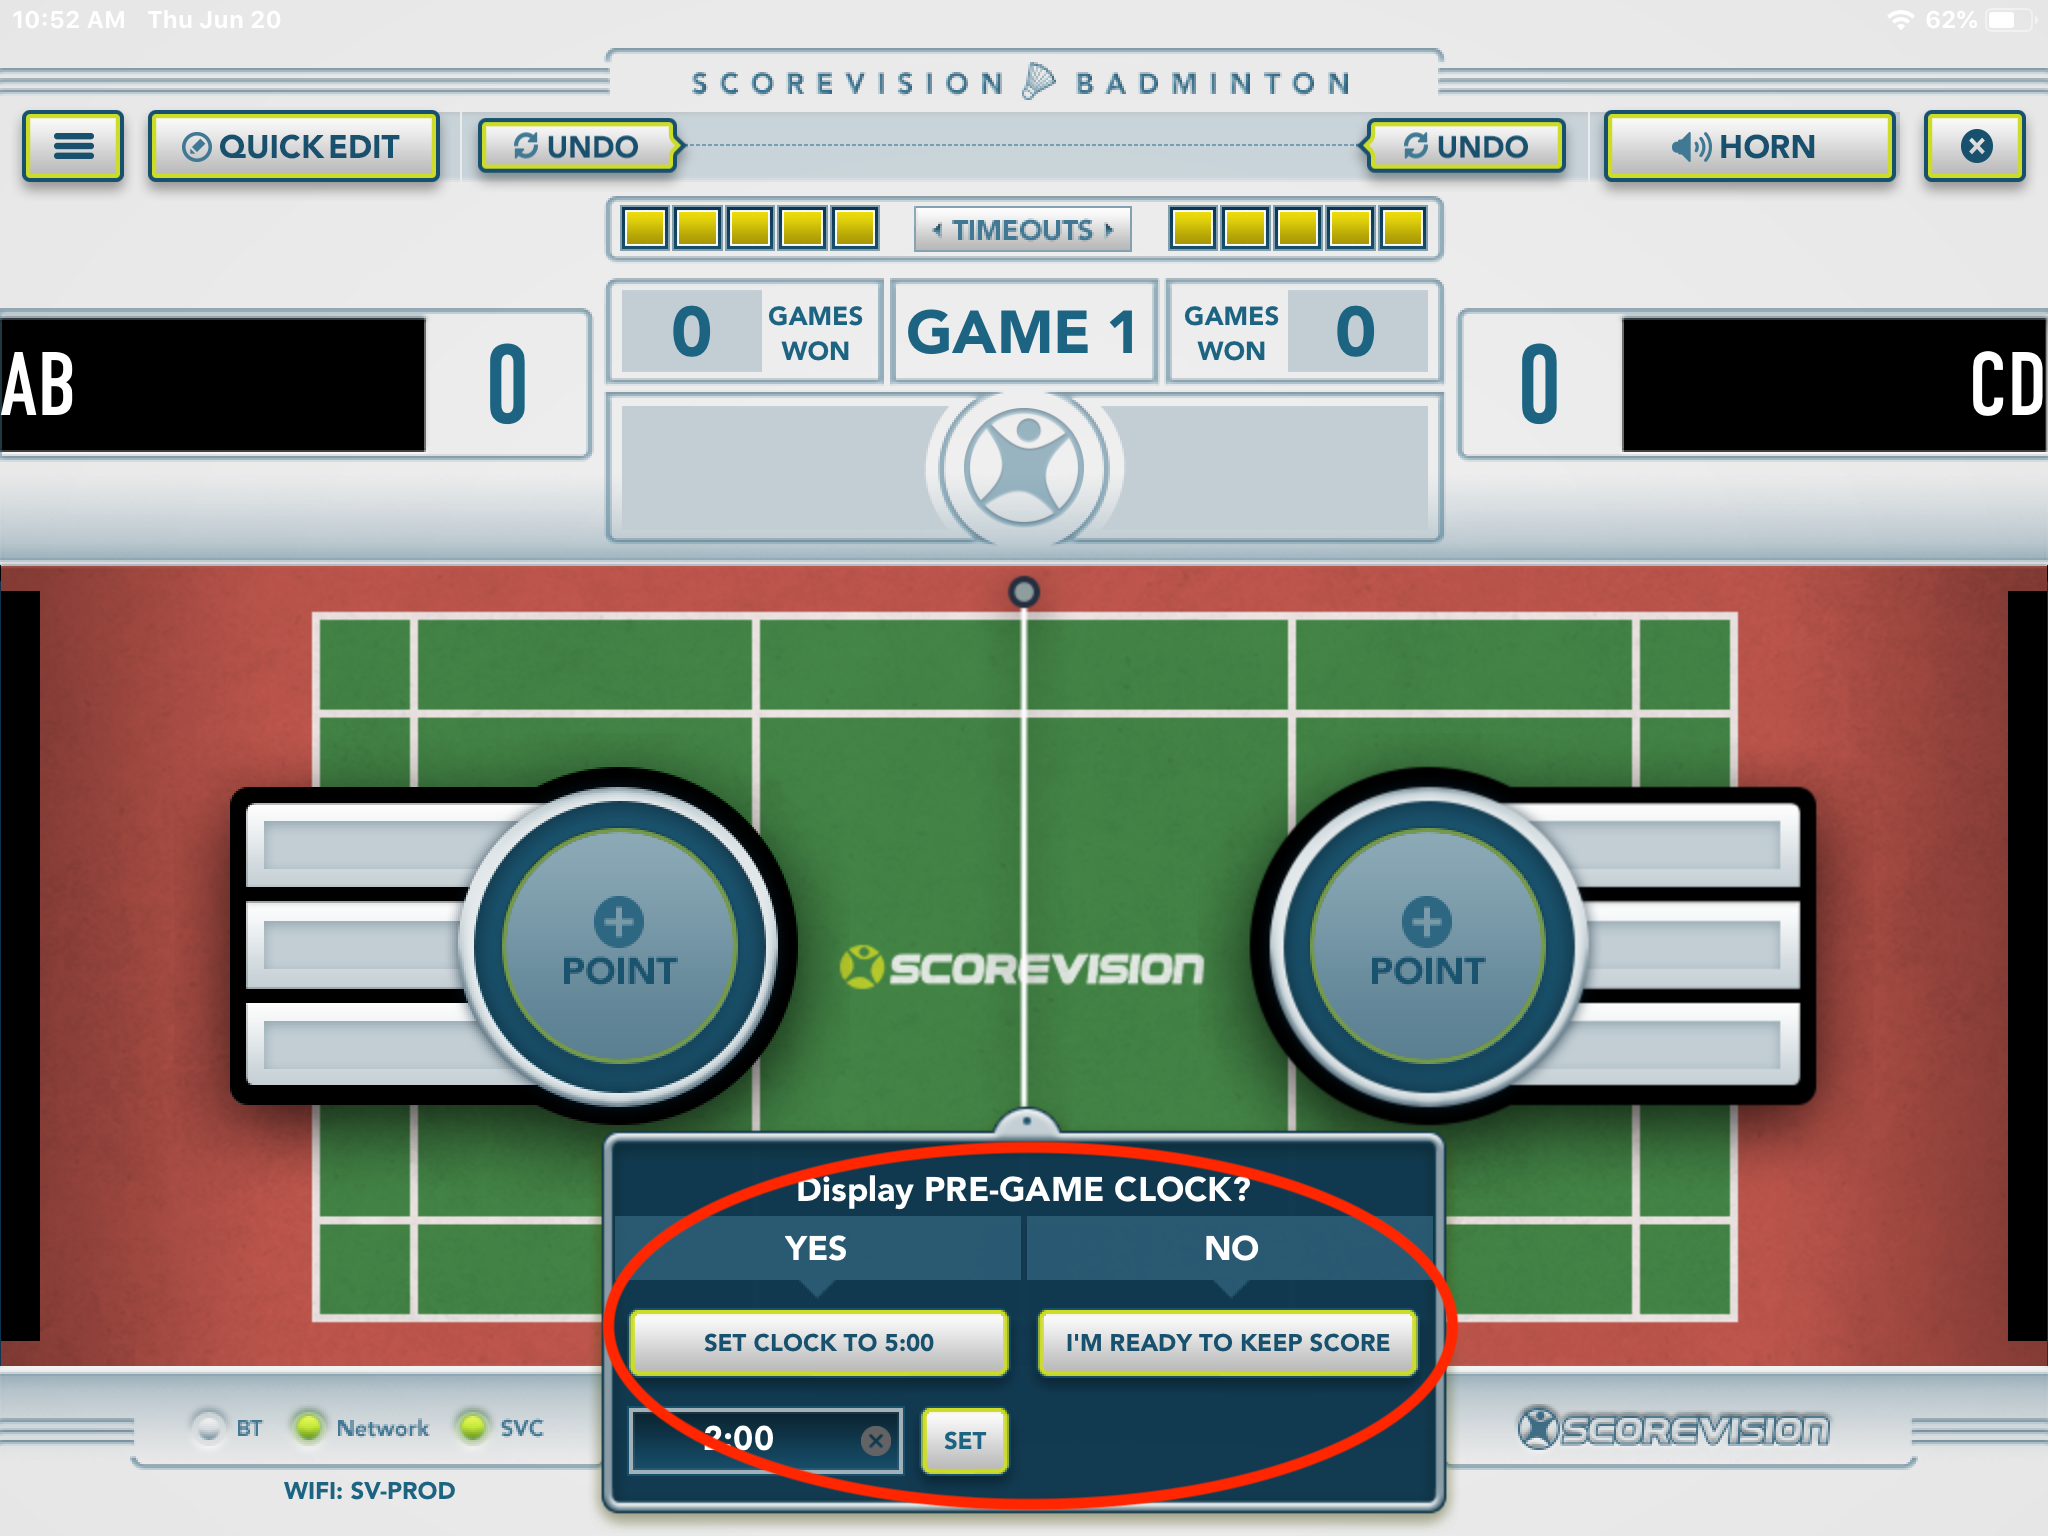
2. When the PRE-GAME CLOCK help modal appears, you have three options. You can set the clock to the default time, set a custom time, or skip ahead to the game.
Using the app during the game
1. To add points, press the round button on the court that coincides with the amount of points scored.
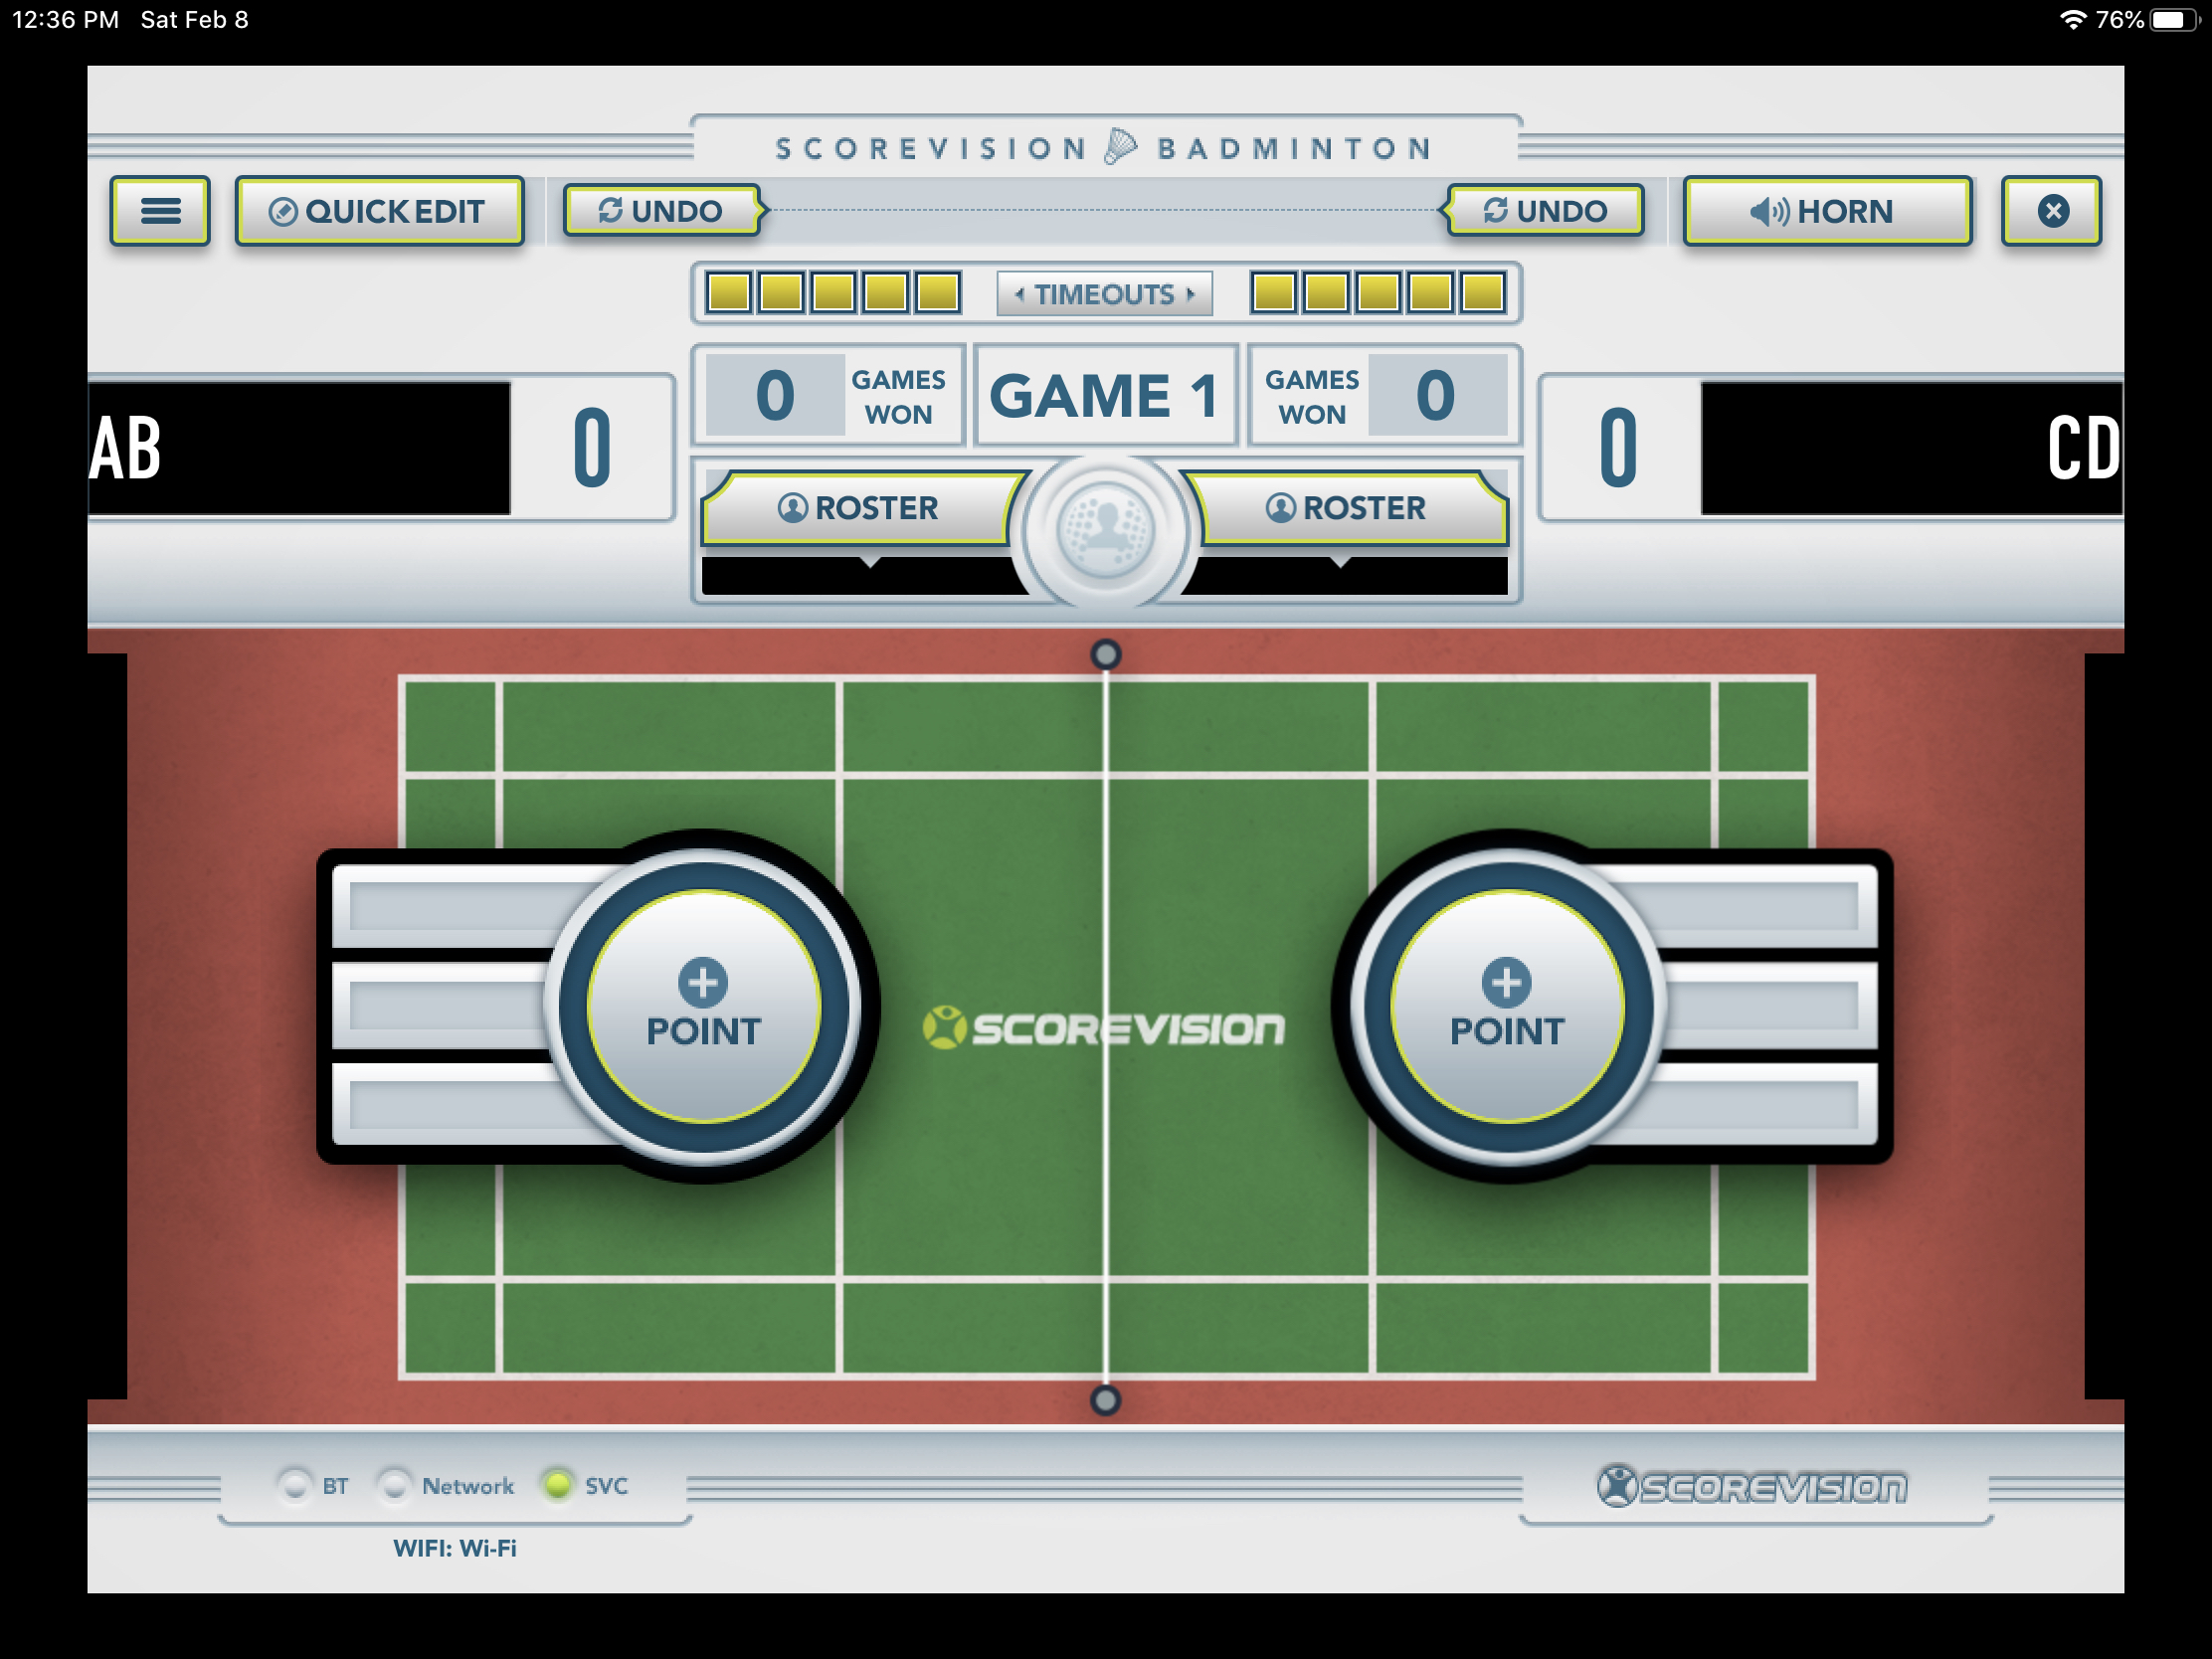
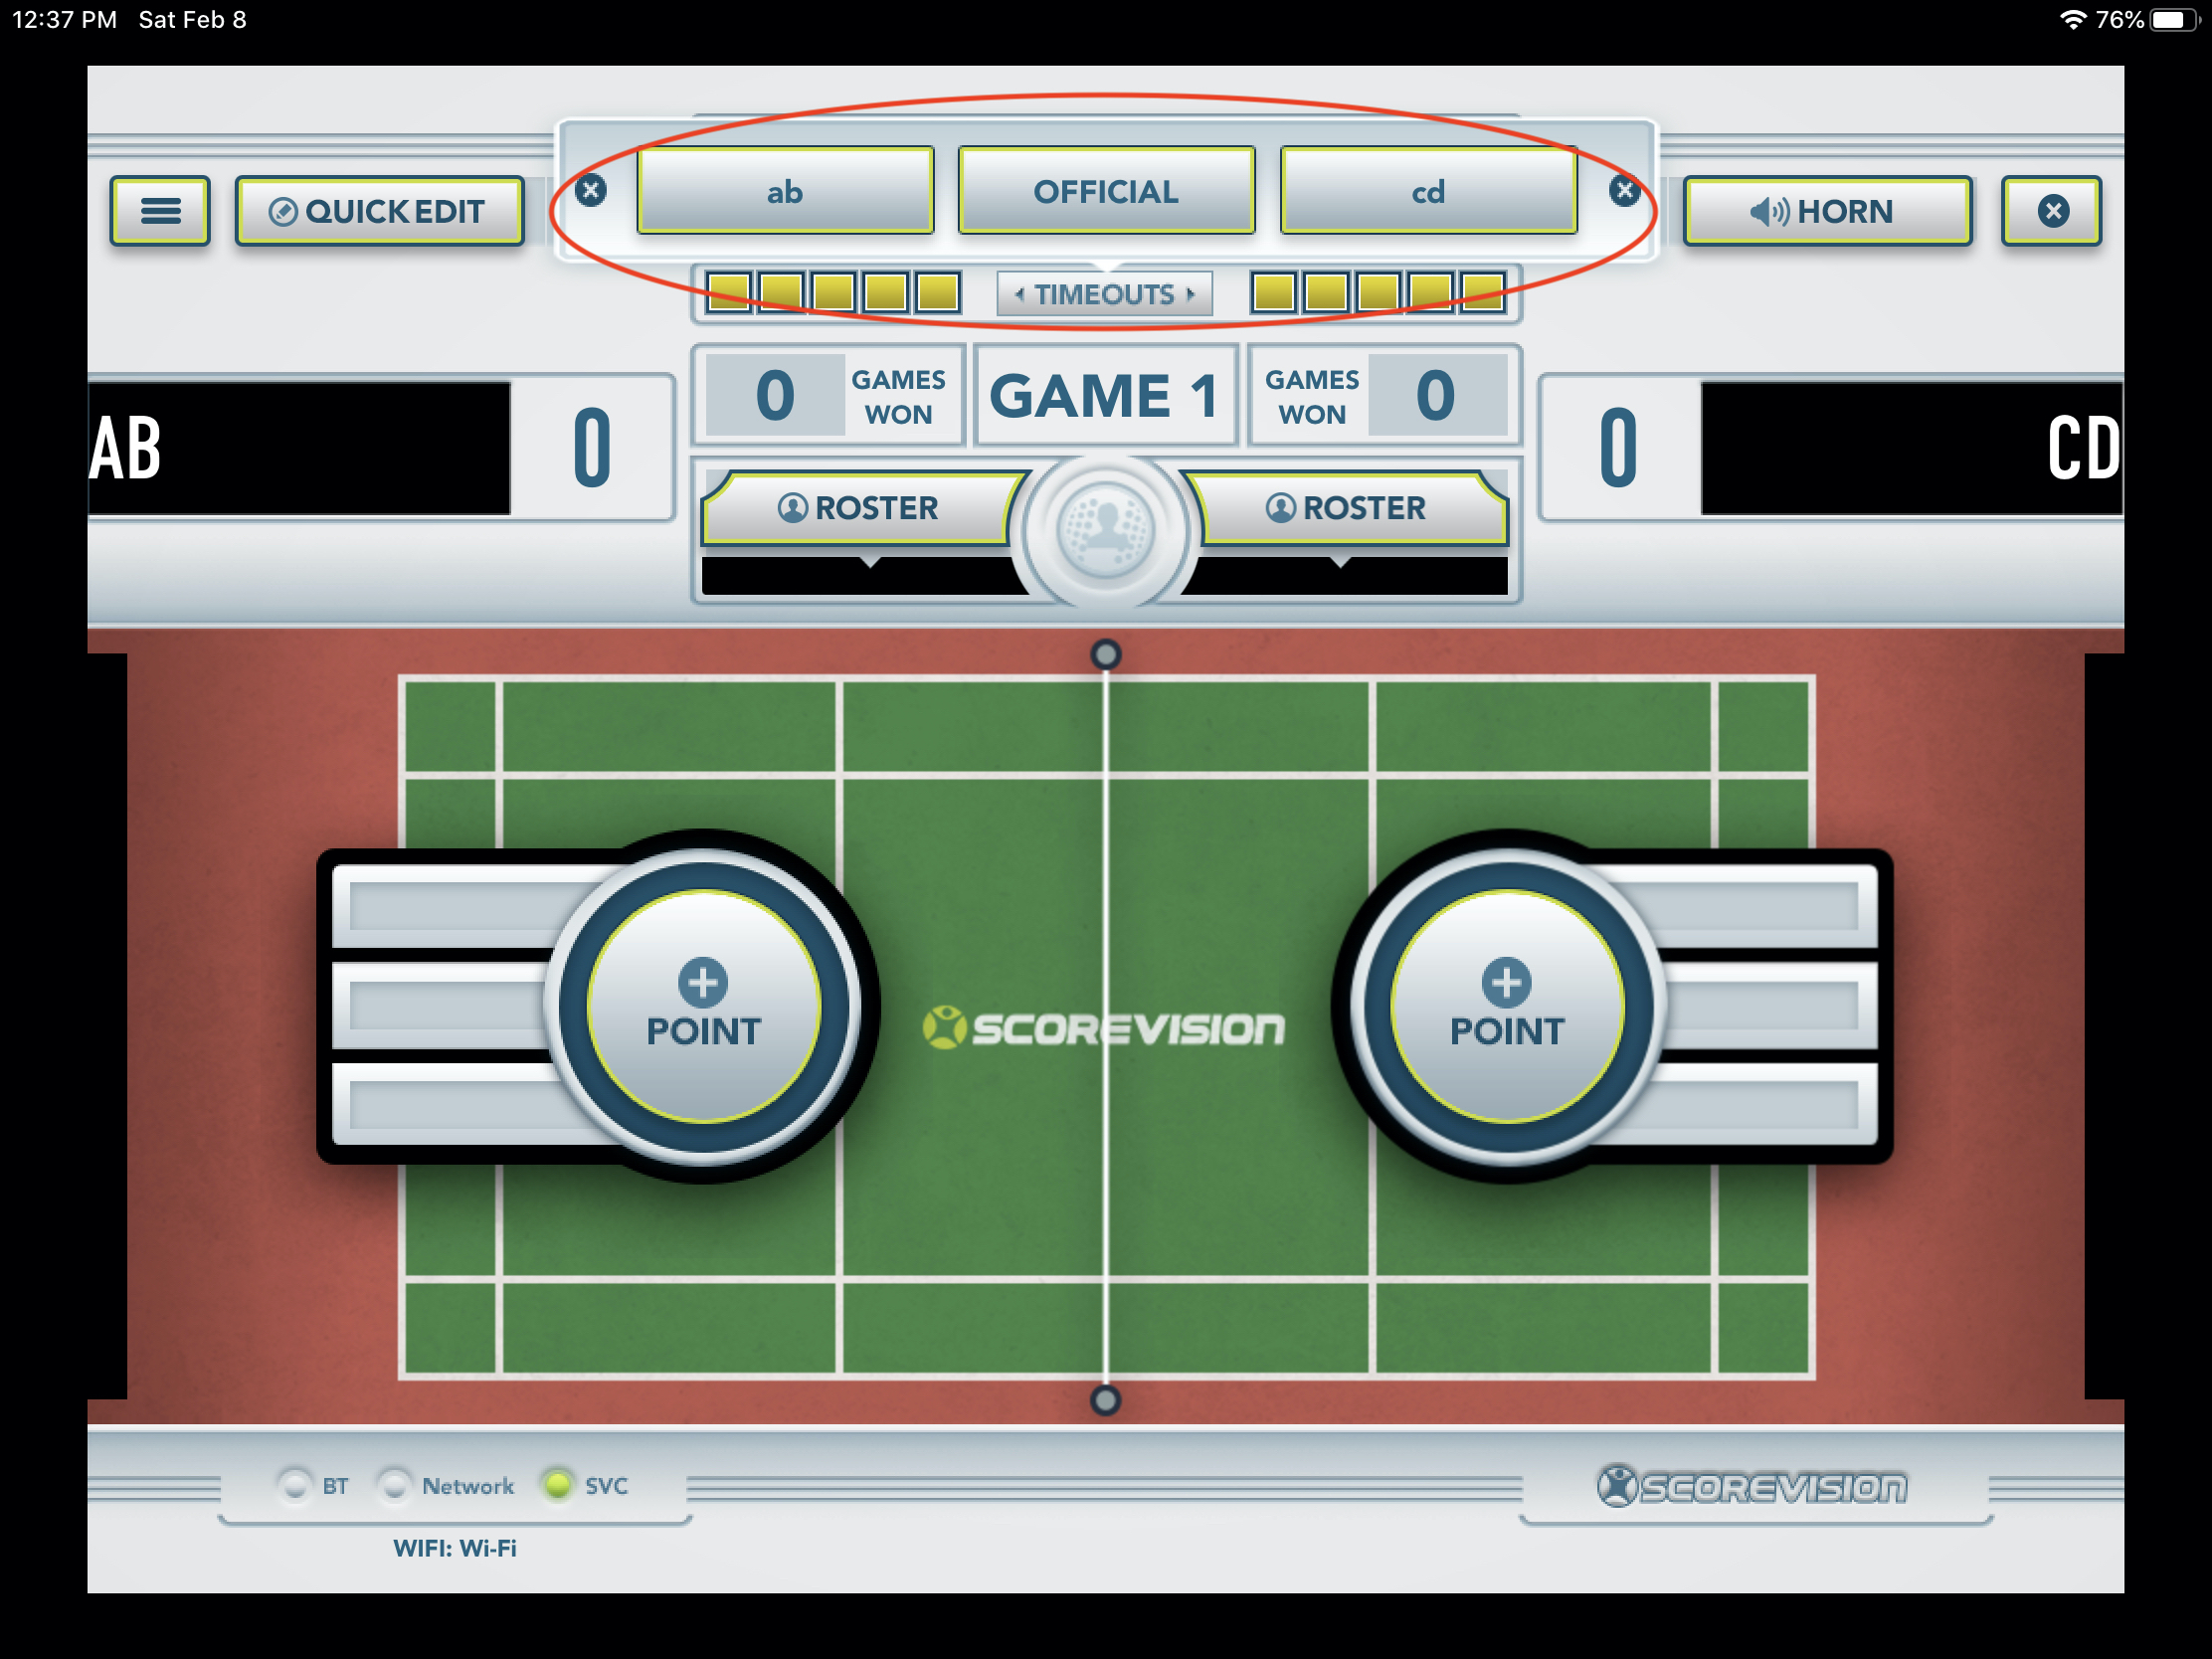
2. To initiate a timeout, press the TIMEOUTS button near the top of the scorekeeper screen. A help modal will appear enabling you to apply the timeout to the appropriate team, or official.
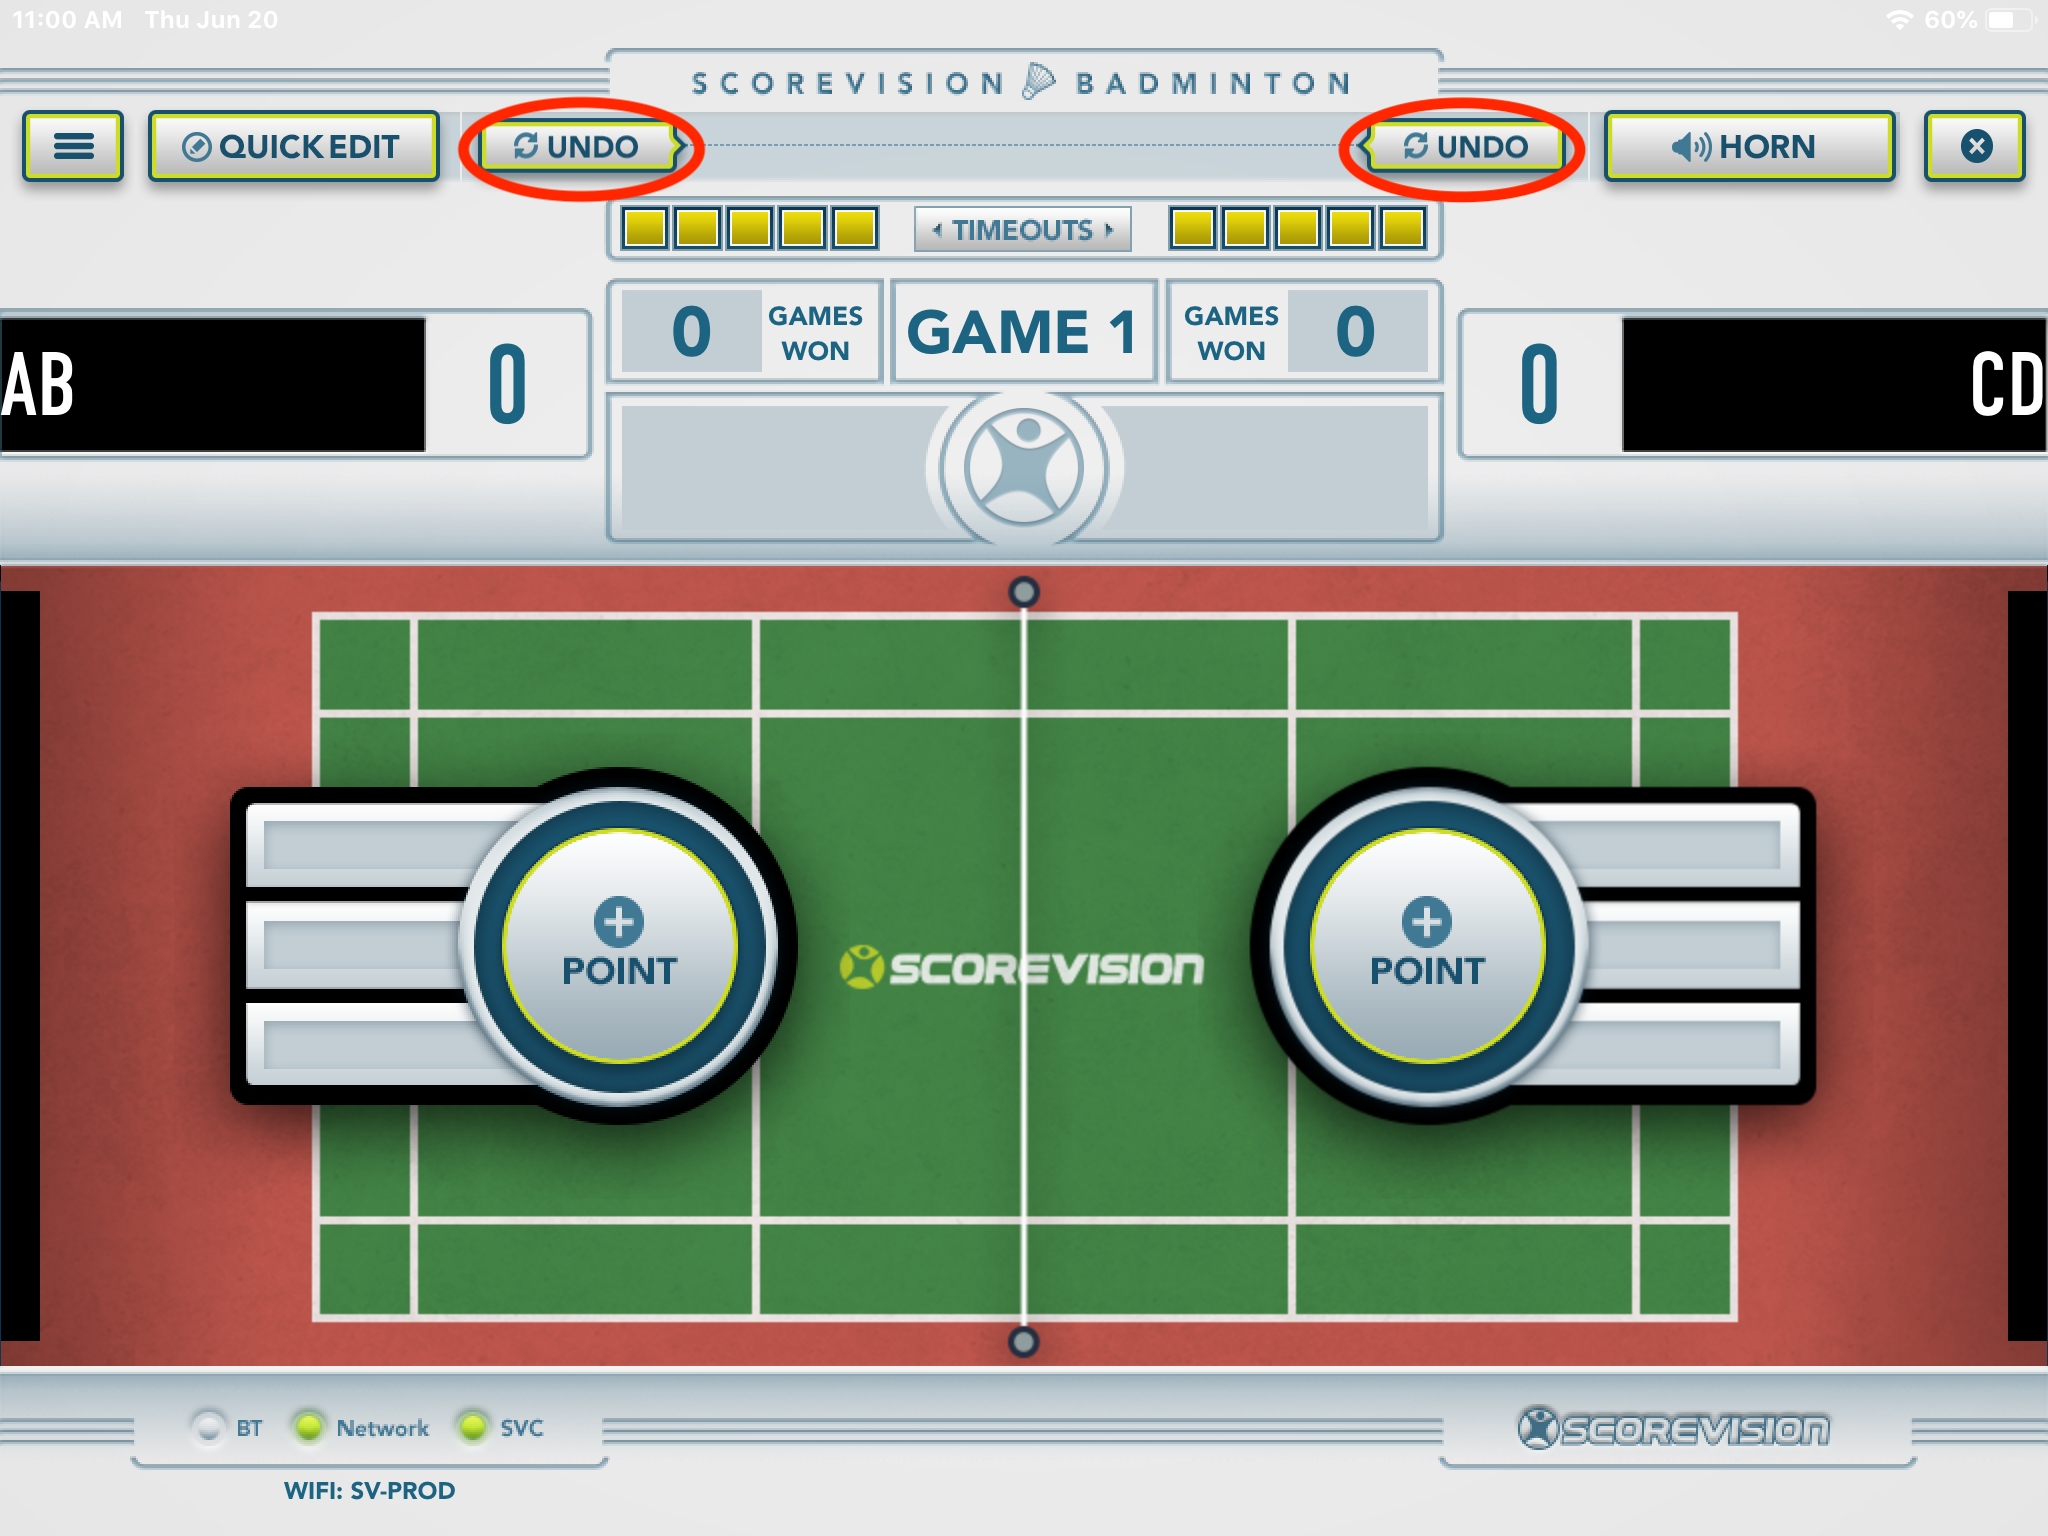
3. At any point throughout the game, you can press UNDO to correct mistakes. It will undo in order of how actions were input.
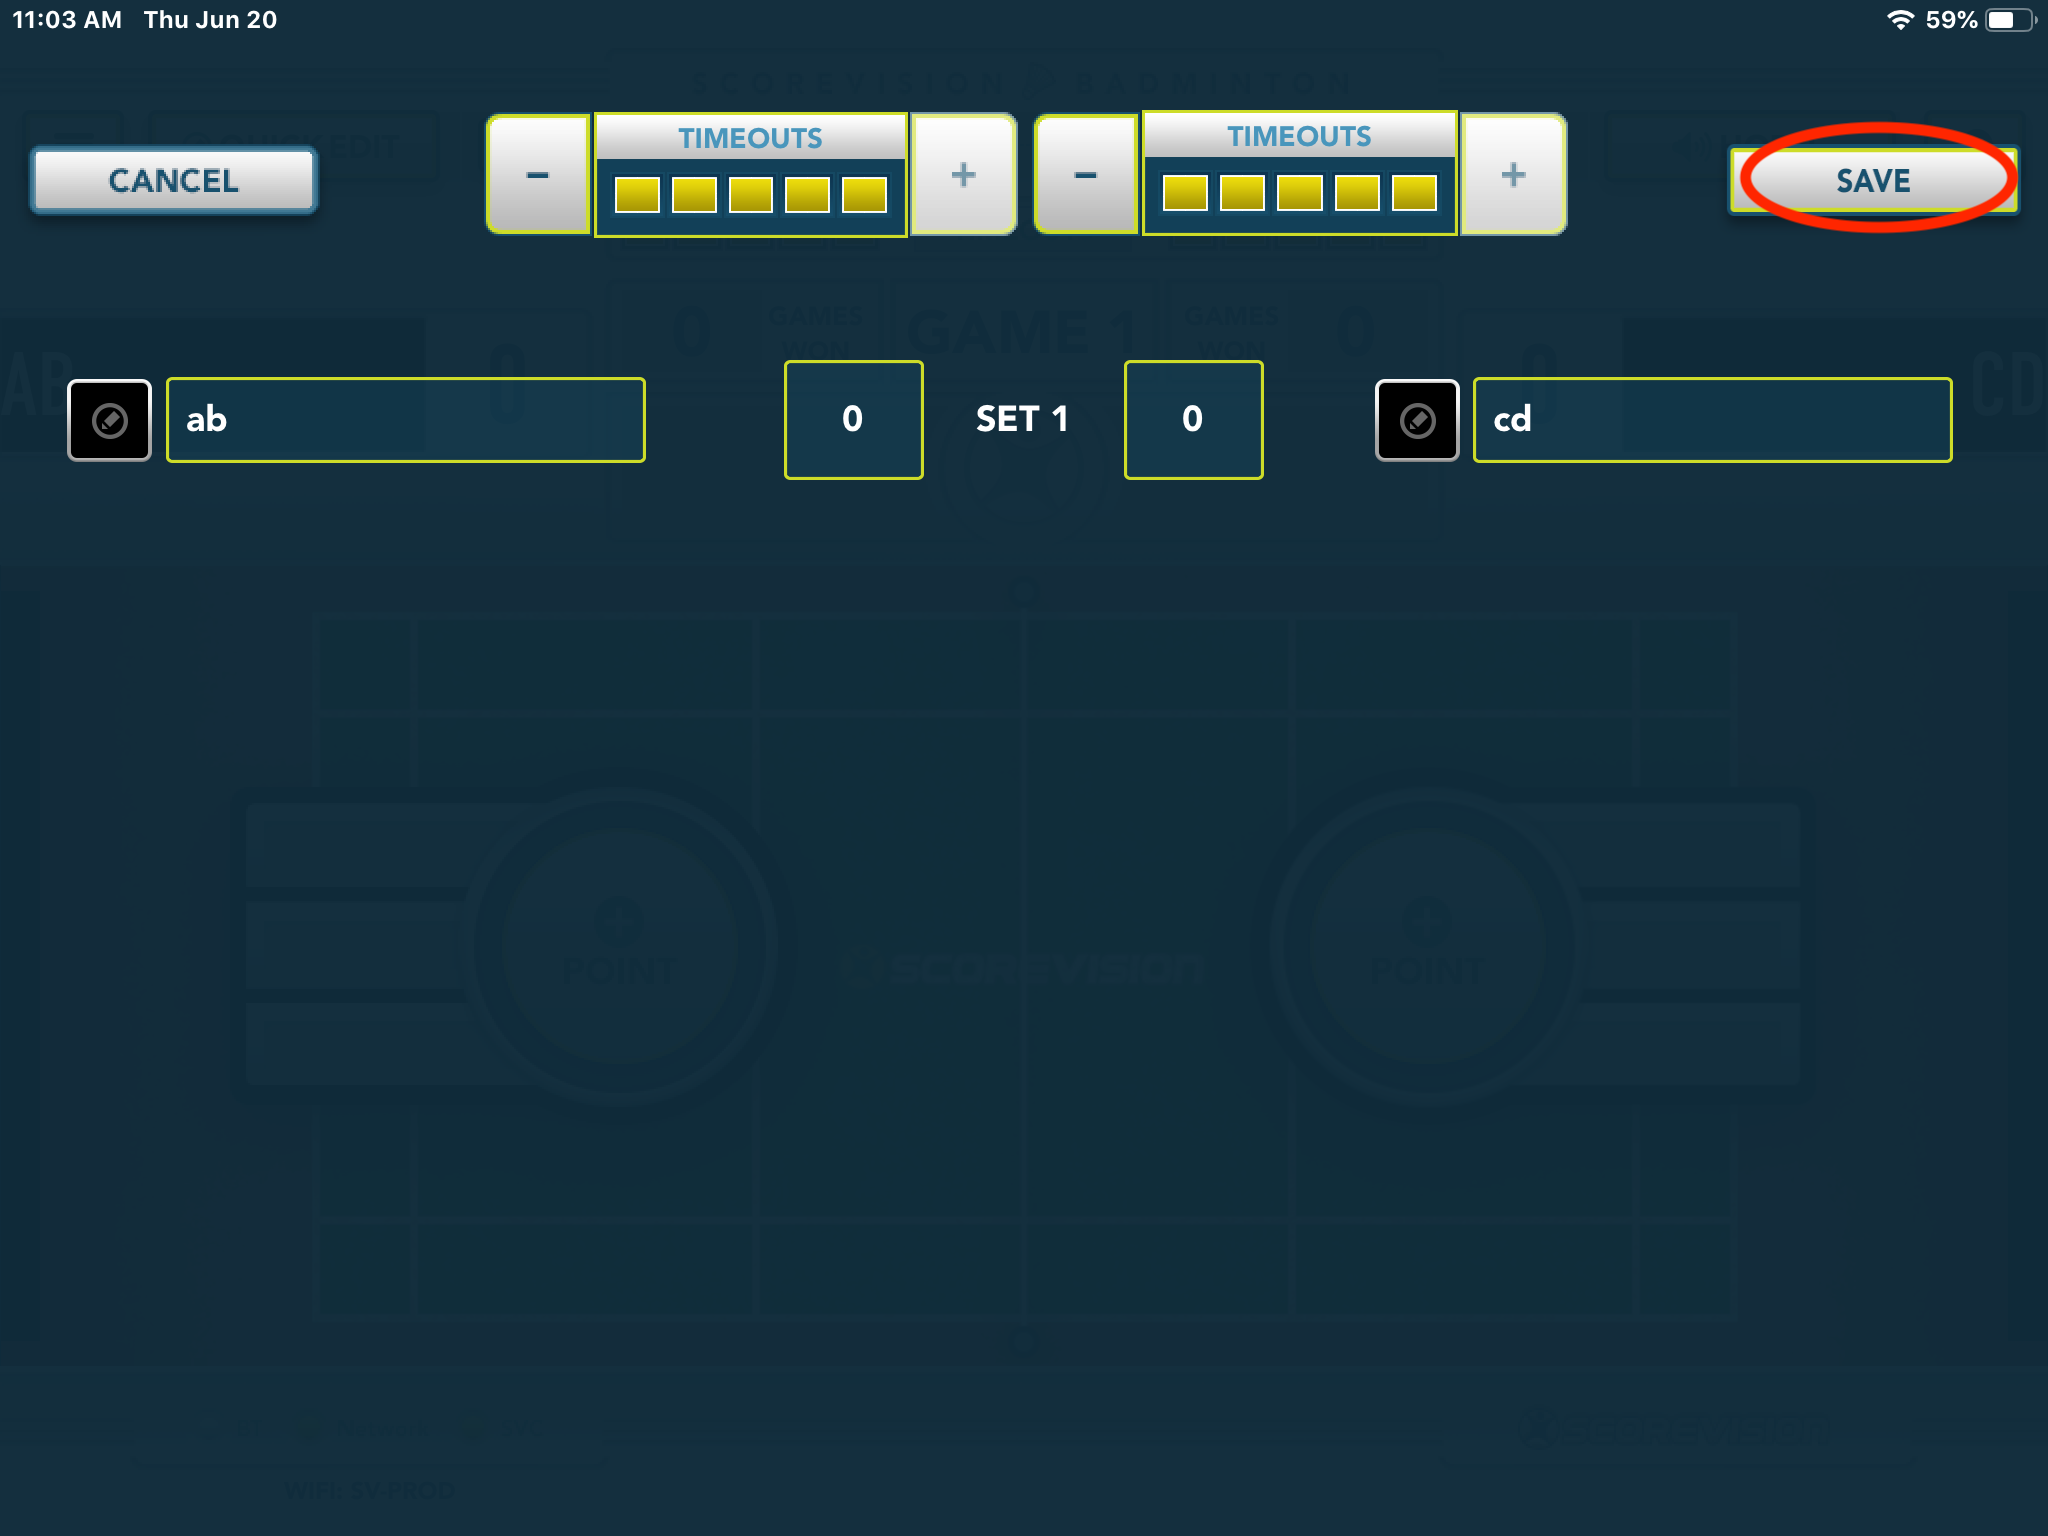
4. Additionally, you can use QUICK EDIT to change game information on the fly including points, timeouts, team fouls, game clock, game period, team colors, or team names. You must press SAVE afterwards to establish any changes made on the Quick Edit screen.

5. When one team wins the set, a help modal will appear giving you three options for transitioning into the next period:
- end match
- make changes in the current set, or
- play the next set.
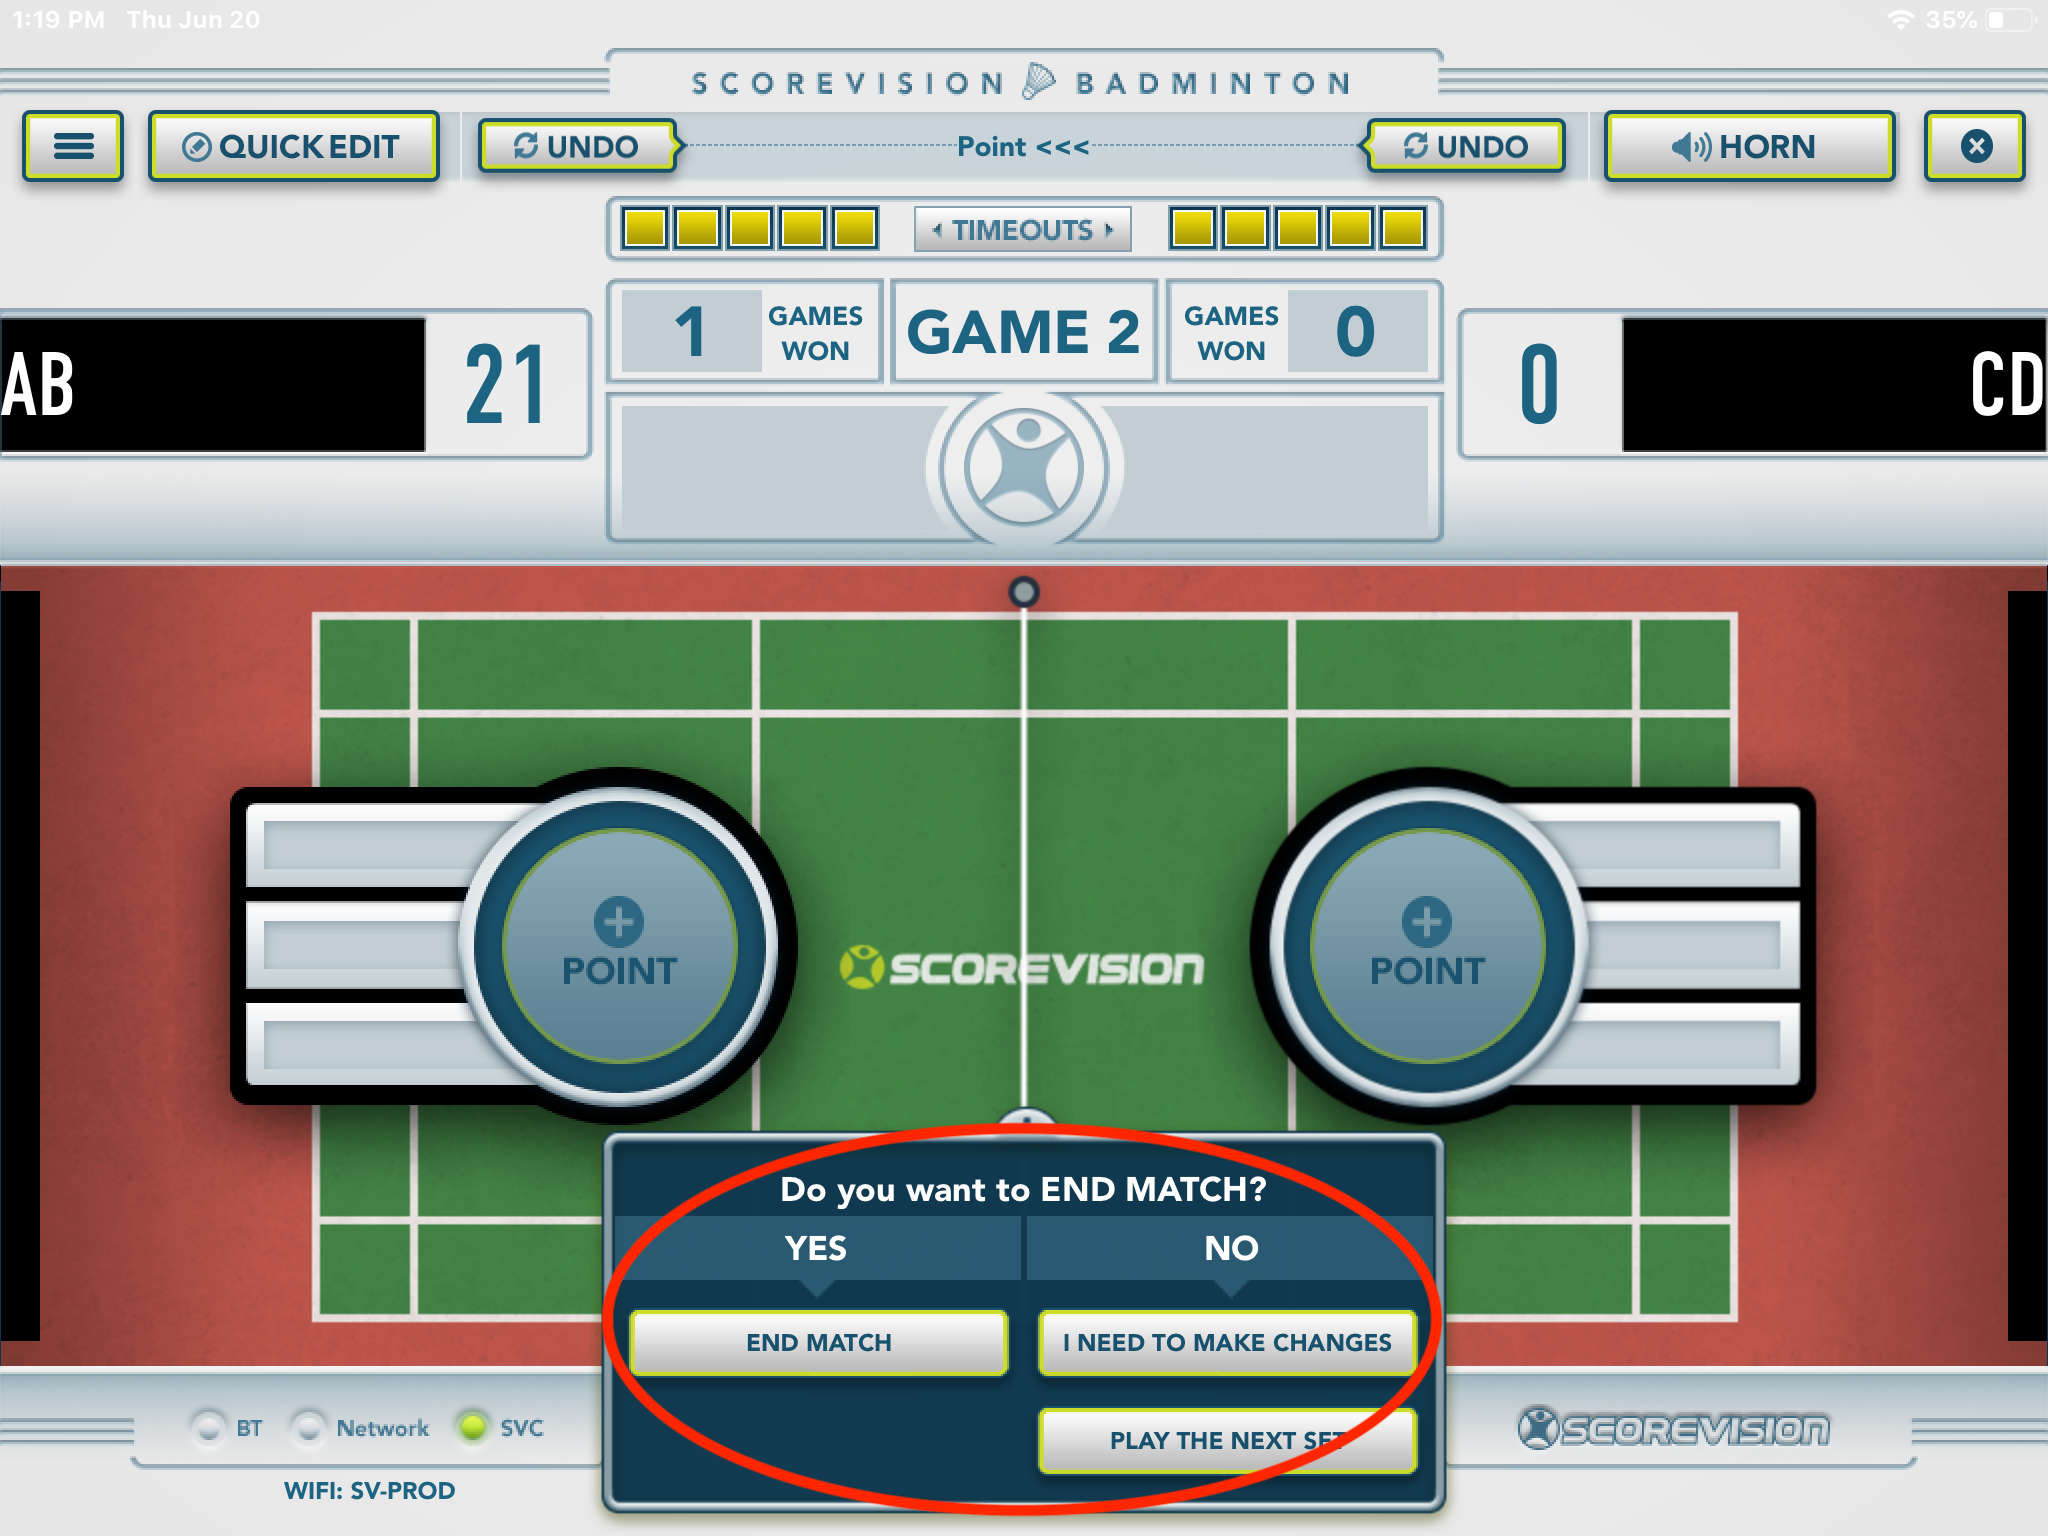 6. Once a team wins the correct amount of sets (as defined in the game settings) to win the game, a help modal will appear that allows you to end the game, or go back to make changes if necessary.
